Our DIY Starlink Gen 2 Travel Case
Learn about how we built a rugged travel case for our Gen 2 Starlink, including the Starlink receiver, router, and tripod with our DIY Starlink Tripod Adapter.

We often travel on rough terrain during our overland adventures. Even with a modified suspension and airing down, driving off-road on washboard, rutted, and rocky dirt roads still can be bumpy at times. Over the years, we've had our gear tossed around quite a bit and have learned that gear that’s not properly secured and protected will likely get damaged over time. Everything from rubbing abrasions to broken latches has taken its toll on gear that’s not well stowed during travel. And so when we recently got Gen 2 Starlink, we started thinking about how to best store the dish, router, stand, and cables.
The Problem
The Starlink dish seems especially susceptible to damage given its mounting pole sticks out of the dish at about a 35-degree angle and isn’t detachable. It feels like it's just waiting to get broken. Starlink is of course made for outdoor use in the sun, rain, etc. But that's different from being bounced around in a vehicle and smashed between other gear.
Experimenting
We tried a few different storage options. The first option was to use the Starlink shipping box. The box holds all of the components pretty well but doesn’t have enough separation between the dish and the stand. It seems like there could be abrasion to the dish from the mental stand over time. The box is made for one-time shipping after all not long-term storage while driving over rough terrain. We also assumed the box would become damaged over time through wear and tear and isn’t water-resistant or waterproof.
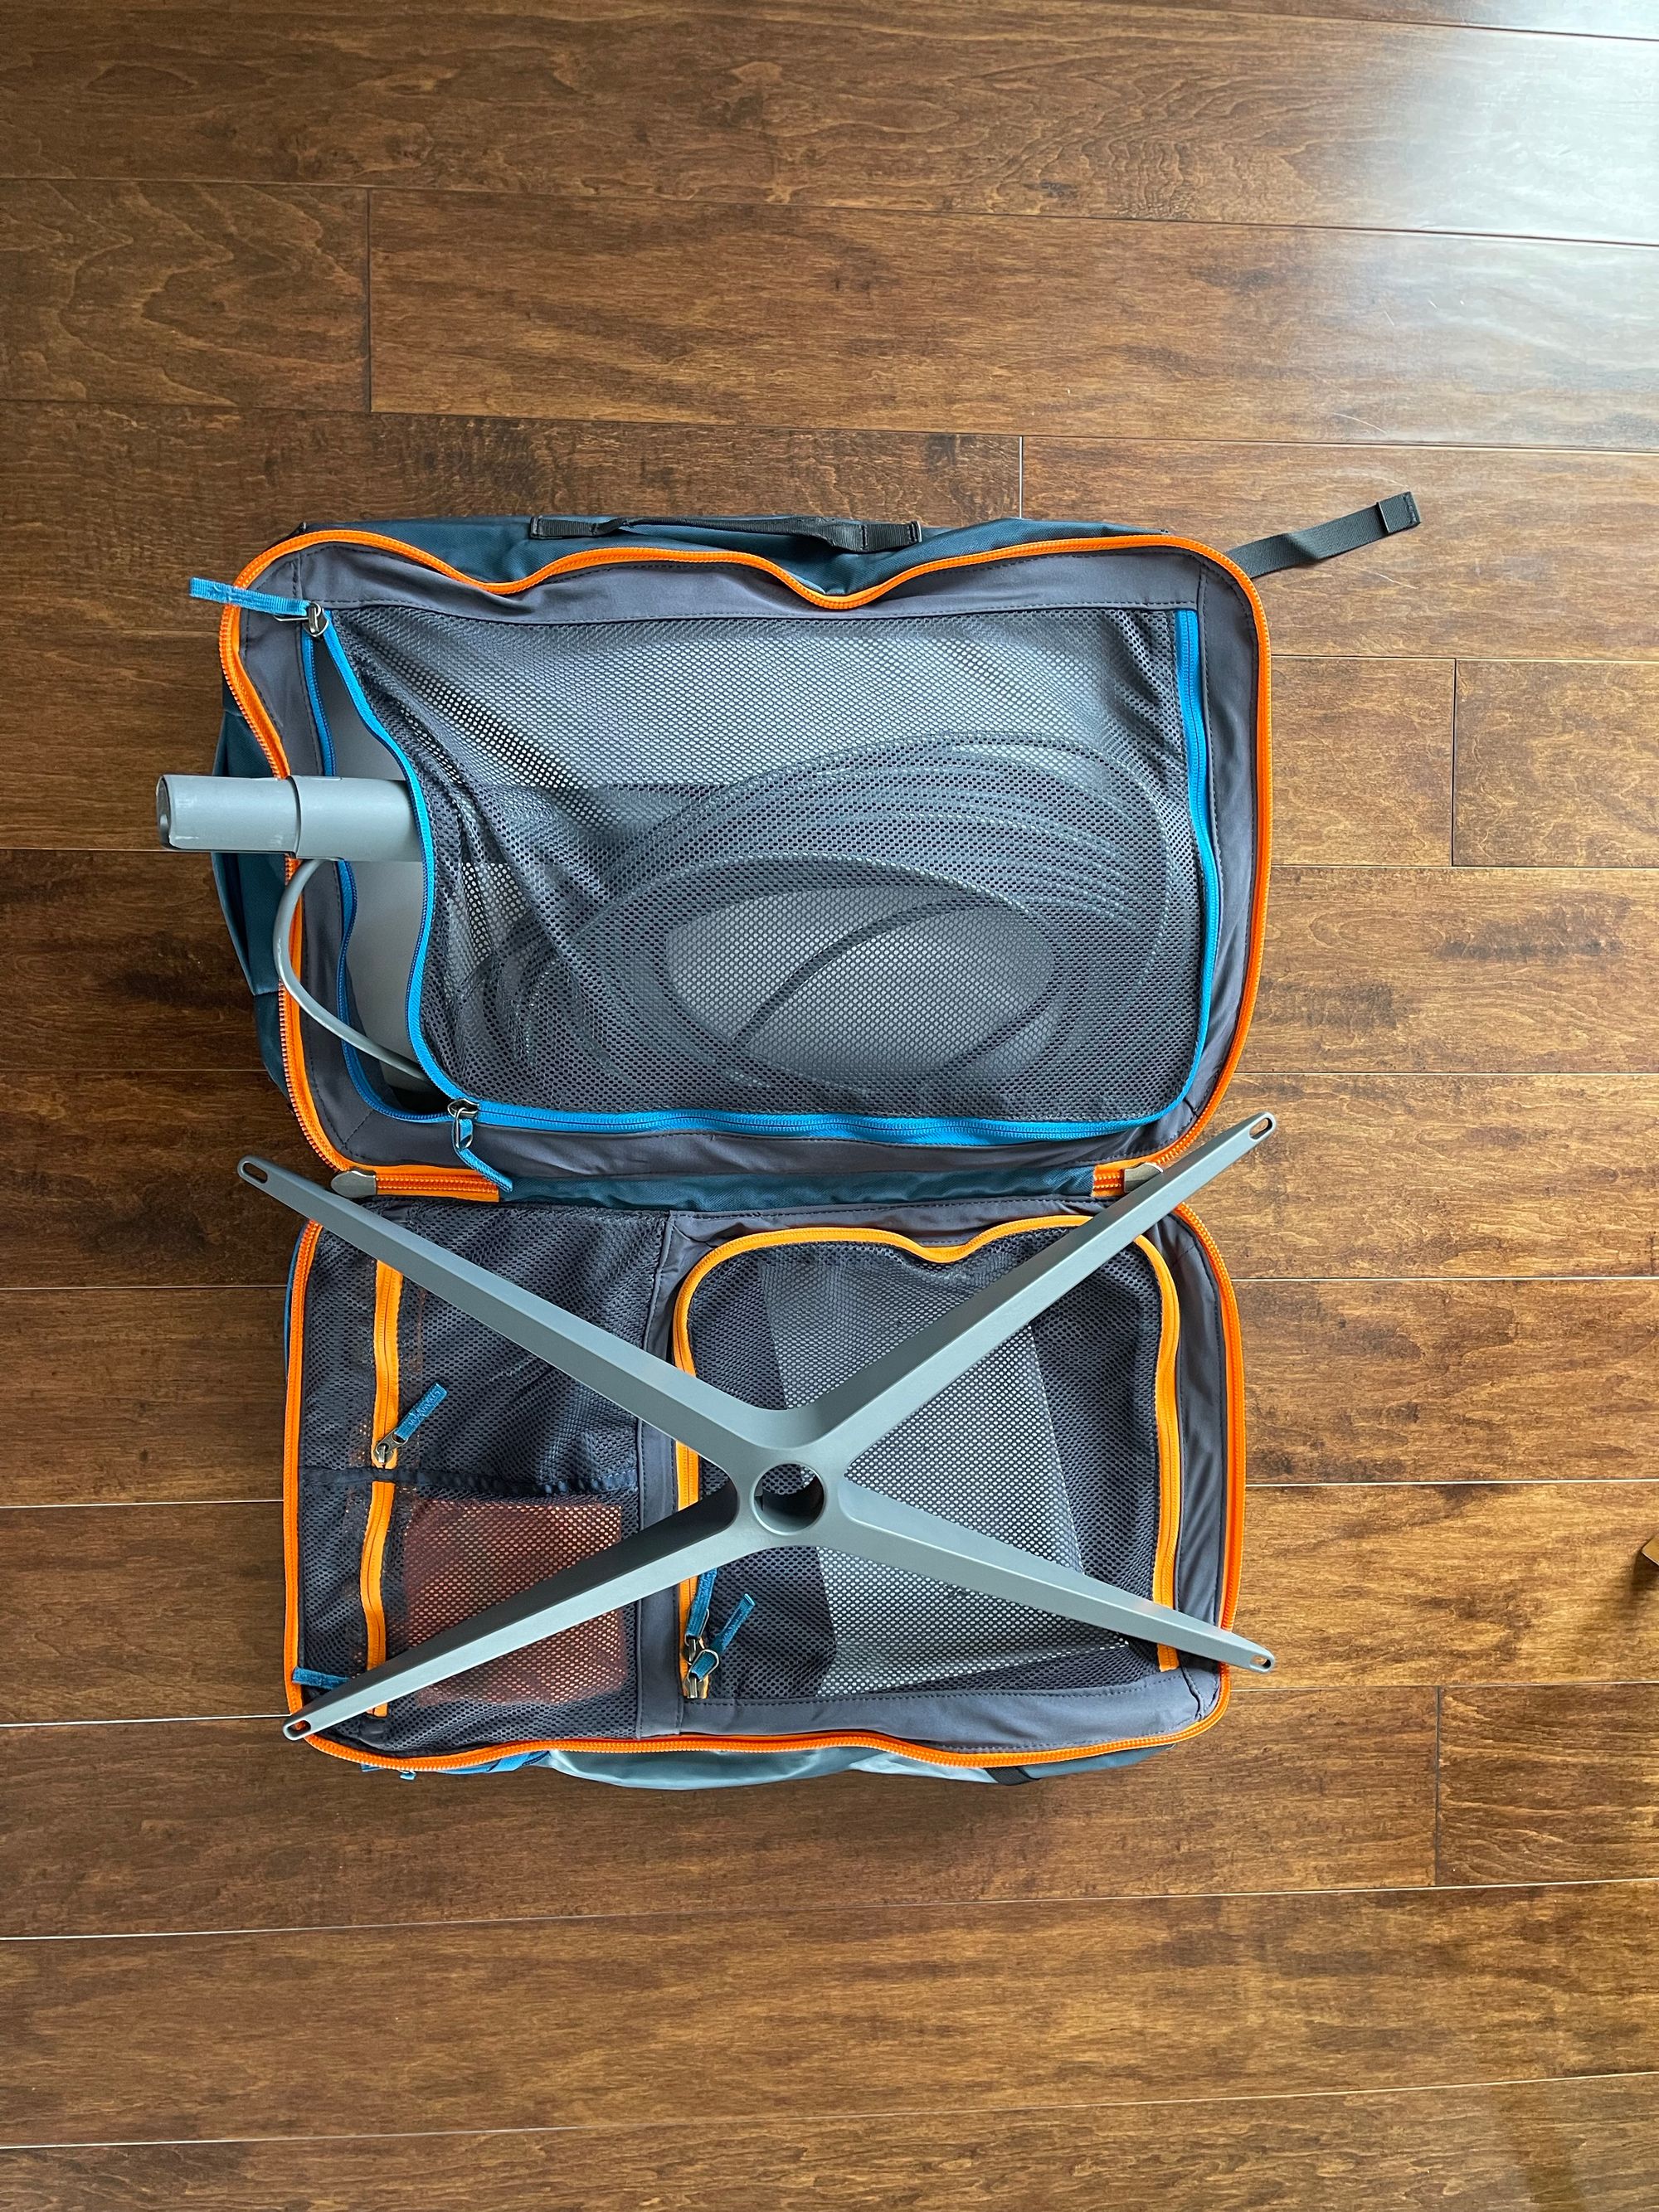
Next, we tried storing the Starlink components in a Cotopaxi Allpa travel backpack that we already owned. It was able to accommodate the dish, router, and cables. However, the stand was a bit too big. That wasn’t necessarily a deal-breaker since we create our own DIY Starlink Tripod Stand. The backpack had the advantage of being fairly compact, having a harness and handles for transportation, and being water-resistant. However, the backpack wouldn't fully zip closed due to the dish’s mounting pole. Not necessarily a deal-breaker but not ideal. And while the pack is fairly rugged we were still concerned about damage due to repeated movement from rough roads and other gear potentially smashing into it.
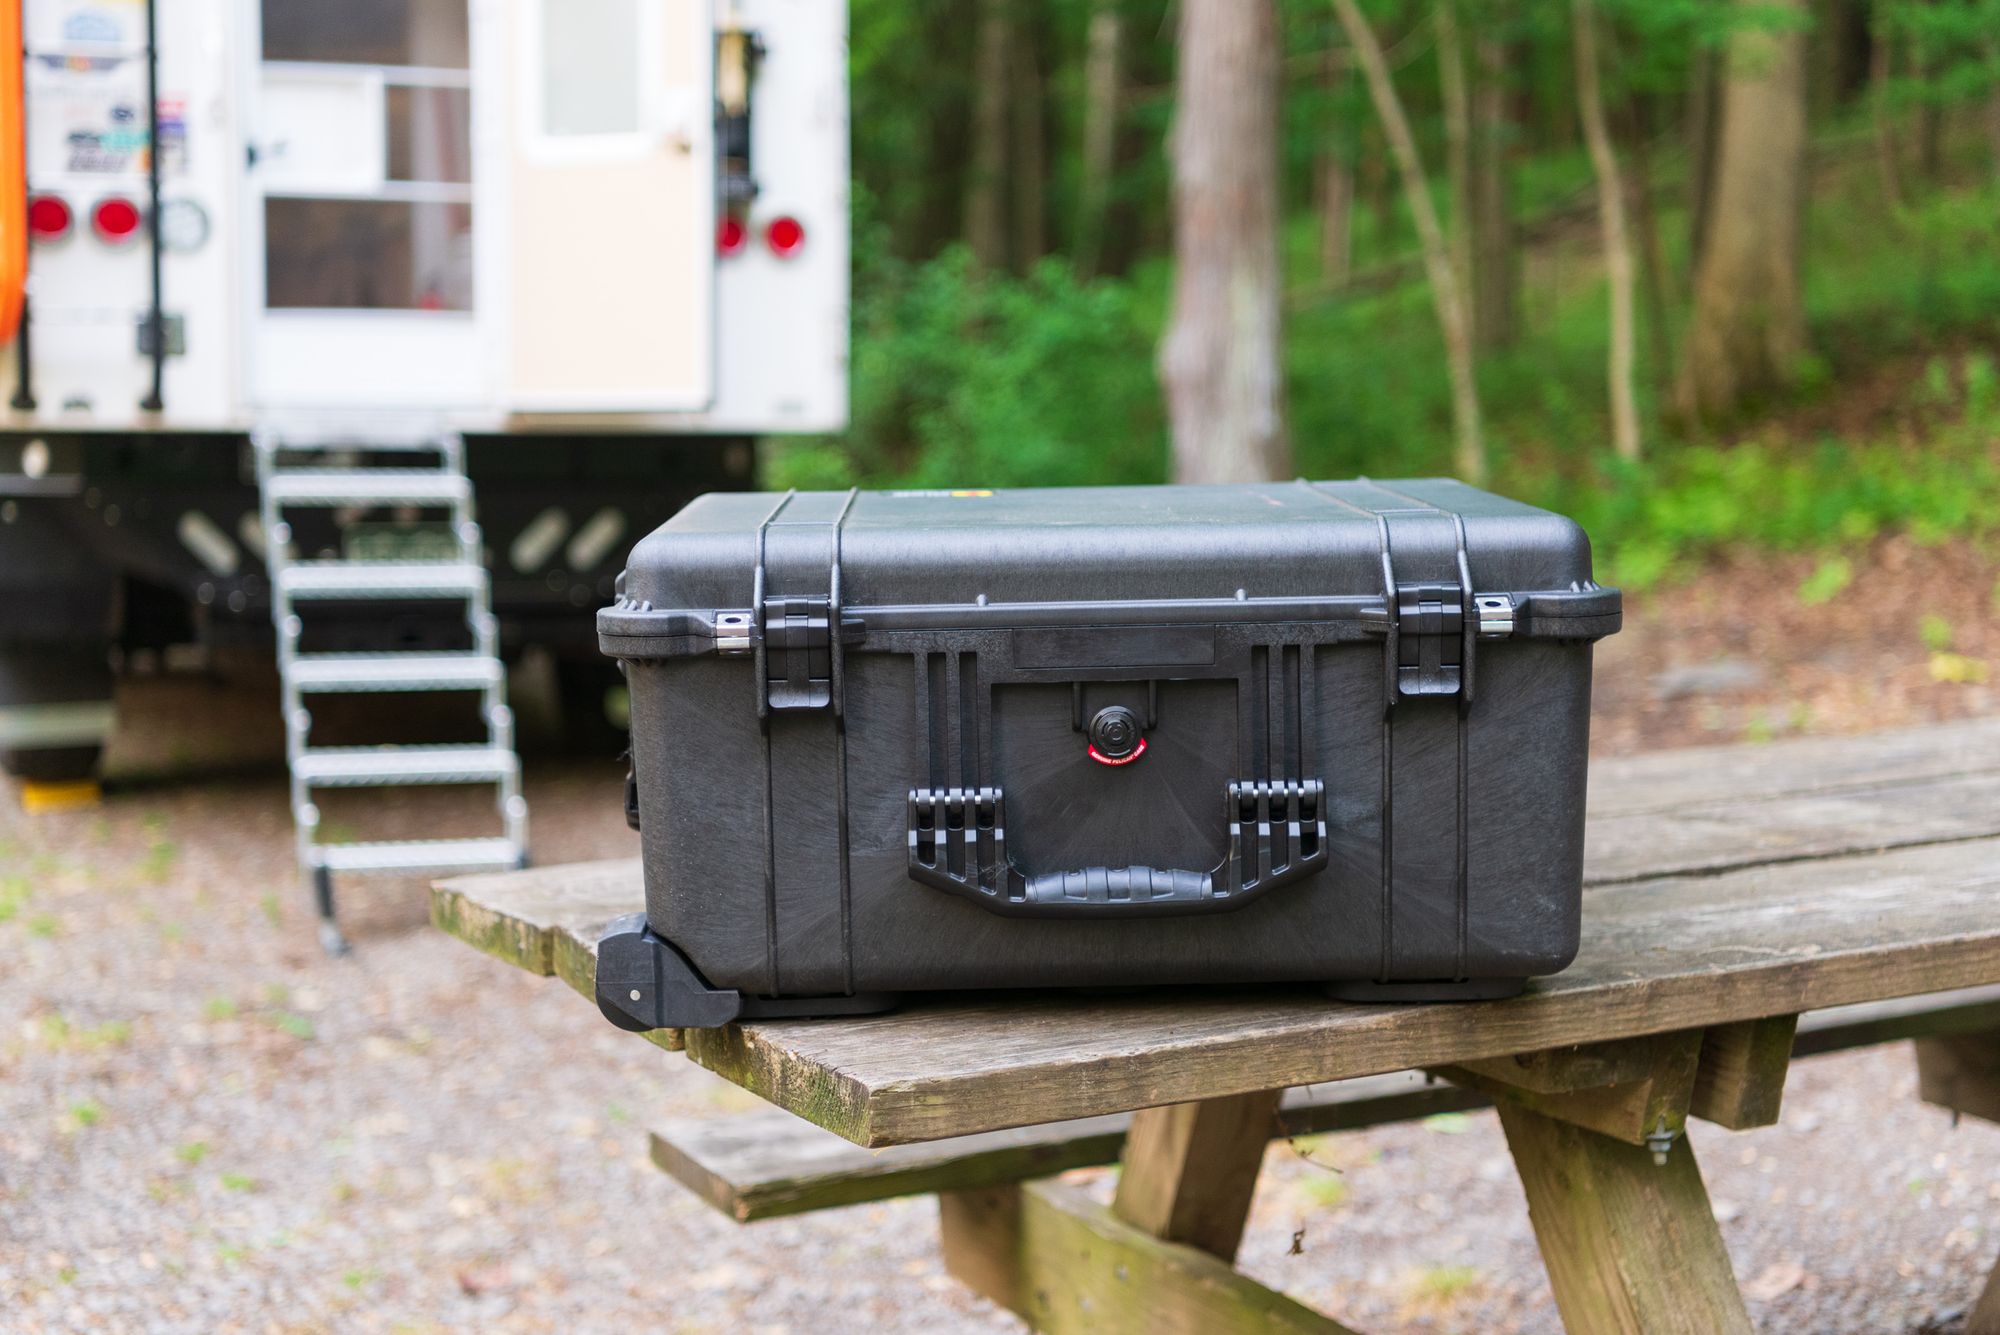
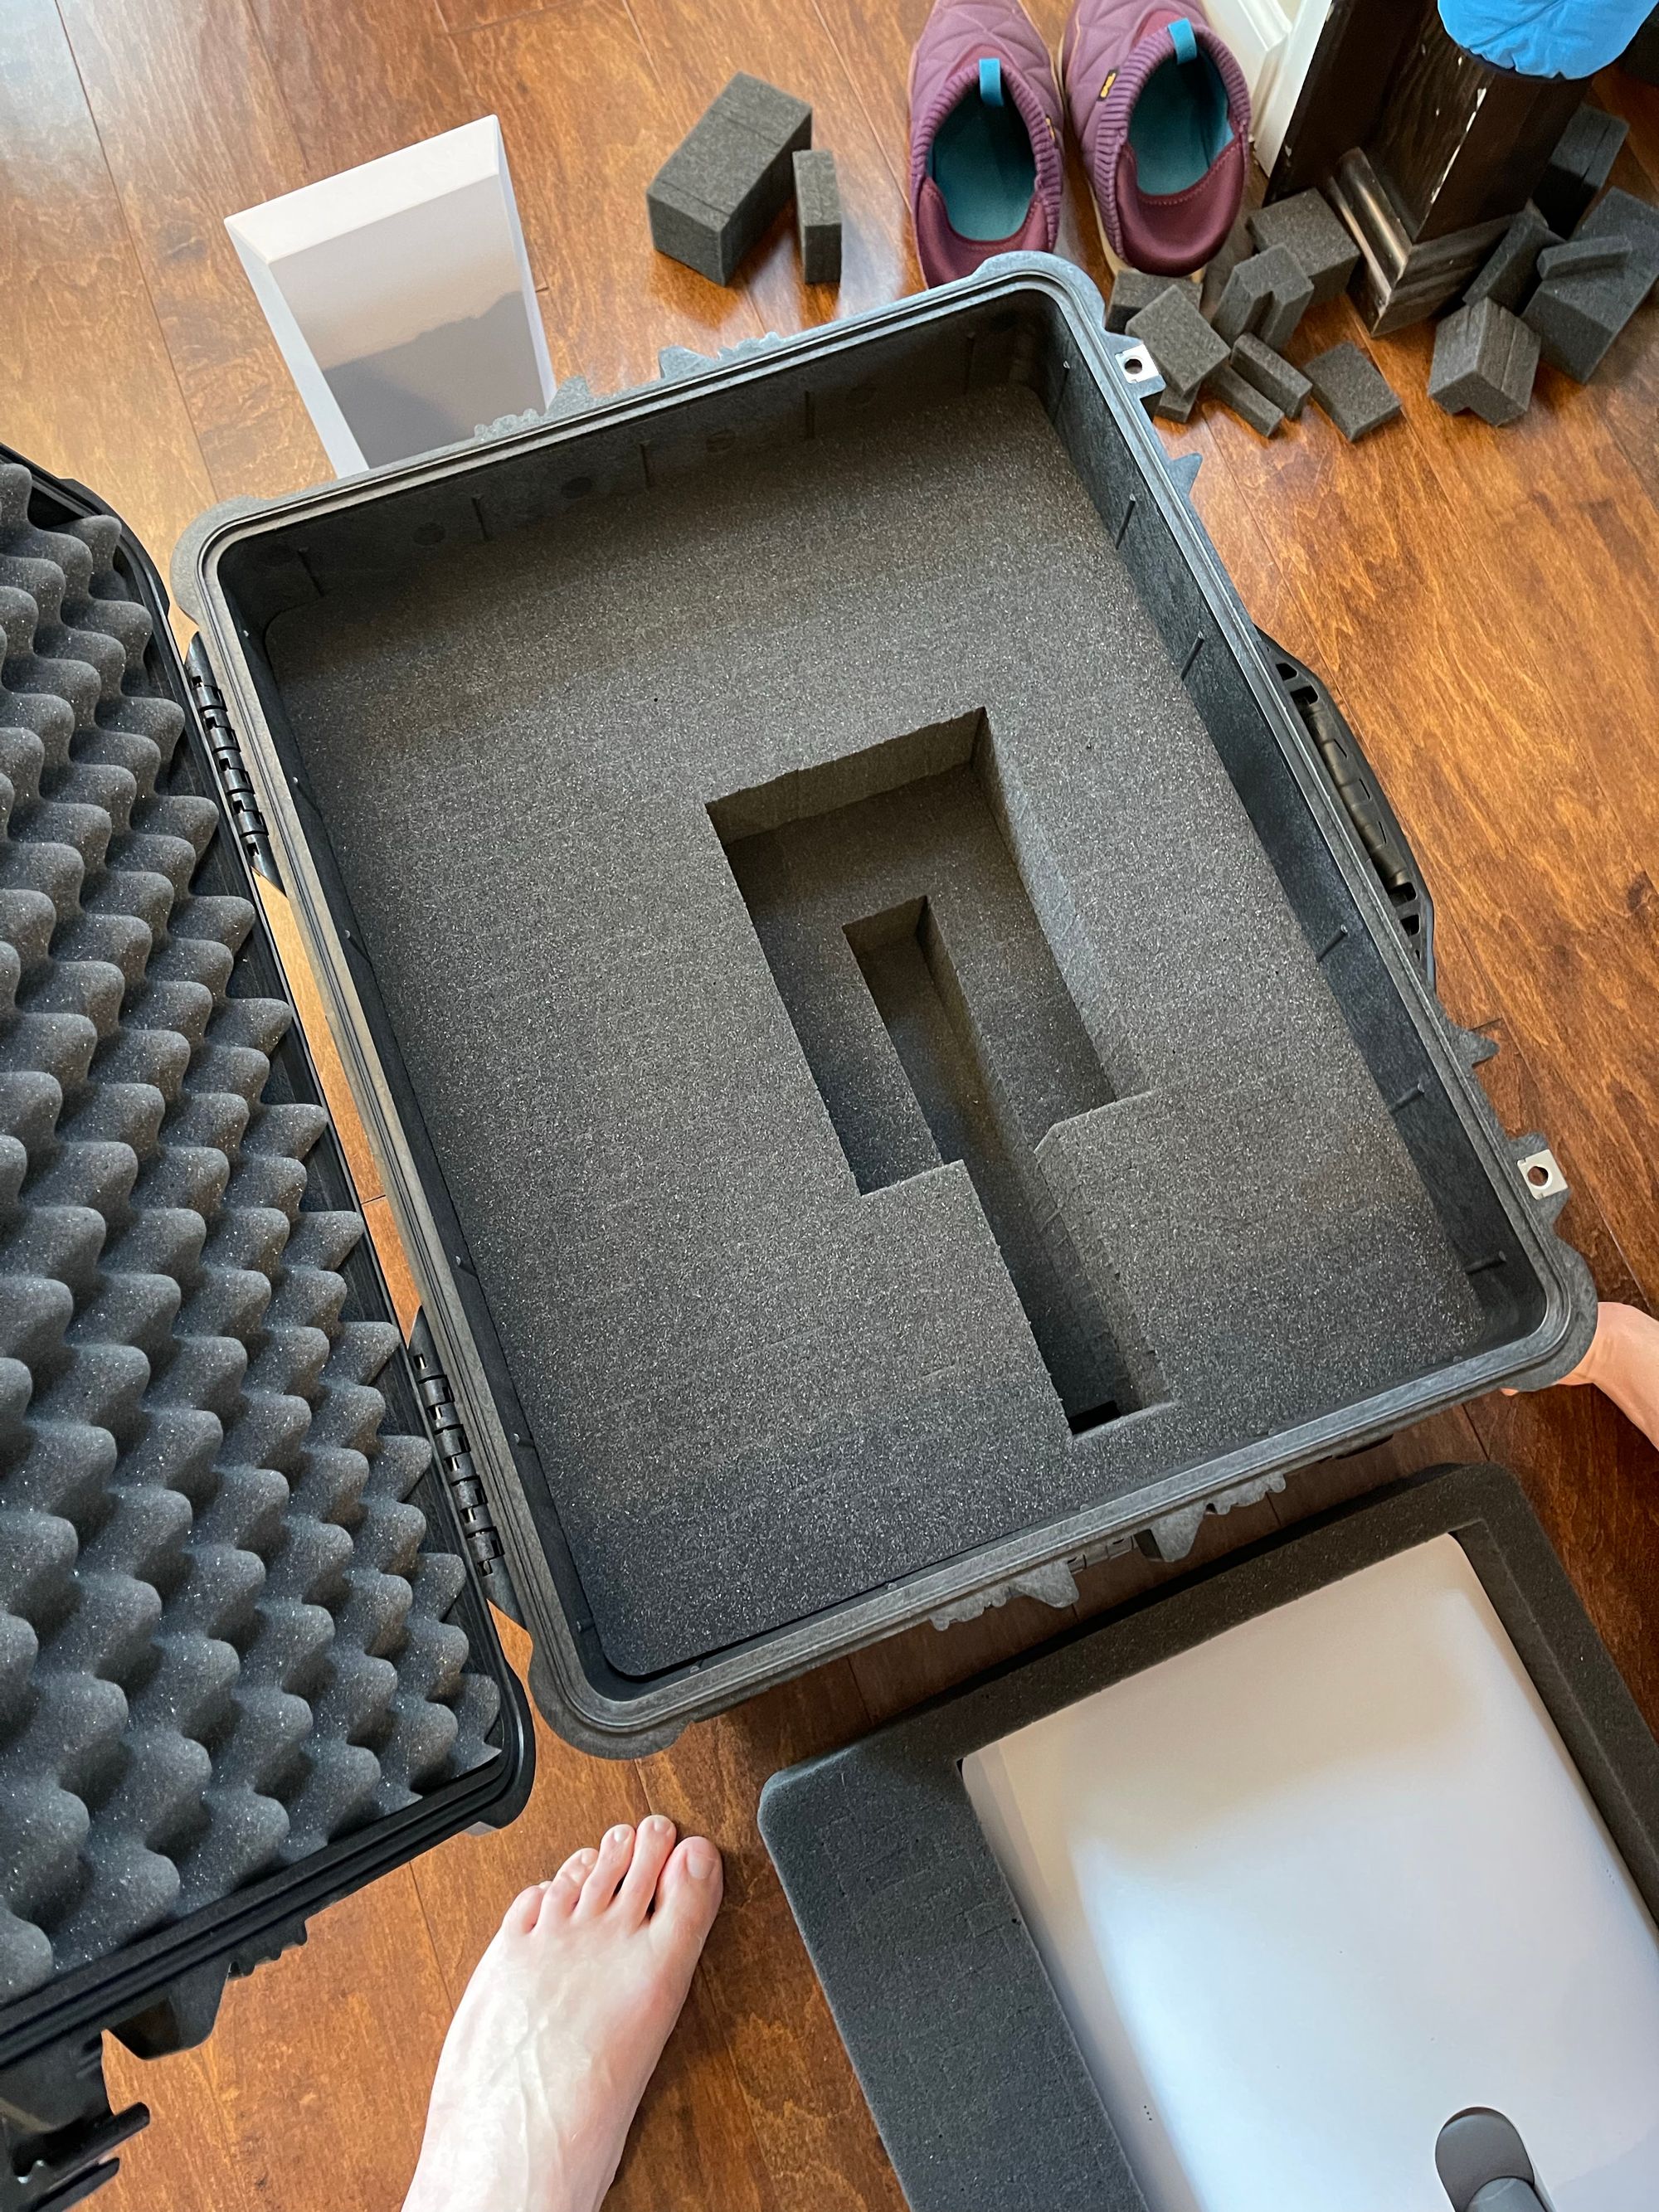
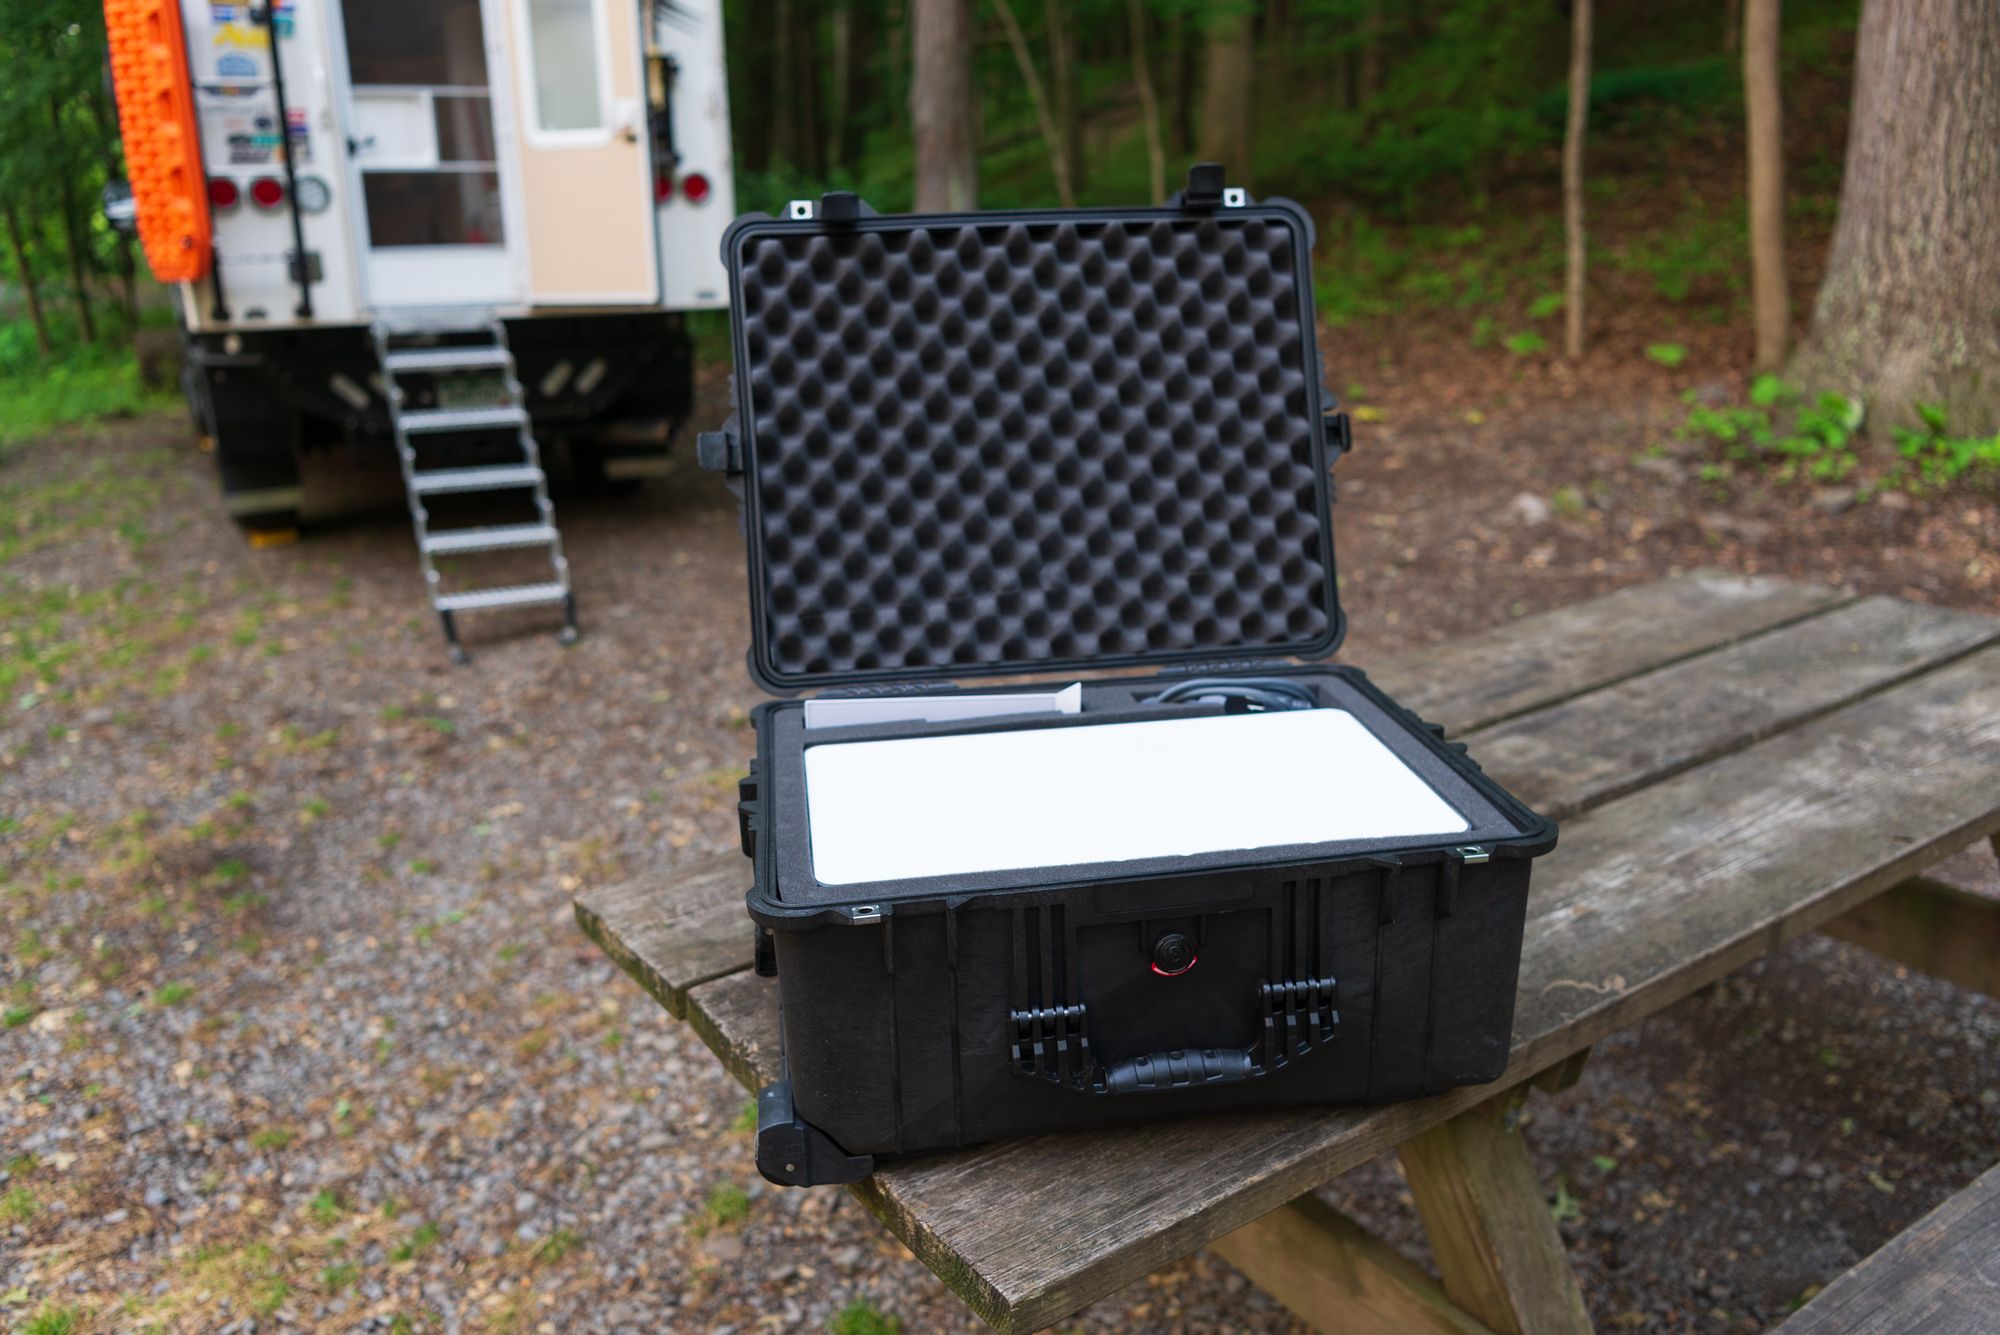
Next, we tried a Pelican case with a foam insert. We found an example of someone trying this option and decided to give it a try too. Pelican cases are renowned for their toughness. And the Pelican 1610 case with foam seemed to be just the right fit for the Starlink equipment. It has a solid exterior, four secure latches, a waterproof gasket, a pressure-equalizing valve, multiple carrying handles, wheels, and a handle for long-distance movement.
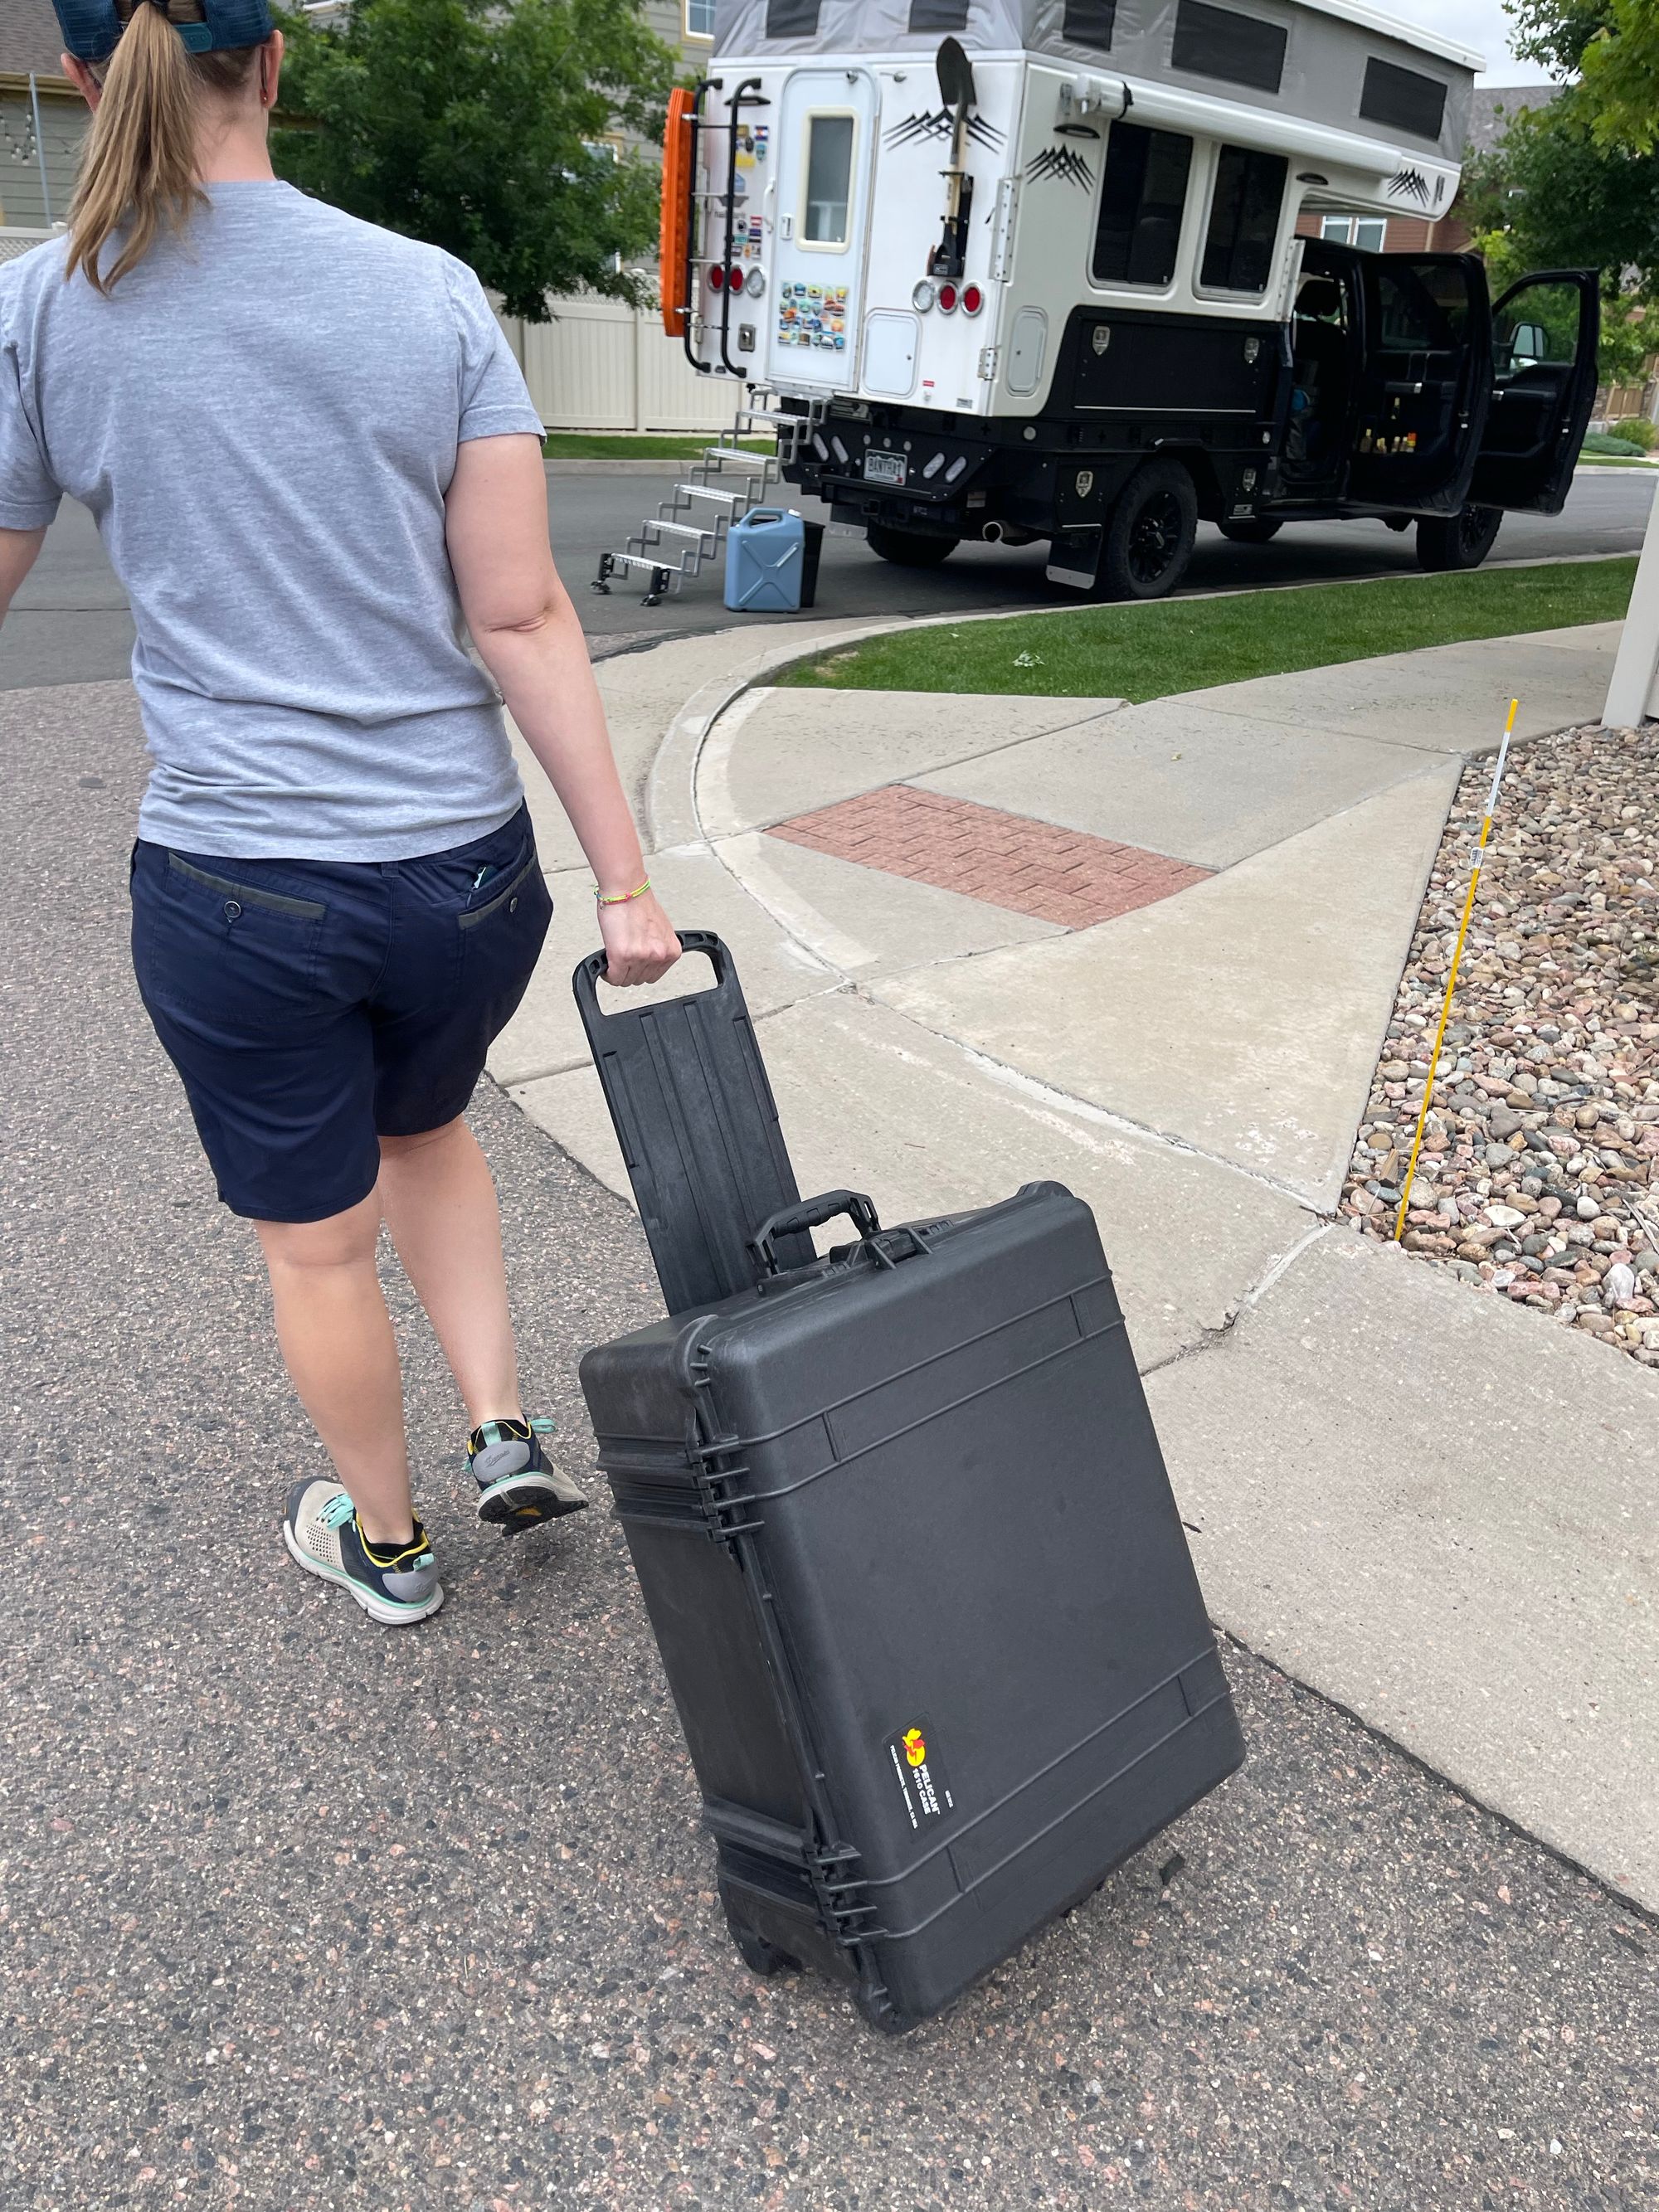
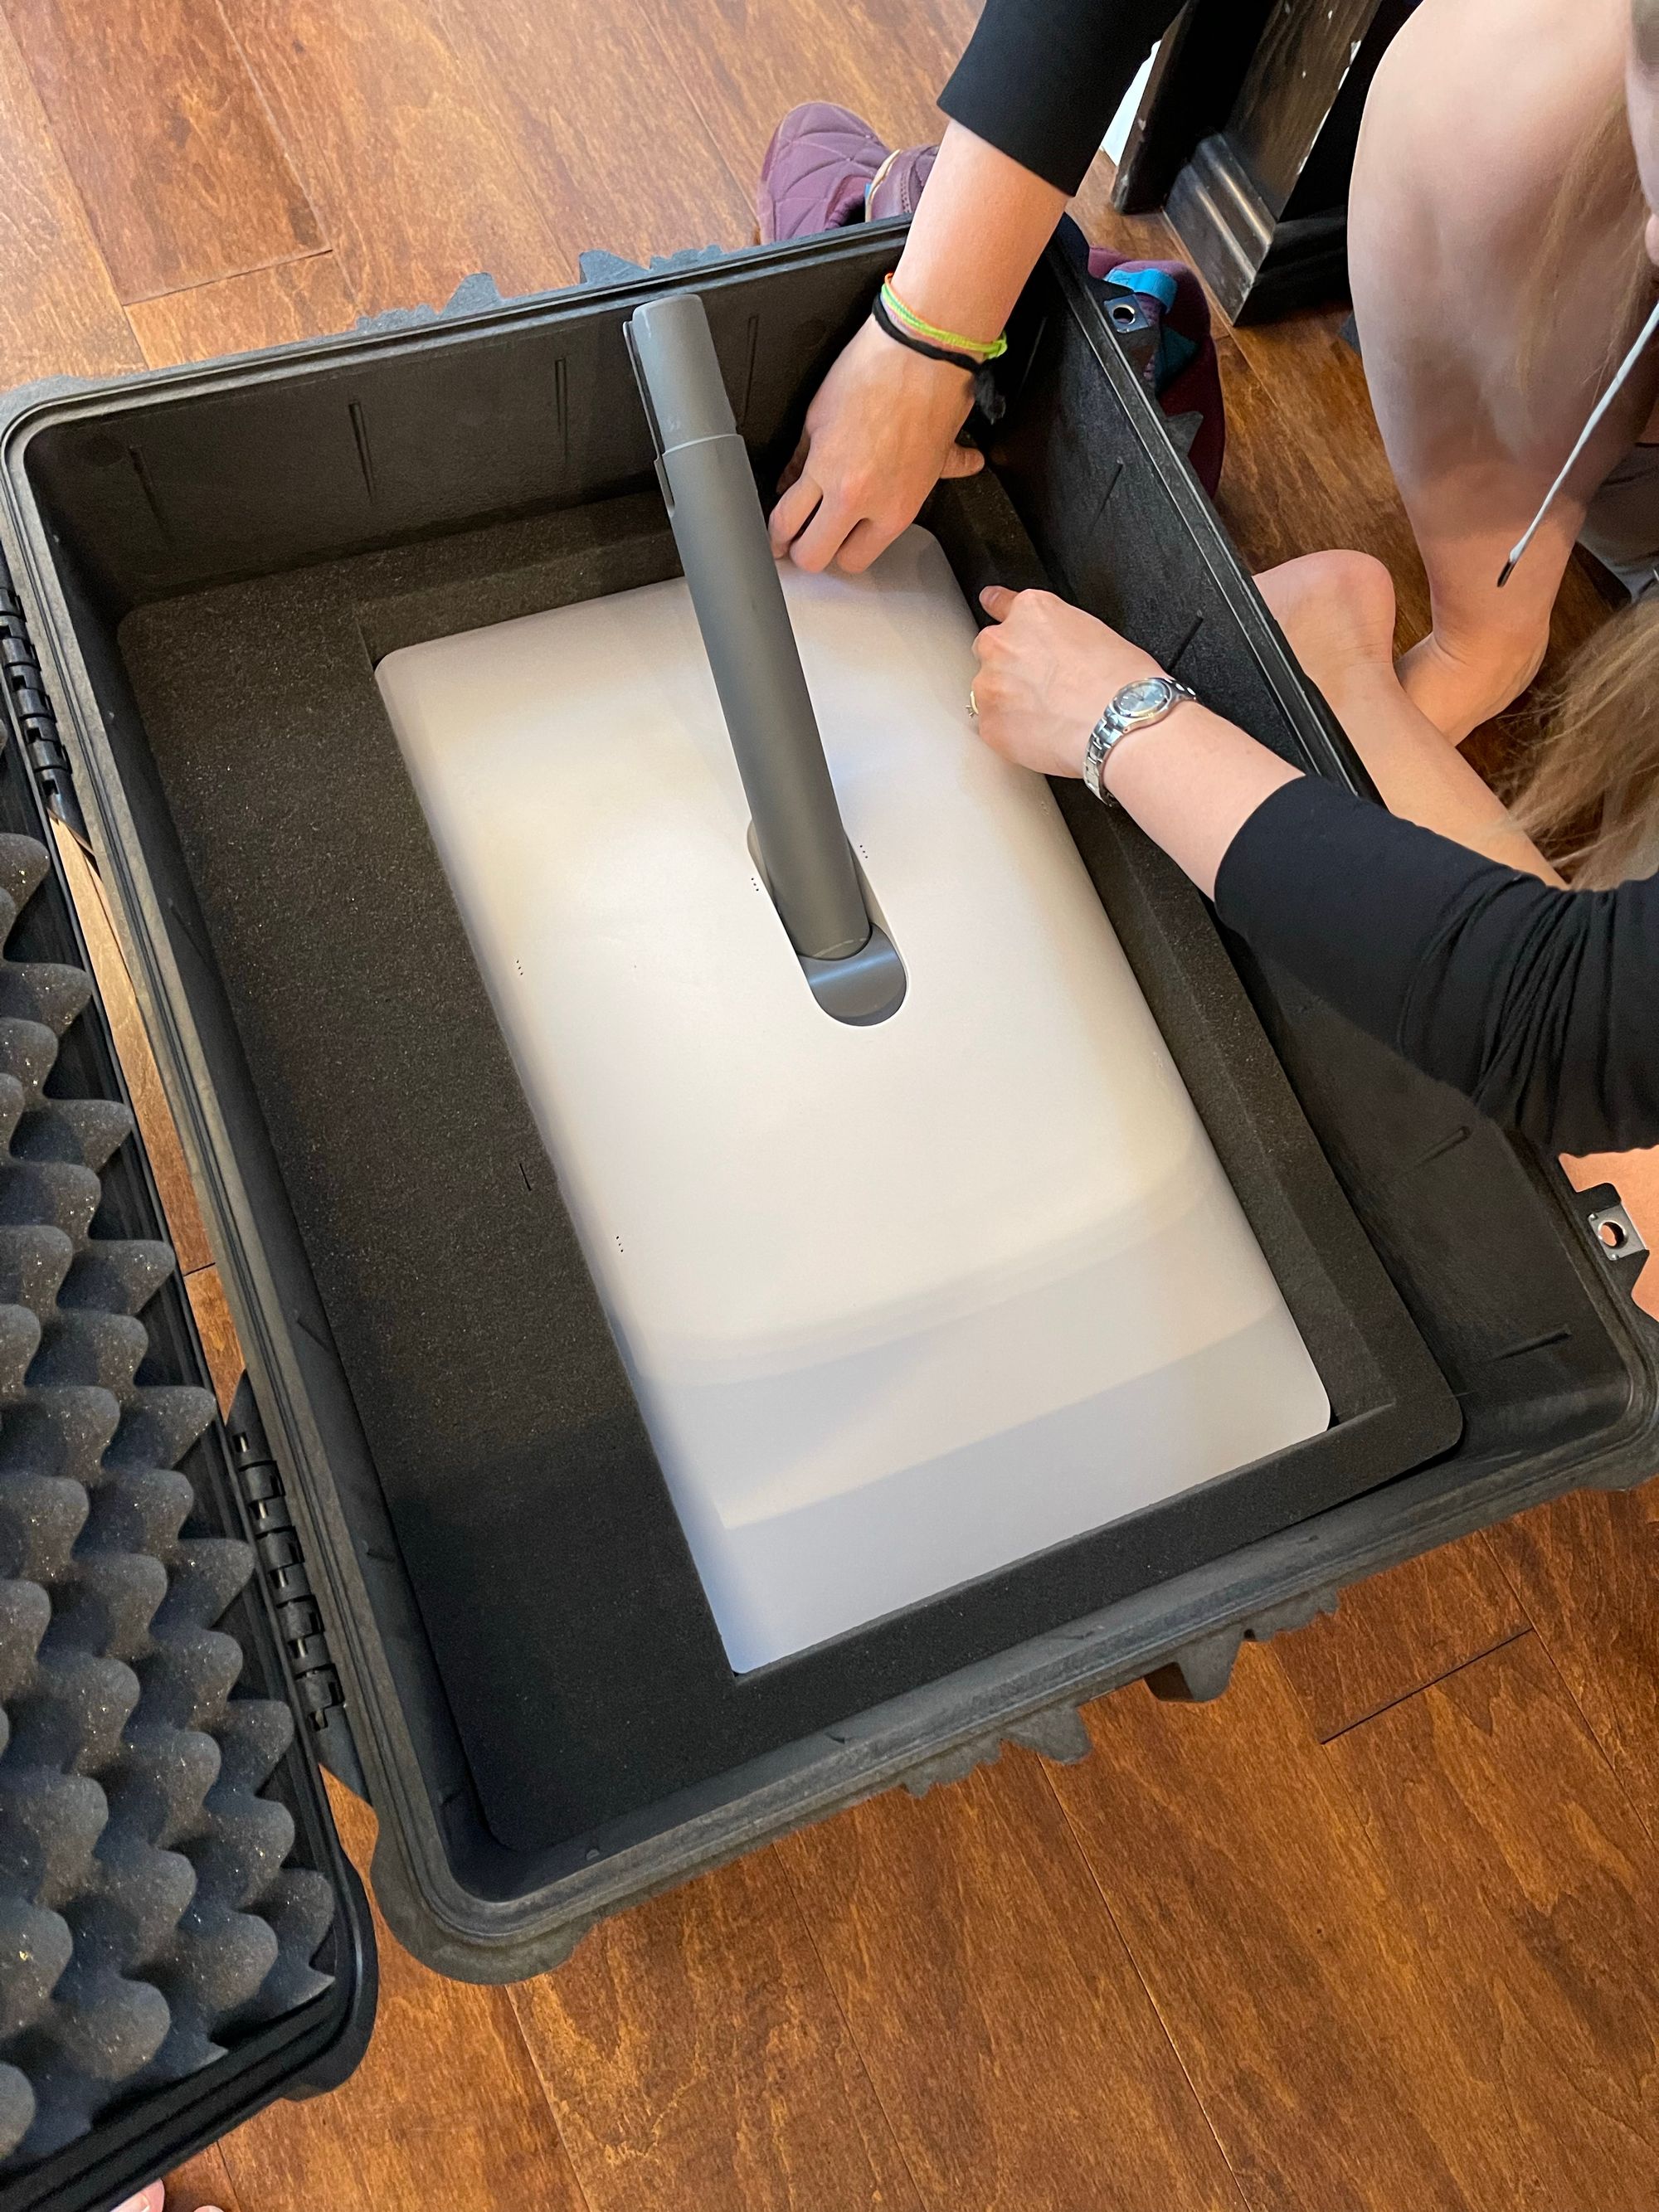
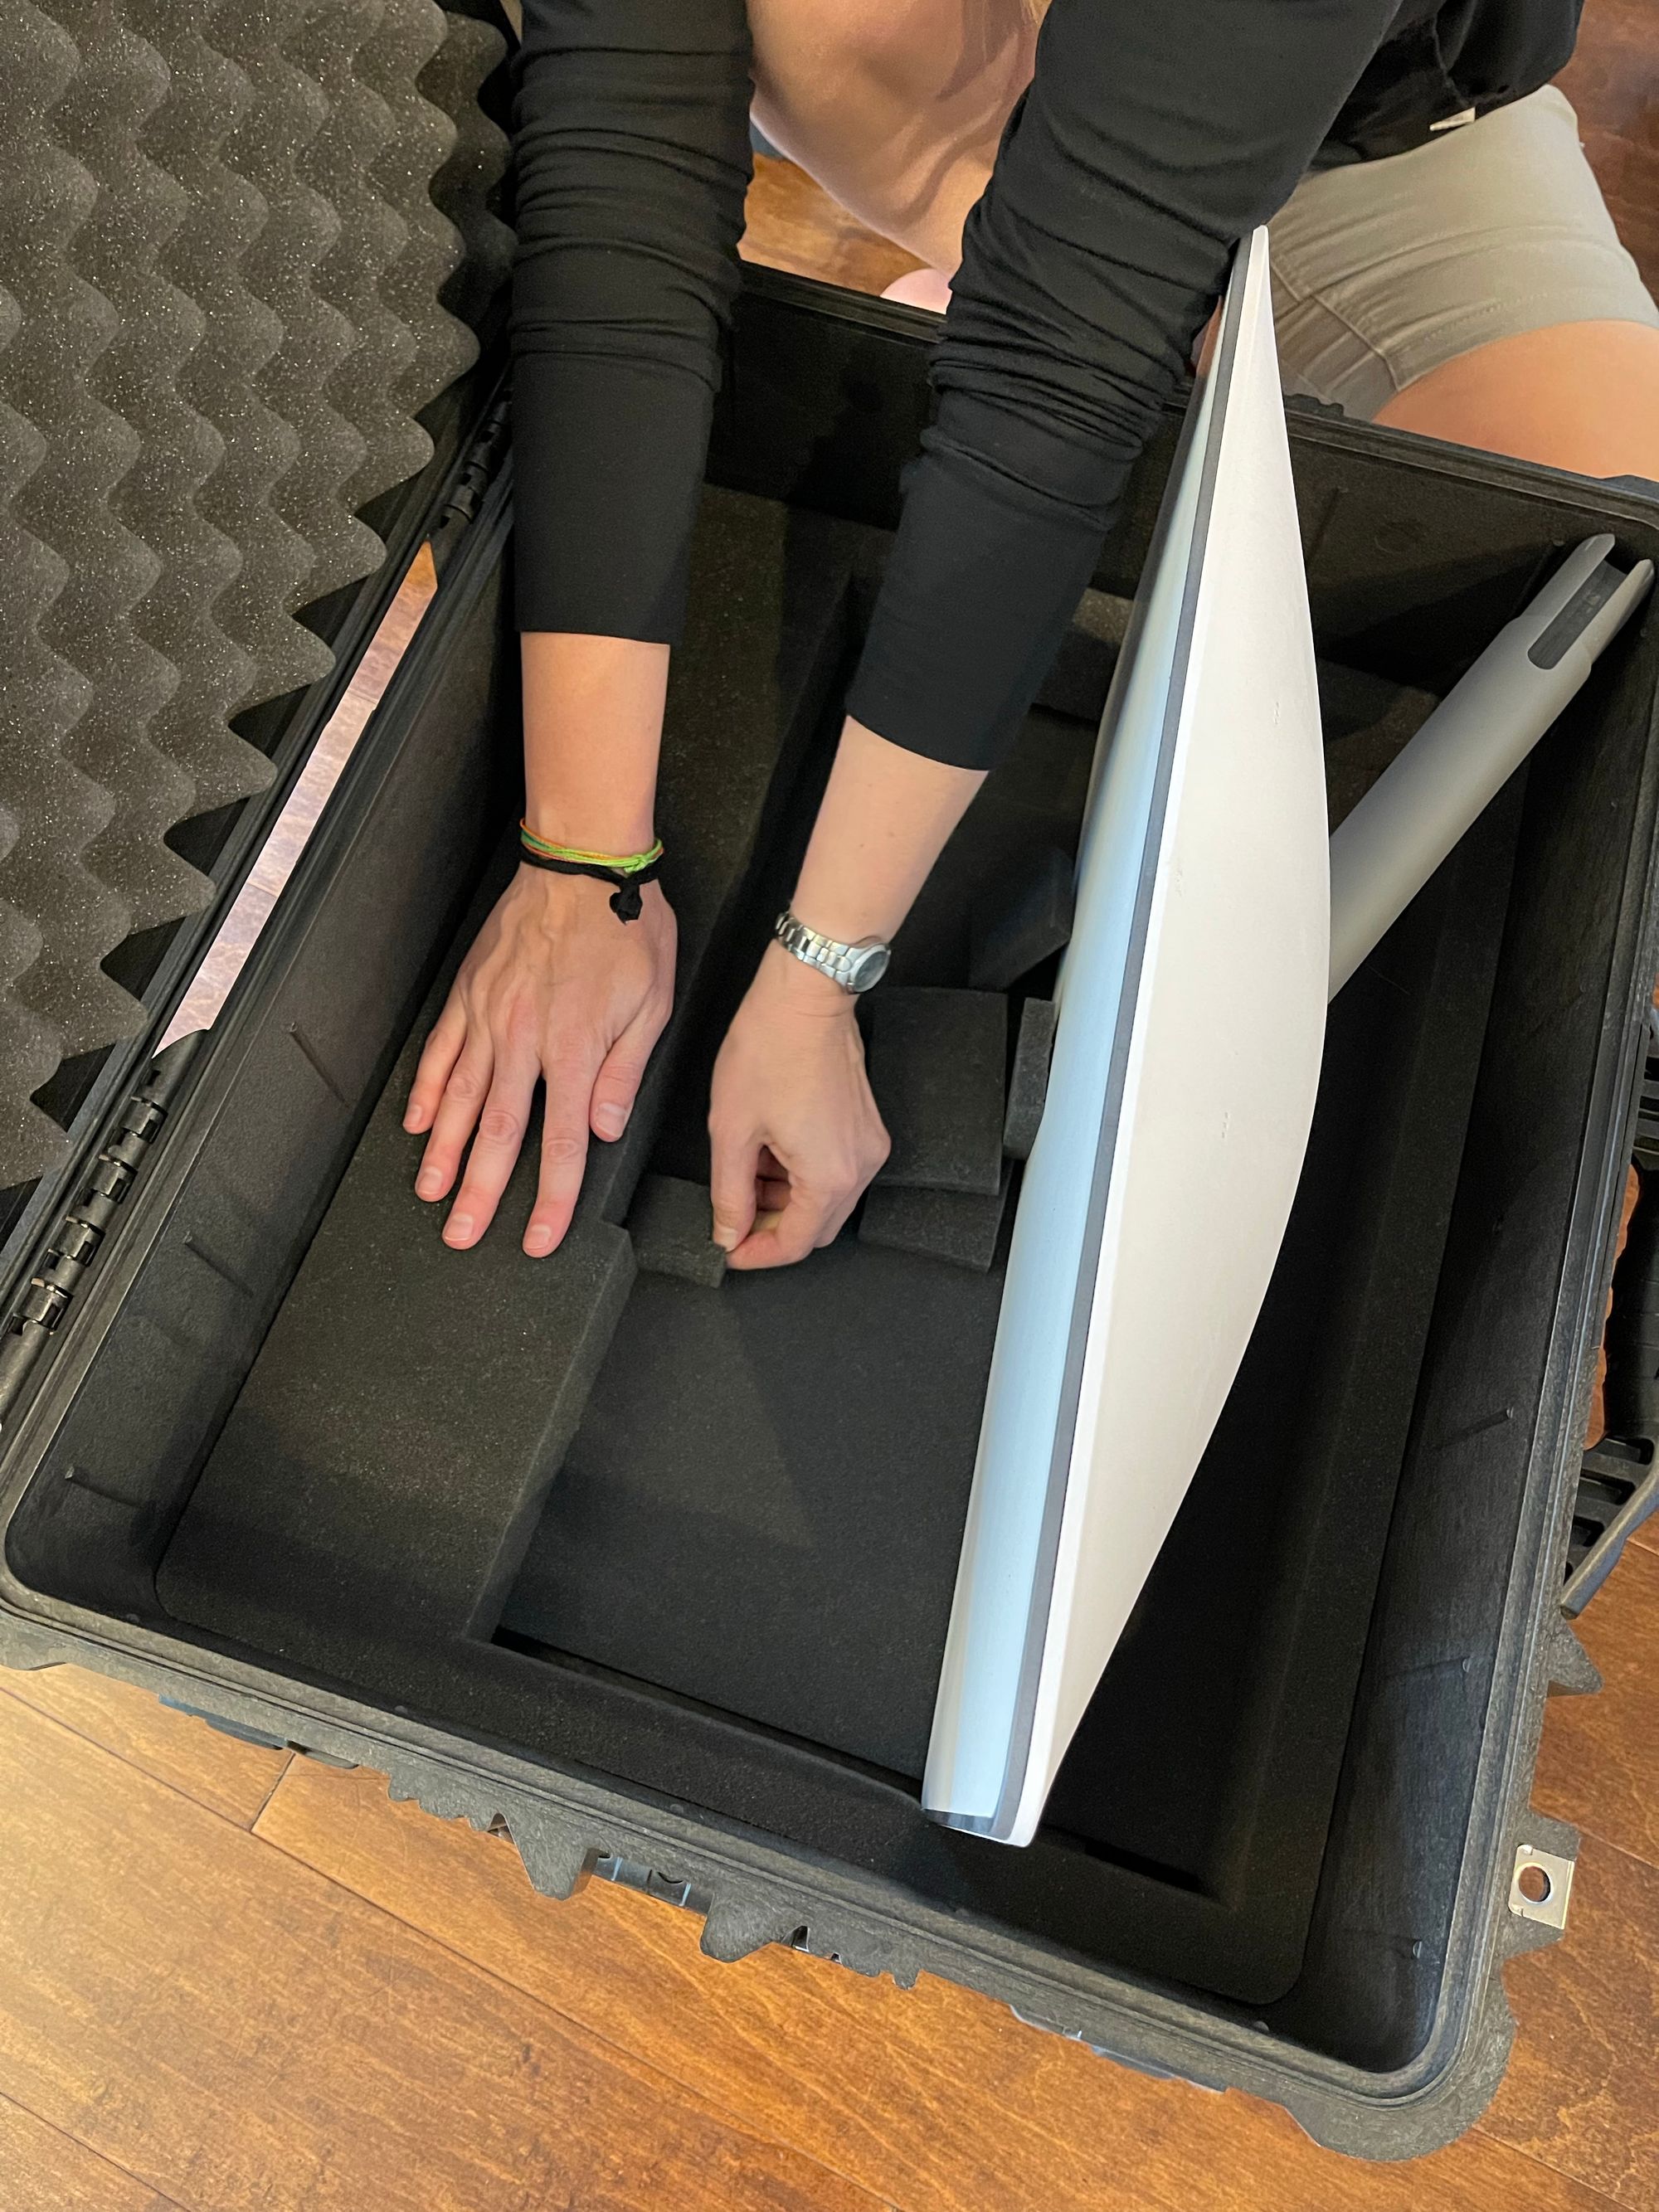
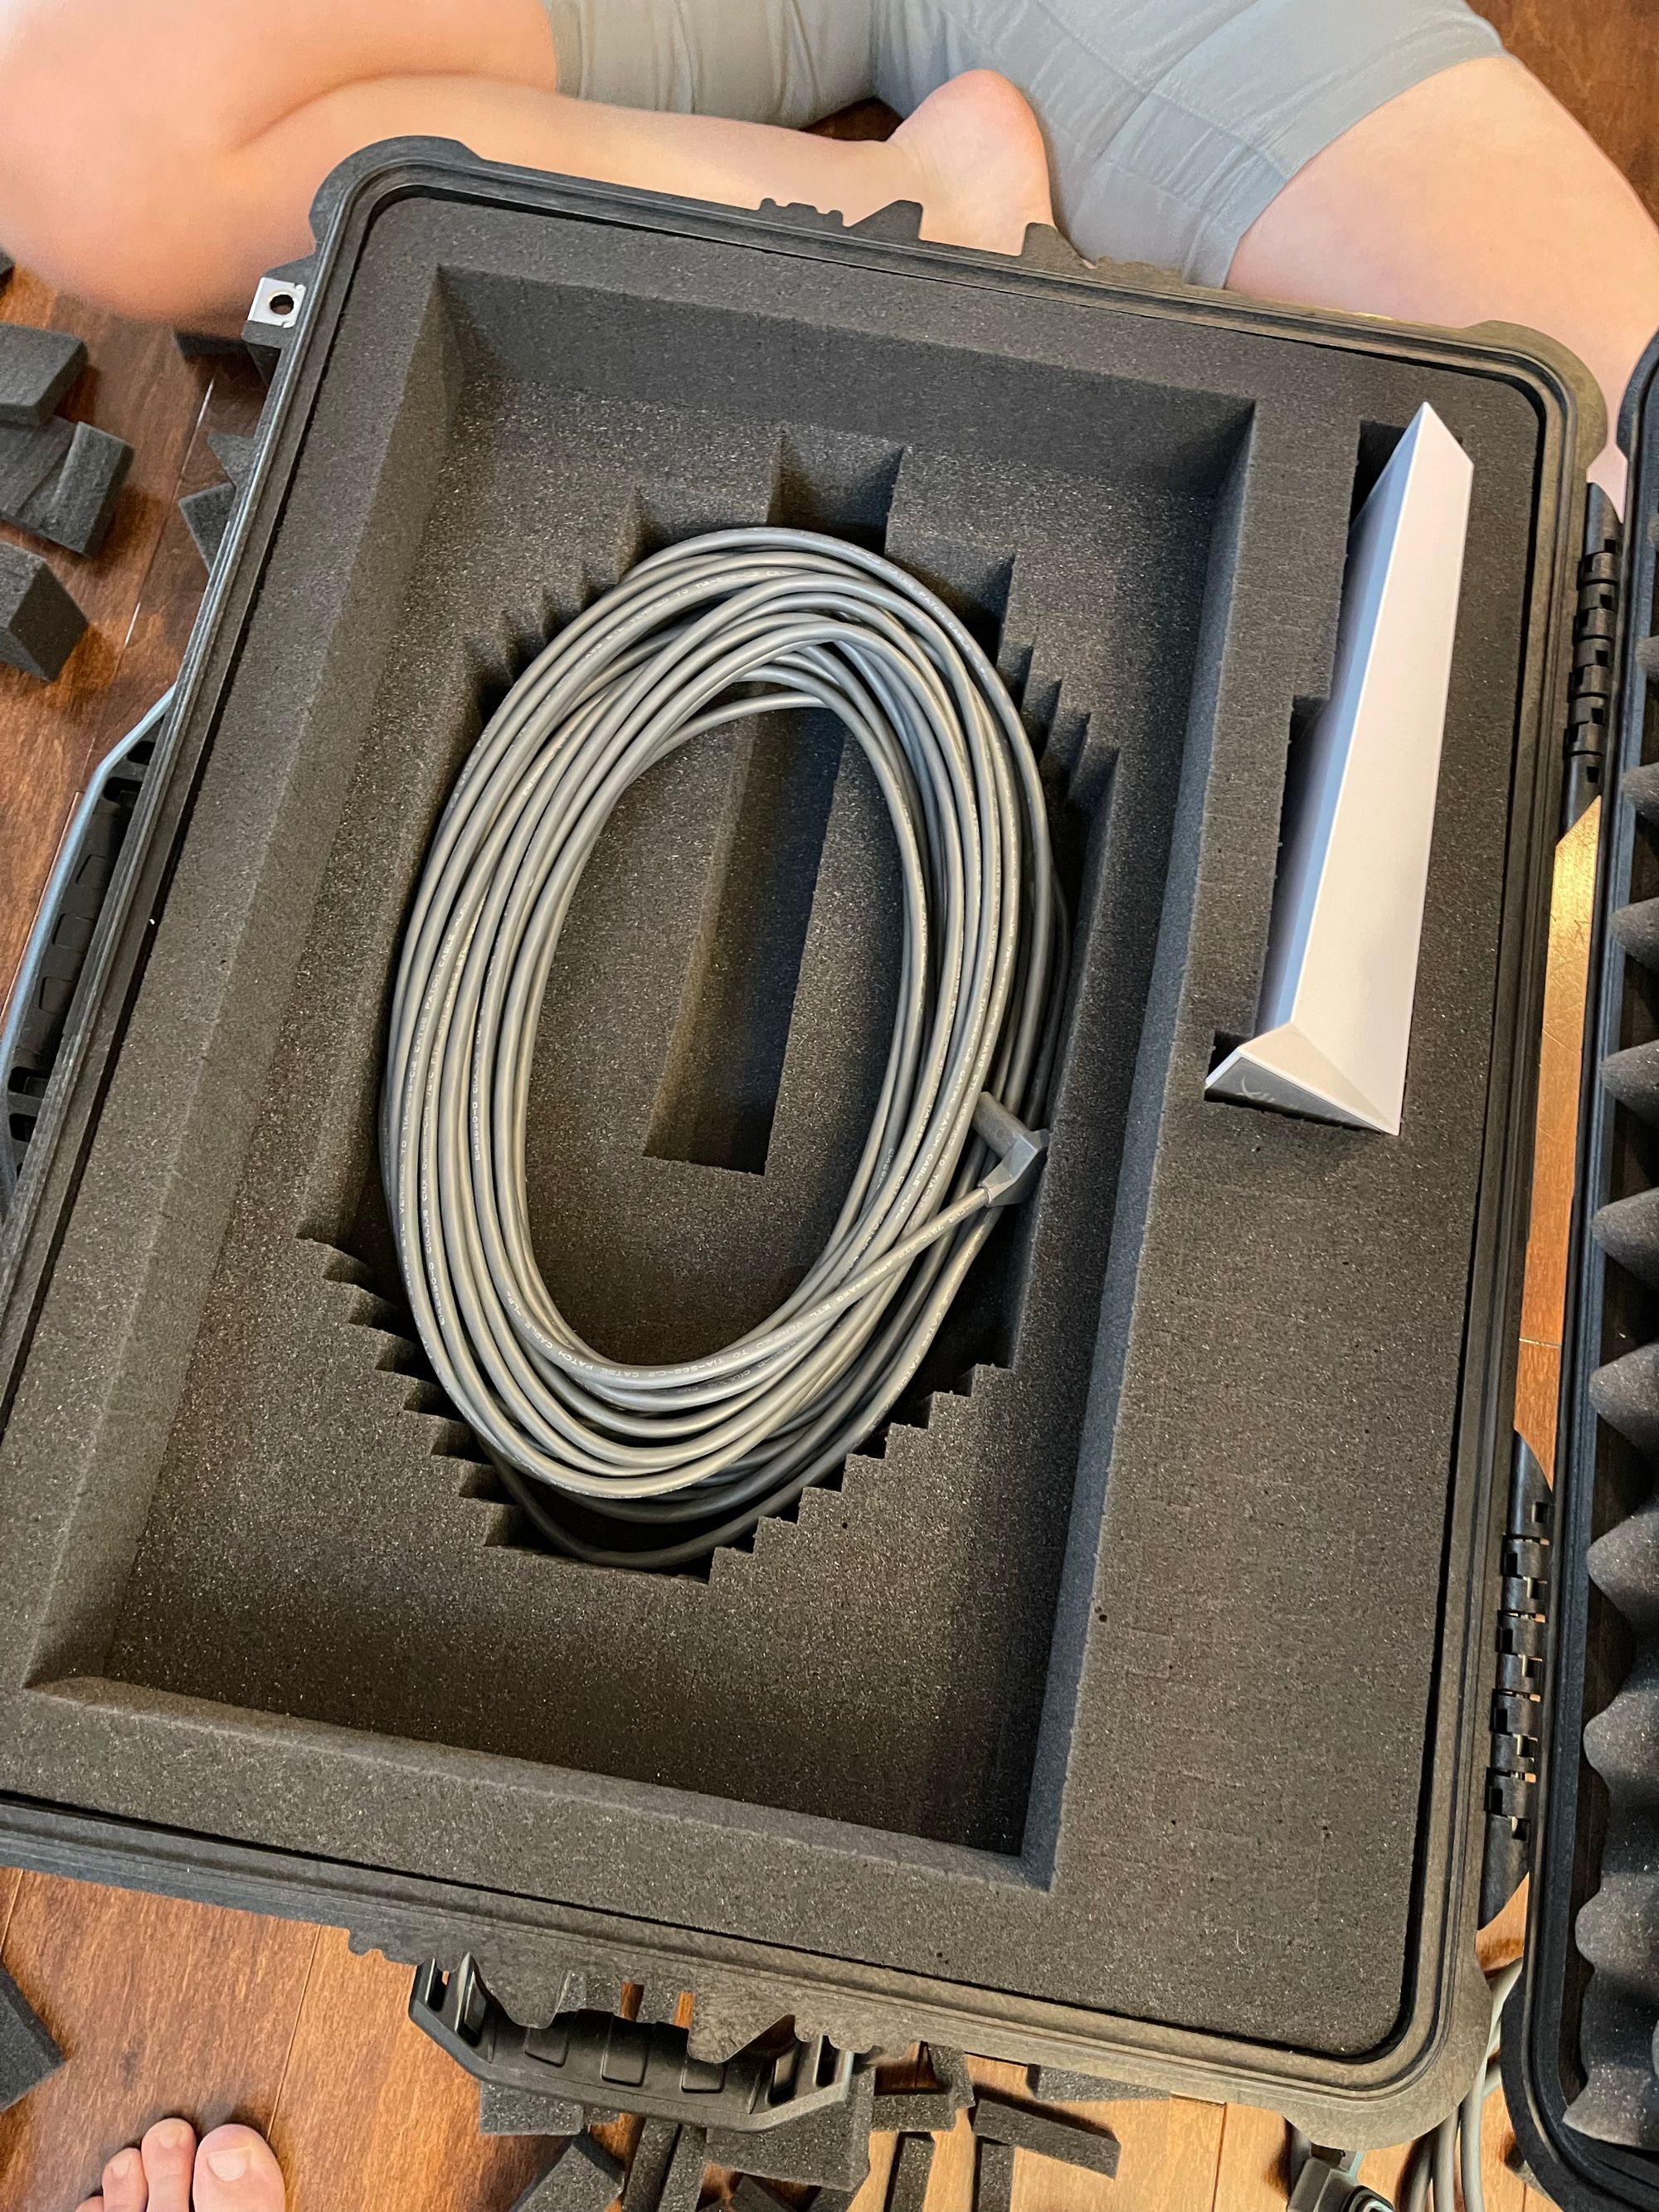
Upon receiving the case from our supplier, we set to work removing foam to custom-fit the case to the components. After some experimentation, we found a configuration to store the dish with the mounting column facing down. This provides the quickest loading and unloading in our opinion. It also enables easy storage of the cables and our custom DIY Starlink Tripod Stand + Adapter underneath. There’s also extra space on the side to store the router. And after moving some things around we found a perfect spot for the Pelican case in the backseat of our truck.
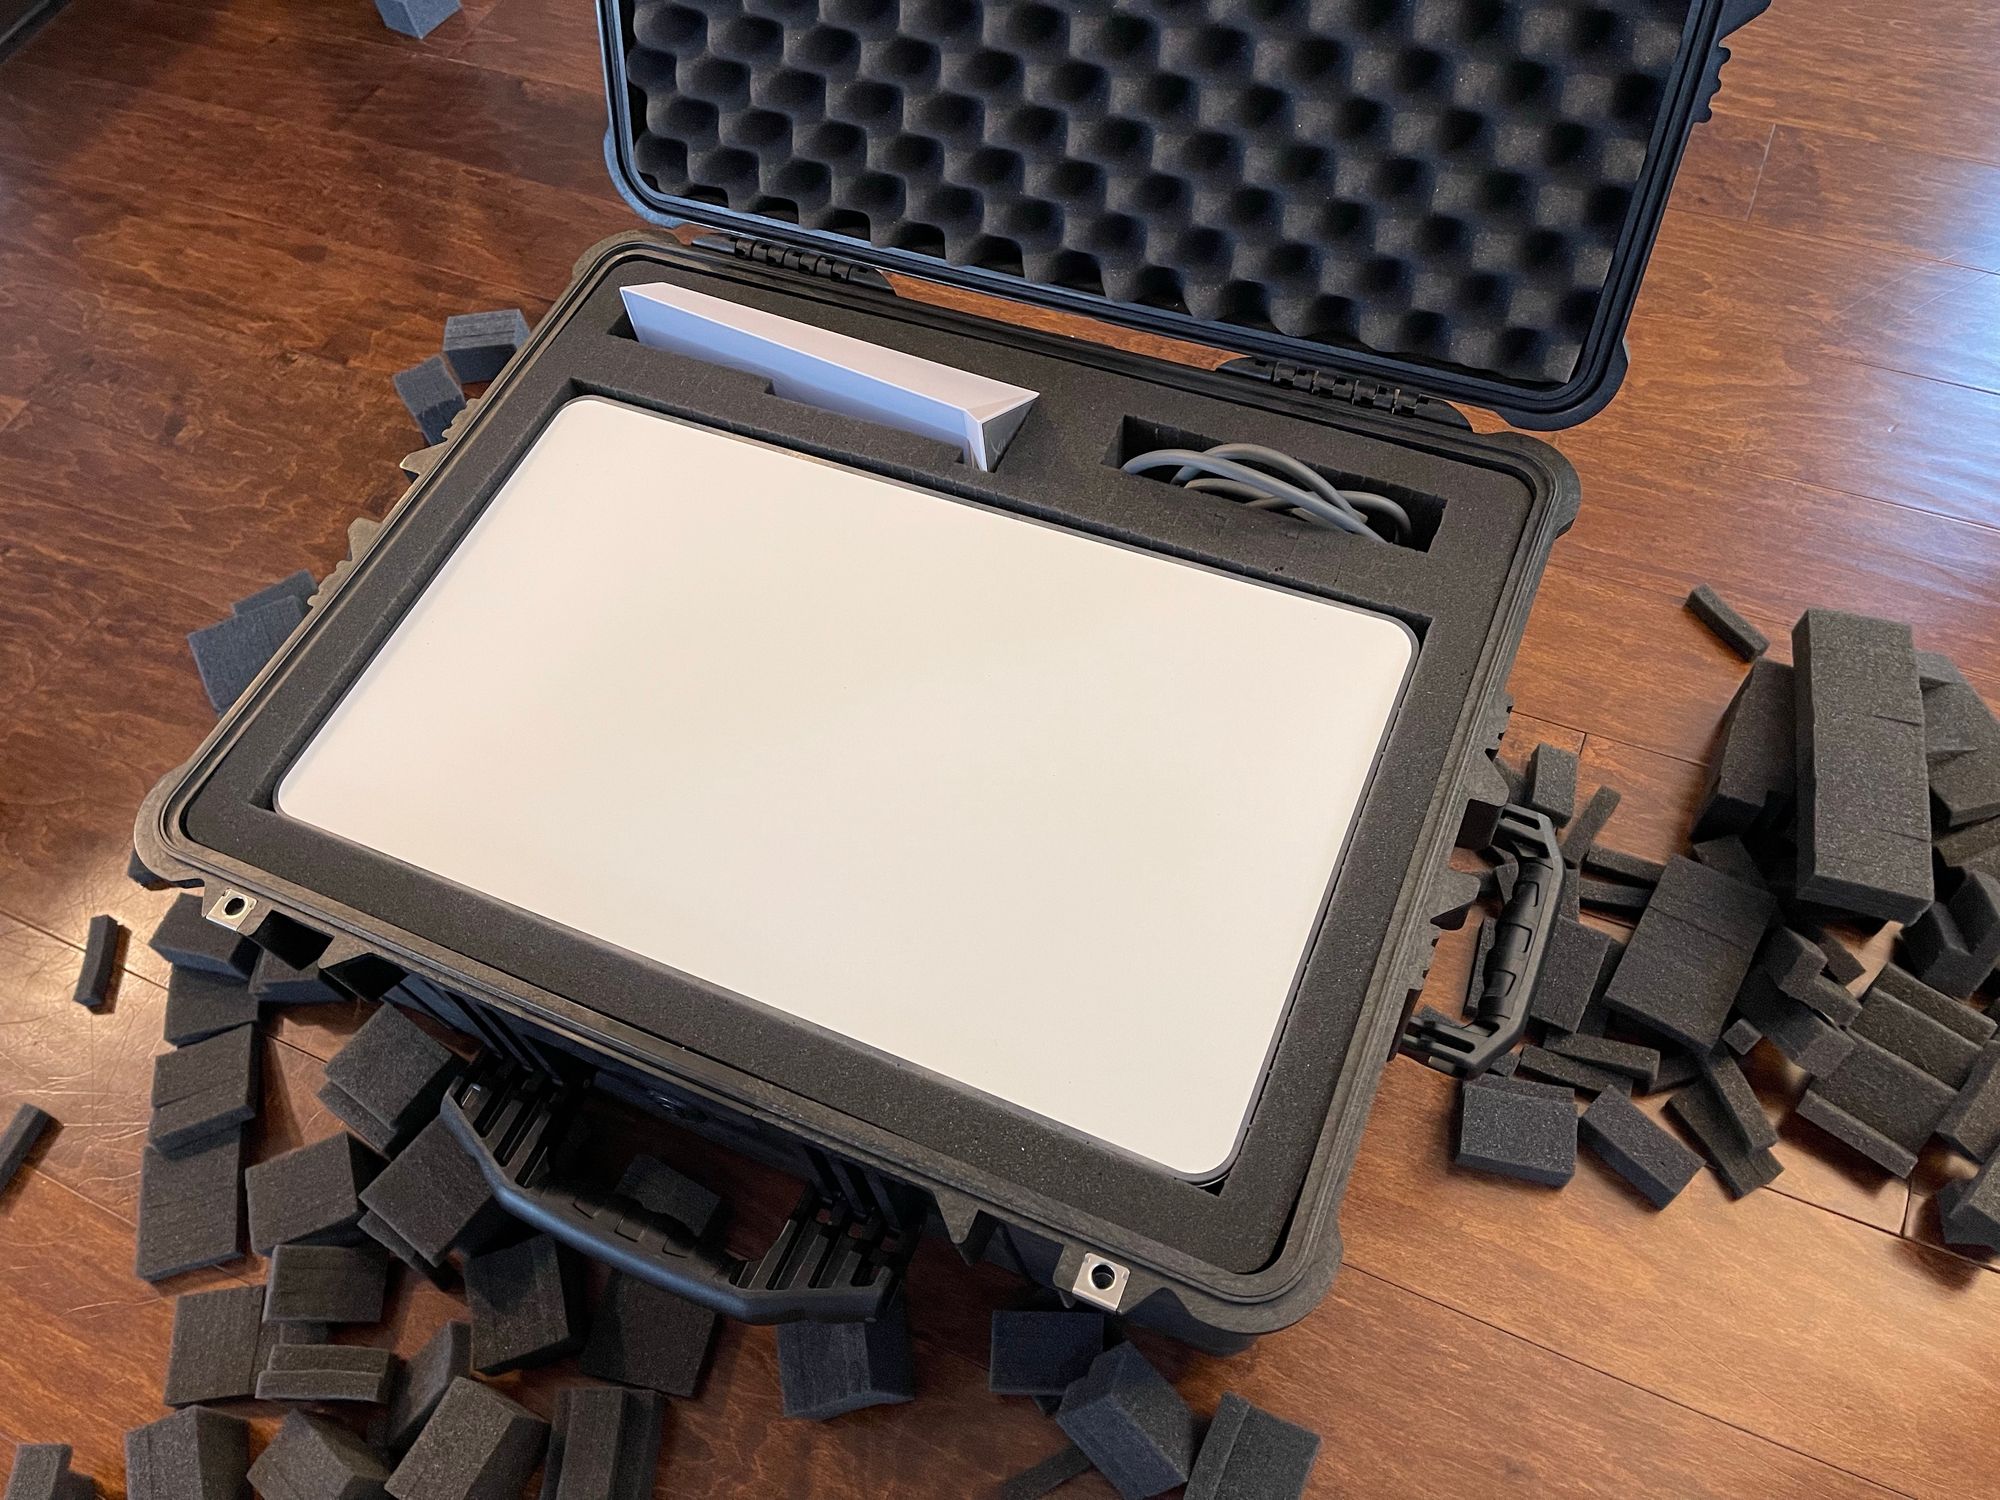
So far it feels like a rugged yet easy-to-use storage solution. We’re looking forward to testing the case and storage location over time. We hope to share a follow-up post soon based on our experience and initial impressions. Until then we highly recommend the Pelican 1610 case. You could also store the provided dish stand in the case if desired with a bit of foam reconfiguration. We also learned that custom foam inserts are available from https://pelicanfoam.com. We might consider this option in the future depending on how well the pick and pull foam holds up over time.
See you out there,
-Adam and Val
Update - check out our 1 Month With Starlink Review to learn more about our experience using our DIY Starlink travel case. And check out all of our Starlink posts and sign up to be notified about new posts.