Choosing a Tripod for Your Starlink
This post explores considerations and recommendations for choosing a tripod to use with your Starlink + Starlink Tripod Adapter when traveling, working, overlanding, etc.

One of the most common questions we get about our Gen 2 Starlink Tripod Adapter, Gen 3 Starlink Tripod Adapter, and Mini Starlink Tripod Adapter is "what tripod should I use"? We initially designed the tripod adapter to solve real problems but also because as photographers and videographers, we had lots of extra photo and video tripods. But for others, we realize that buying a tripod for your tripod adapter might be the first tripod you've ever owned. And so we've put together this guide with our thoughts and recommendations for picking a tripod for your needs.
Use An Existing or Used Tripod
If you already own a tripod or know someone who might have an extra tripod, that can be a great place to start. Similarly, hunting around garage sales or online marketplaces can be a good option to save money and give a tripod a second chance. I'm always a fan of starting where you are and learning by doing. Using an existing tripod can be a great place to start, learning if it meets your needs, what you'd like to be different, or what's missing.
Considerations
There are a few different considerations that I recommend thinking about when choosing a tripod:
Size
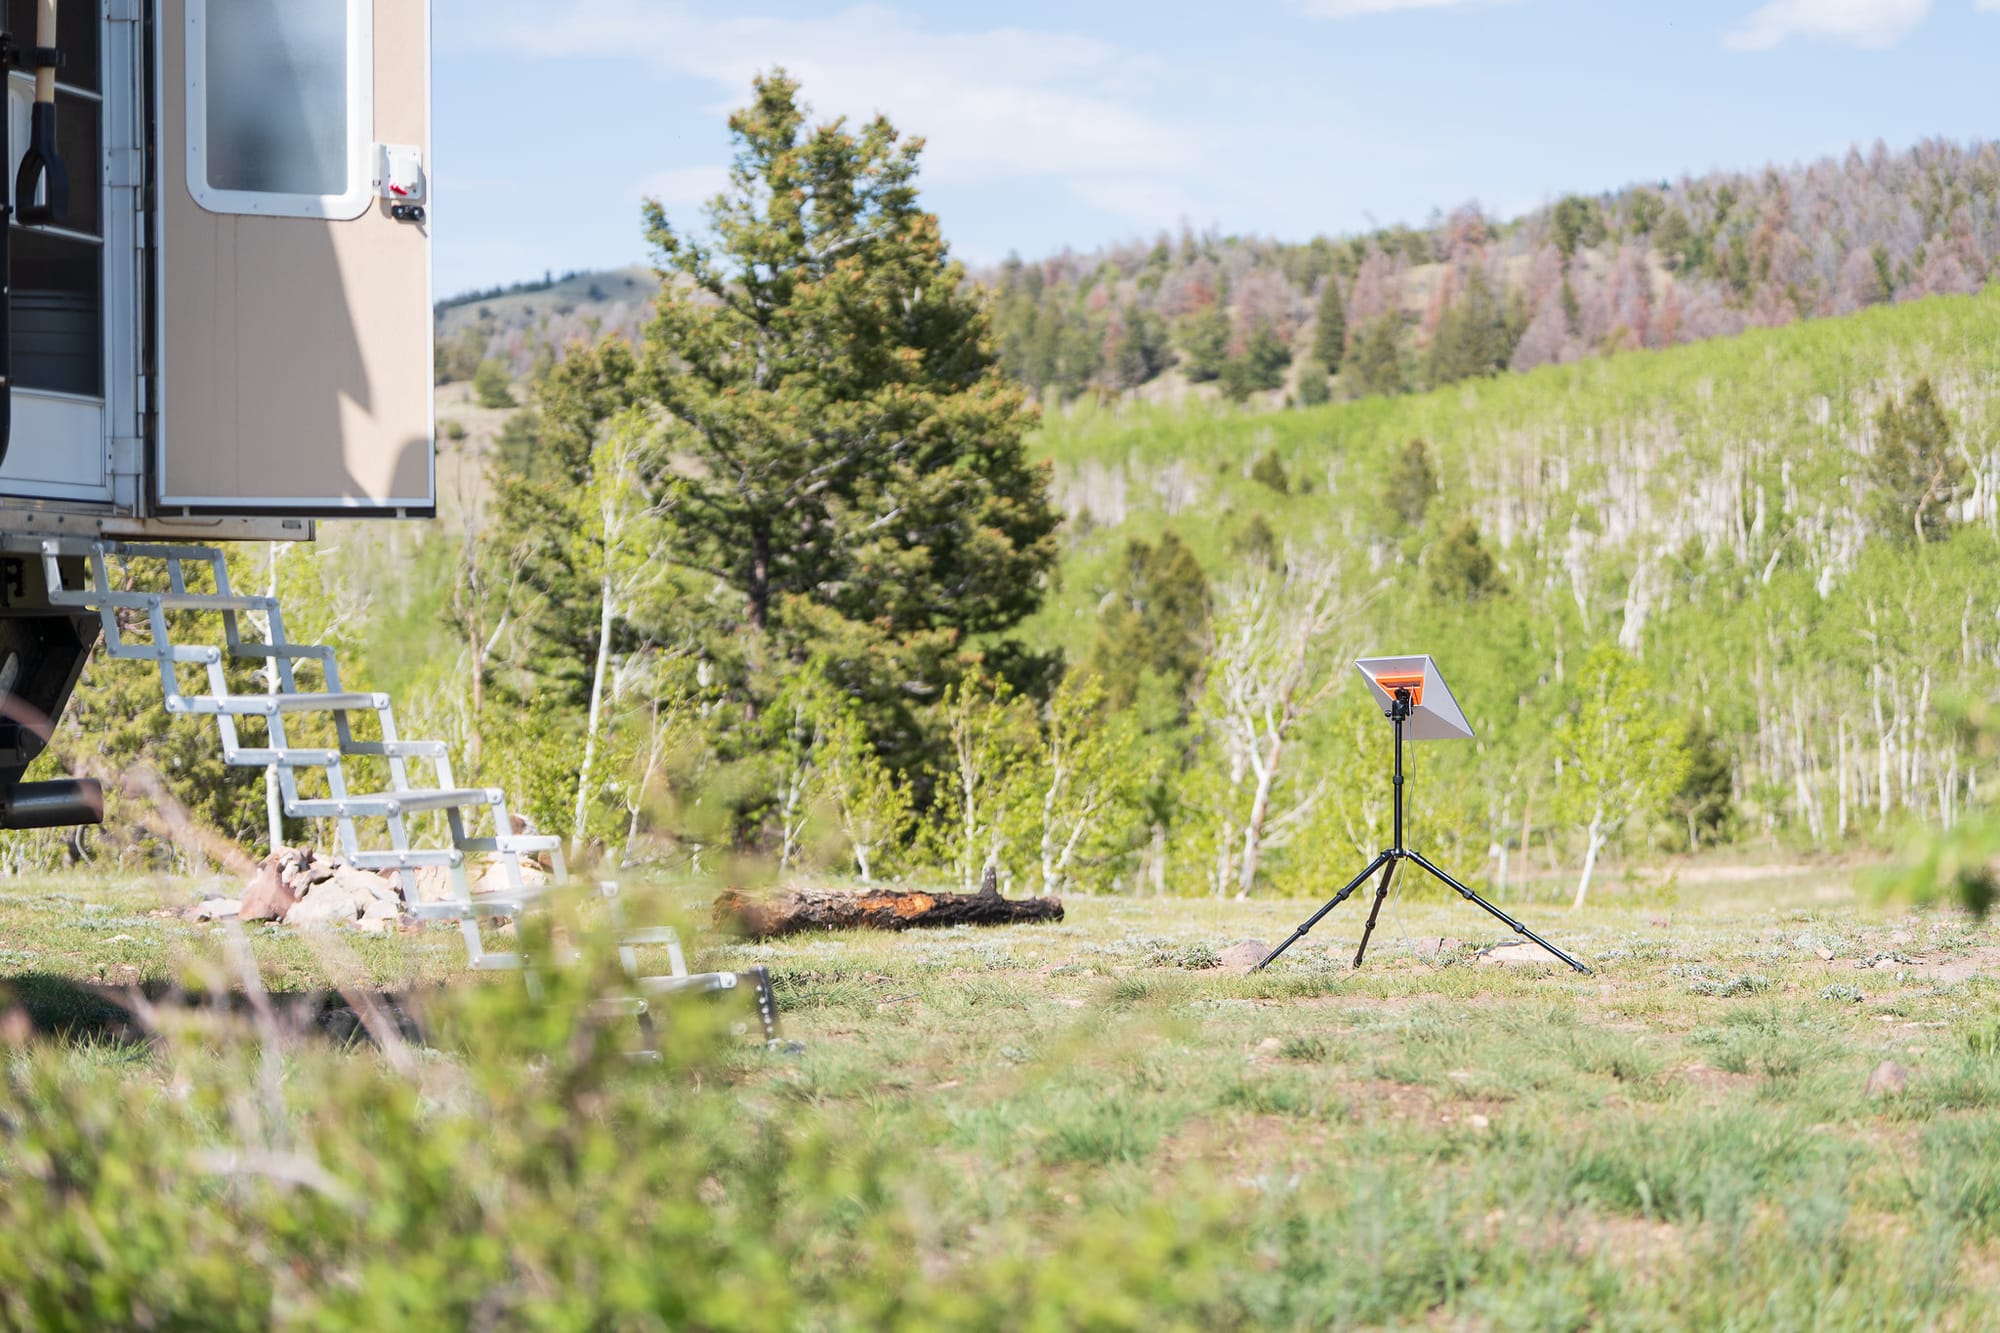
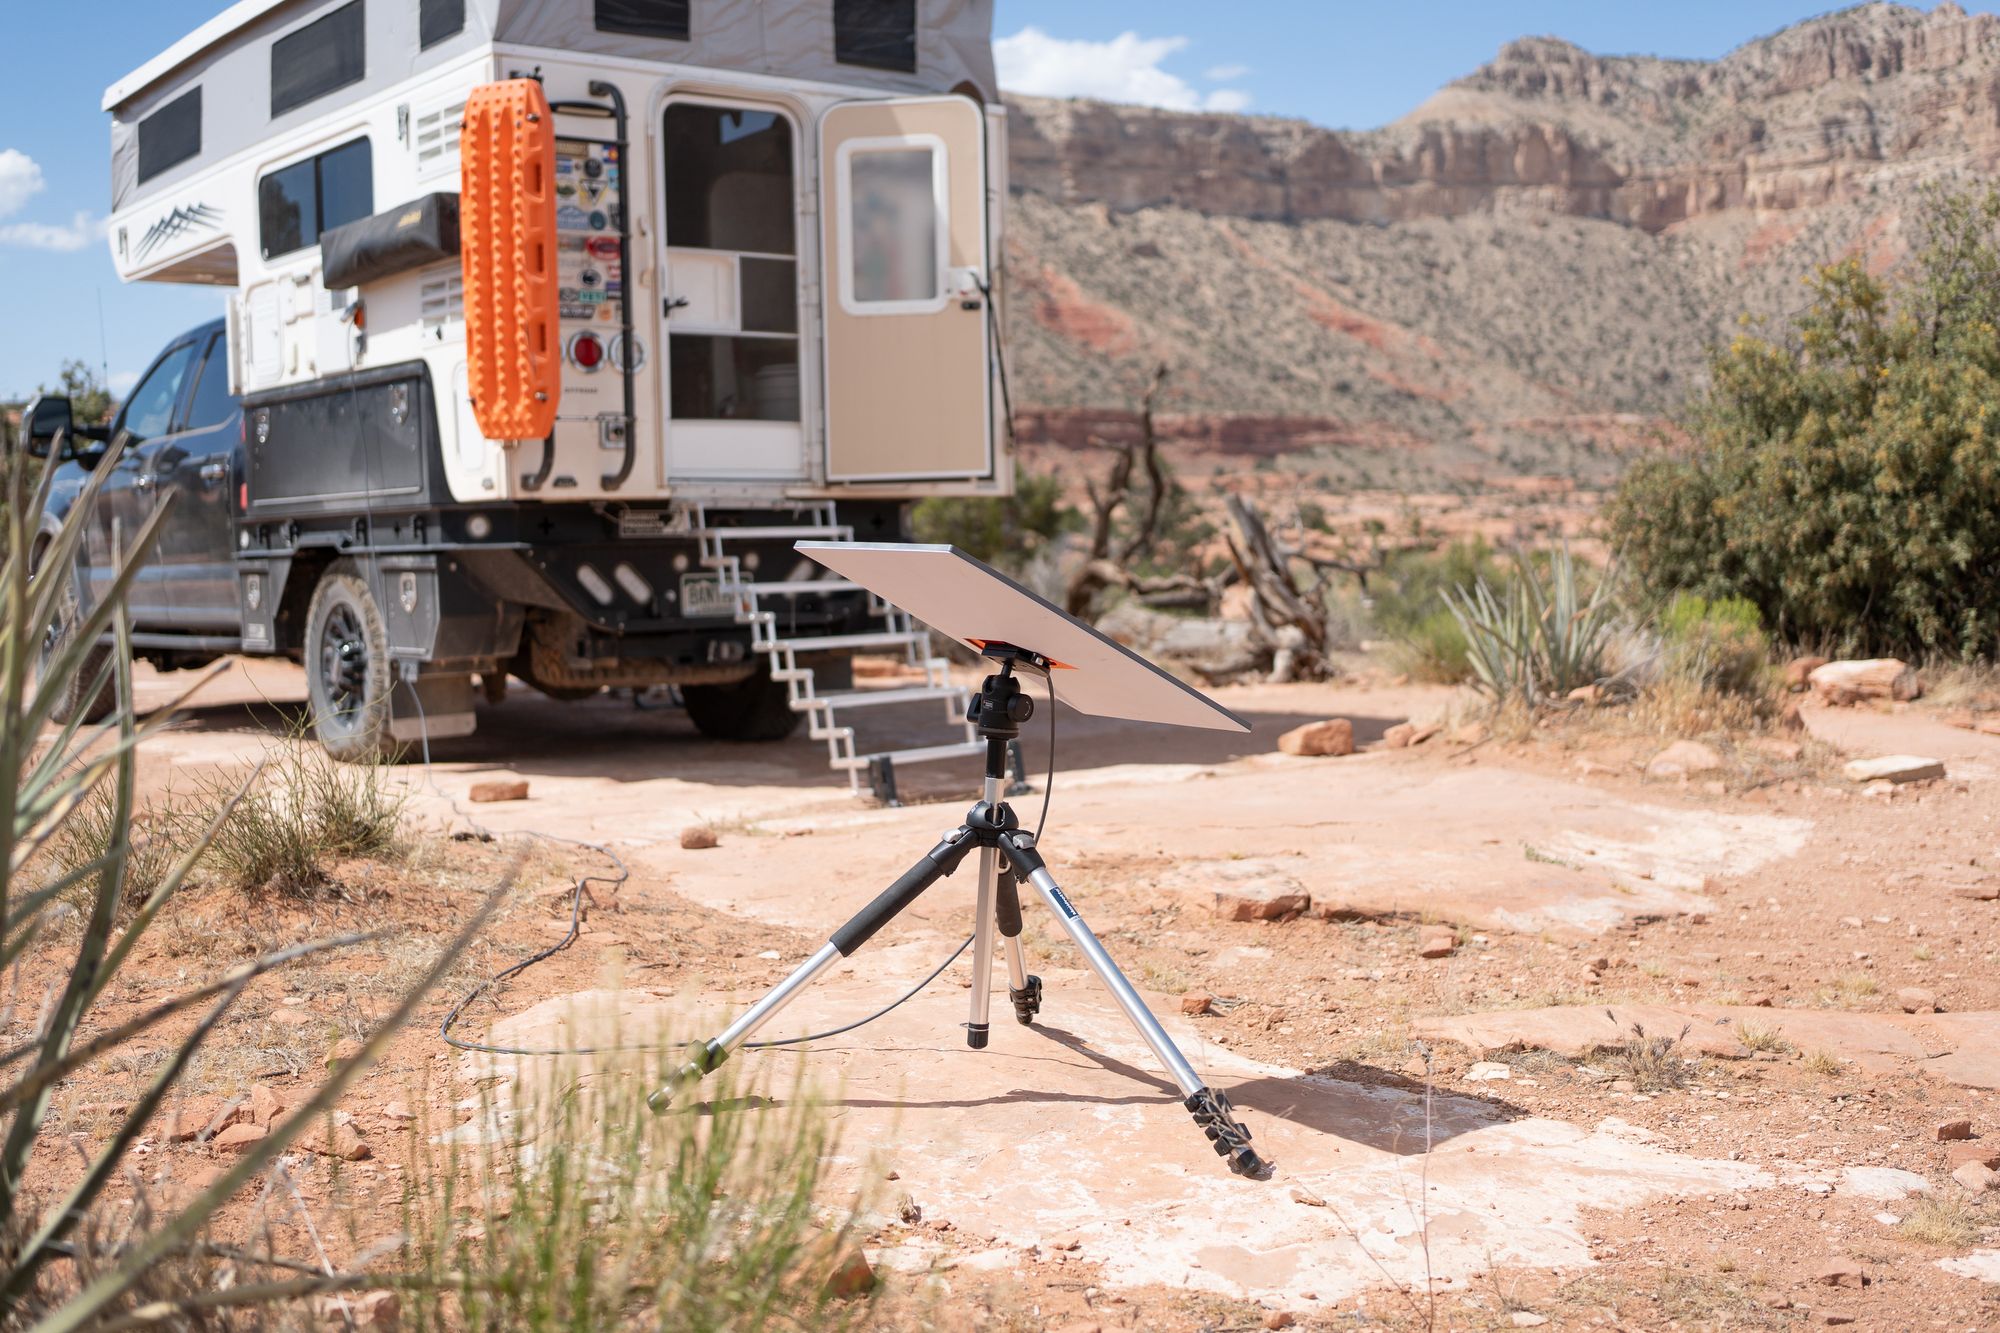
If you're an adventurer and overlander like me, then you probably care about how much space your gear takes up while traveling. In most rigs, storage space is a precious commodity. One of the initial inspirations for our Gen 2 Starlink Tripod Adapter was getting rid of the awkward metal stand, replacing with with a compact travel tripod that could fold to ~12 inches long.
Weight
Weight can also be a factor, although if you're only transporting your tripod in a vehicle an extra pound isn't usually too much of a concern. But if you're also hiking with it, weight is more of a consideration. If weight is important, consider a smaller more compact travel tripod or a tripod made of lightweight carbon fiber.
Cost
Tripods can be expensive, ranging from $25 to $150 and beyond. The extra cost can be worth it in some cases, especially if you'll also be using your tripod for photography or videography or if you need a lighter weight or specialized features. But if you're only going to be using your tripod for your Starlink, you can probably find a tripod for less than $100.
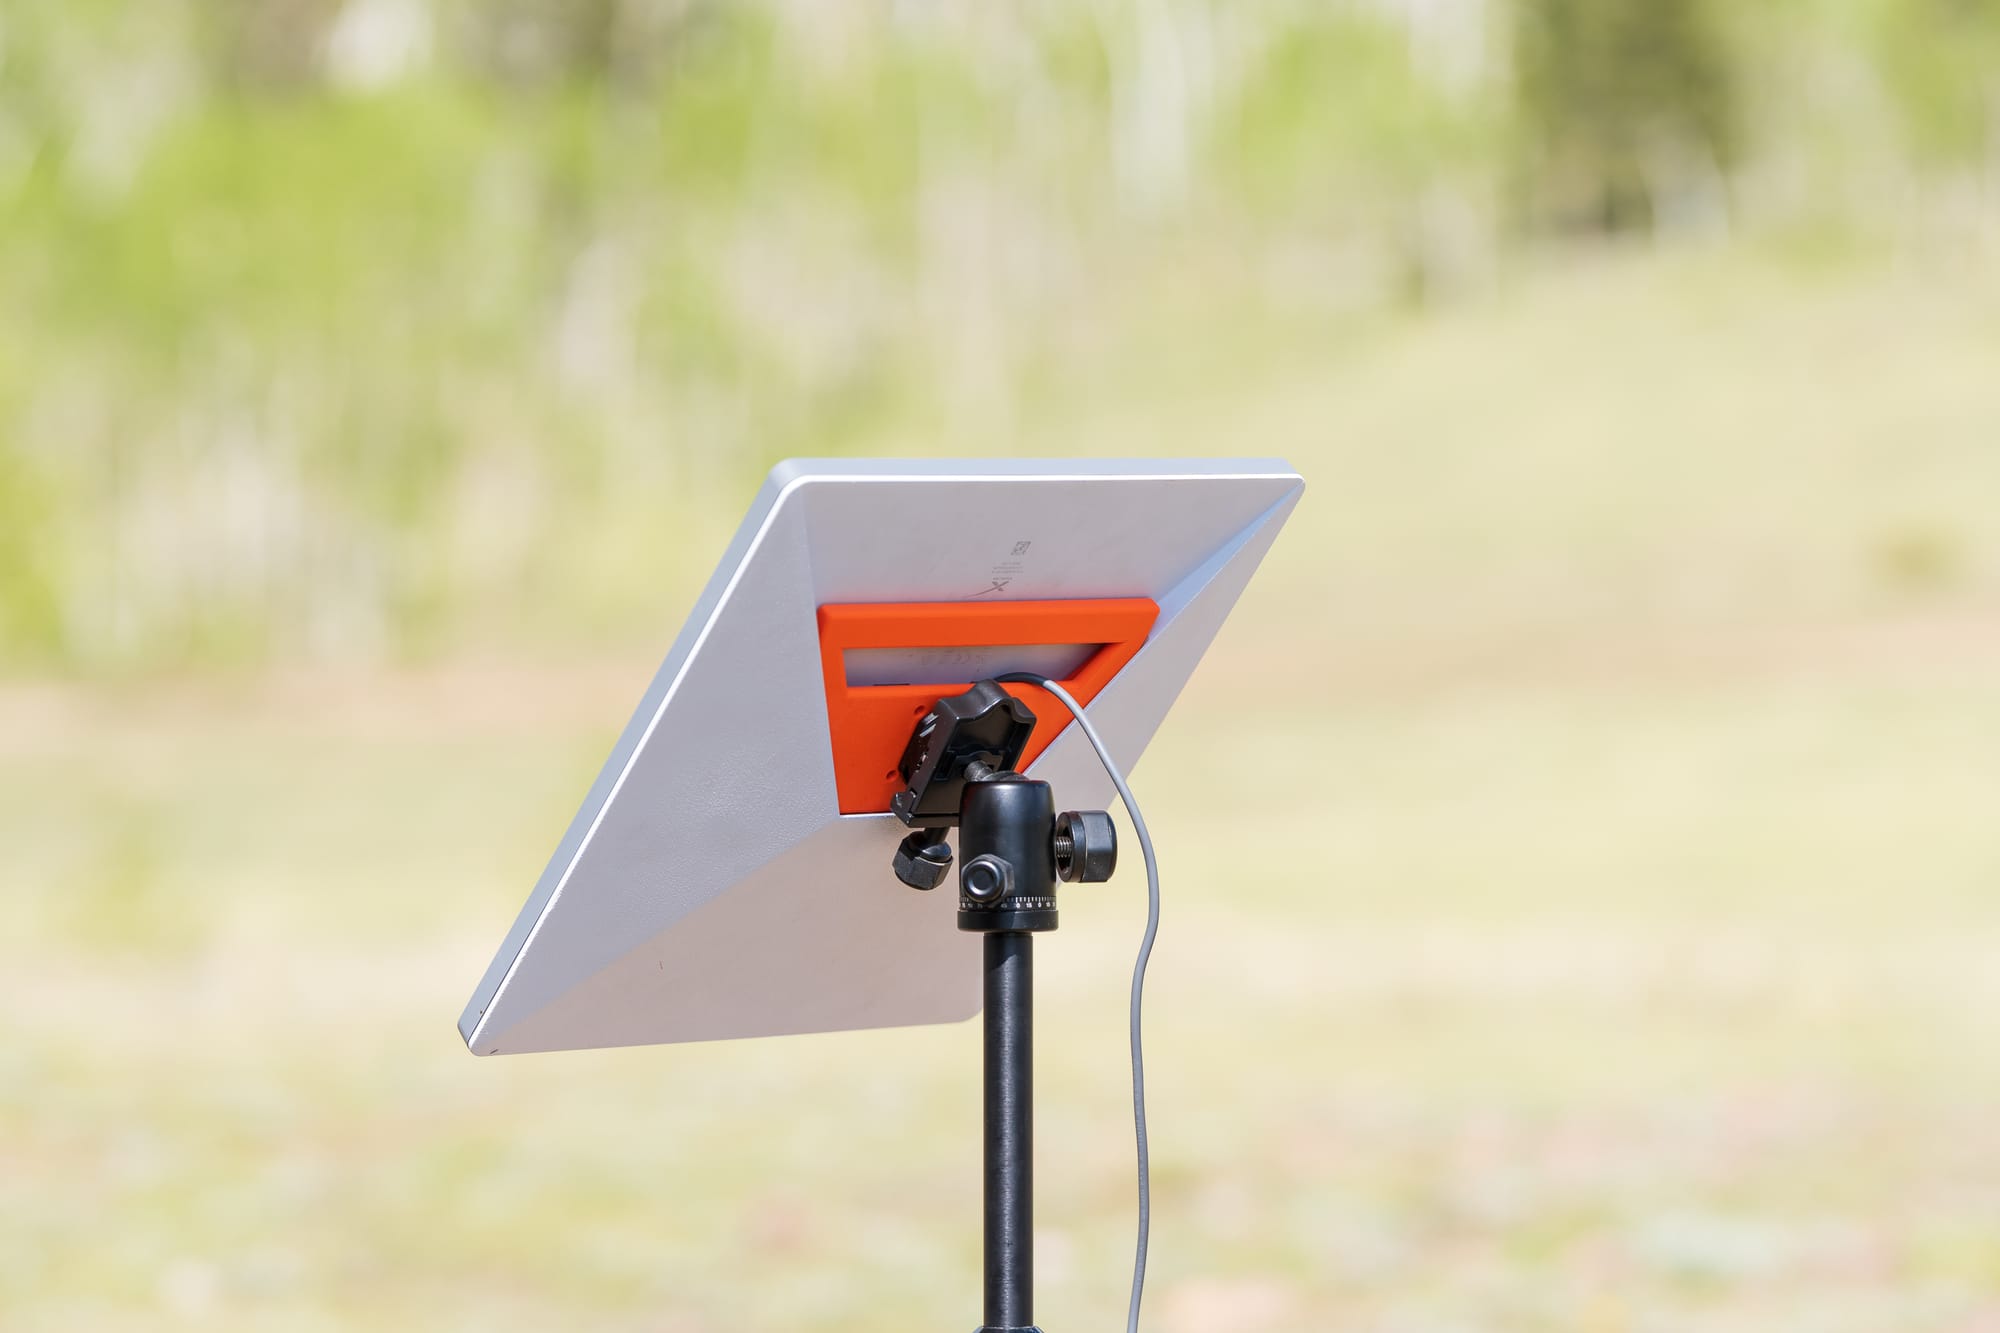
Tripod Head
Selecting a tripod head can be one of the most important features of your tripod. The head often includes two key features 1) the quick-release plate and 2) the ability to reposition what's mounted on the quick-release plate (for example, orienting your Starlink north at a 45 degree angle or really wherever has the clearest view of the sky).
To complicate matters, there are two types of tripod heads 1) a ball head and 2) a video head:
- Ball Head: A ball head is often more compact than a video head, having a friction knob that when loosened allows the ball and quick-release plate to freely pan, tilt, and rotate. It's a good quick option that I use for most of my tripods.
- Video Head: A video head is often bulkier than a ball head, having an extended handle(s) for controlling the pan and tilt as well as a quick-release plate. A video head can be helpful for achieving certain video shots but isn't necessarily better than a ball head if only used with a Starlink Tripod Adapter.
Being able to reposition your Starlink to have the clearest view of the sky is the #1 reason to use a tripod in the first place. So make sure you'll be able to easily adjust your Starlink as needed.
Quick Release
The quick-release plate is one of the most important and useful features of your tripod. It enables mounting a small plate on your camera or Starlink Tripod Adapter which can easily be connected and released from the tripod with the quick flick of a lever or turn of a knob. A quick-release plate also enables using a single tripod with multiple devices, easily switching them as needed.
Stability
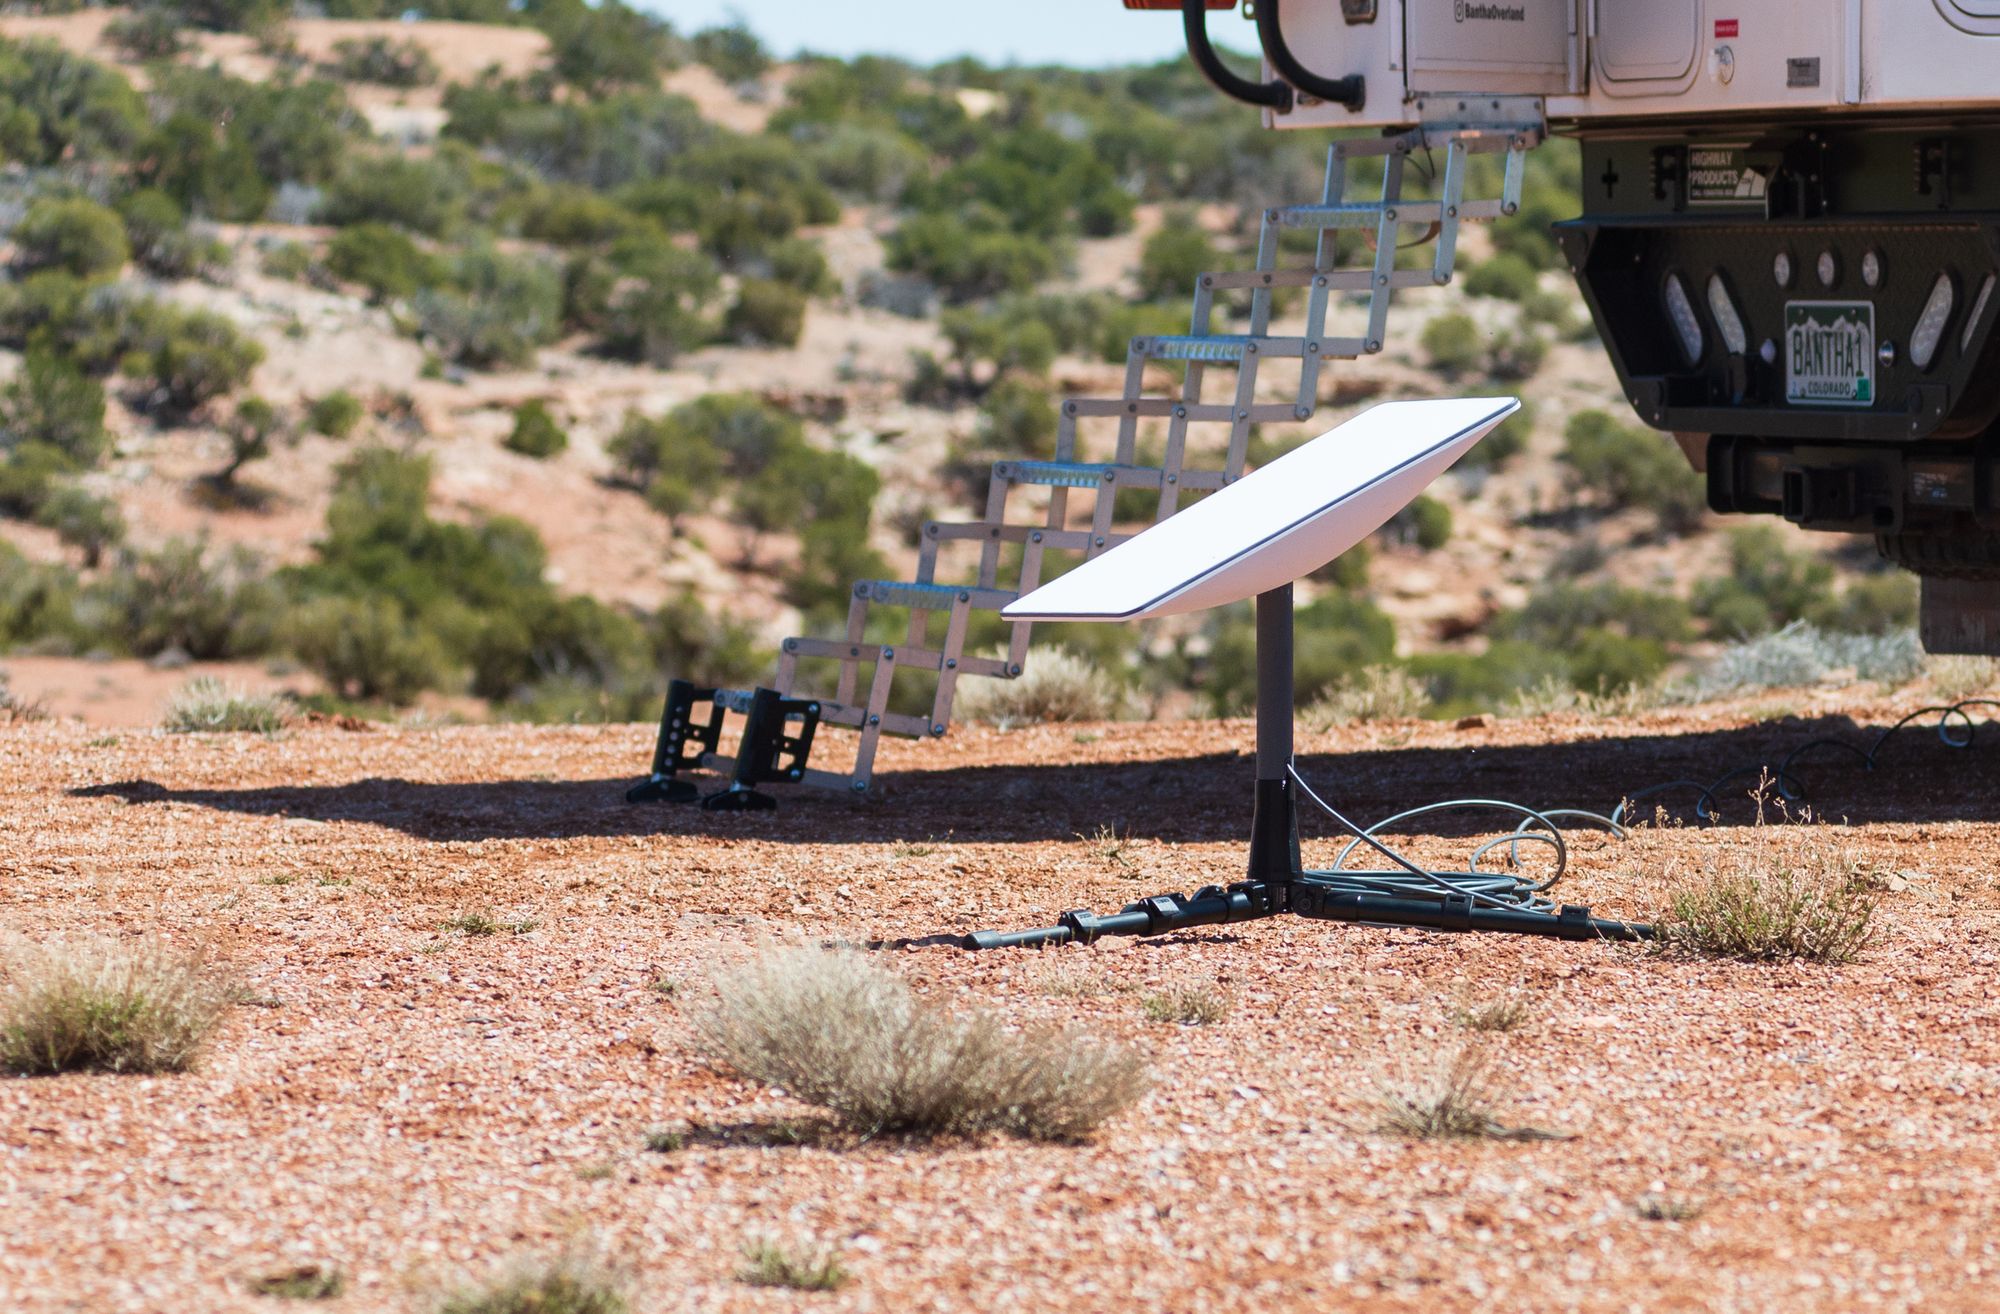
Stability is also an important factor as your Starlink will likely be subjected to wind from time to time. While we've tested the tripod adapter in 25+ MPH winds, it's also helpful to have a sturdy tripod with wide legs that can also be lowered close to the ground (and anchored if needed).
There are a few factors that contribute to tripod stability:
- Materials: The overall build of your tripod includes things like if the parts are plastic or metal, if the legs are thin or thick, etc. A metal tripod with thick legs will generally be more stable than plastic tripods with thinner legs. A larger ball head will generally be more stable than a small ball head.
- Leg Length: The length of your tripod legs can also impact stability. A long tripod leg can be extended to create a wider more stable stance. Ideally, your tripod legs can extend beyond 45 degrees up to 80 or 90 degrees so that you can secure the tripod with a log / rock / etc on one of the legs in high wind if needed.
- Leg Angle: Being able to angle your tripod legs at 90 degrees parallel to the ground is one of the most underrated features of a tripod in my opinion. Not only does this greatly increase stability by increasing contact with the ground, but it lowers the load (in this case the Starlink) out of the wind and enables adding additional weight (for example, a log, rock, etc on one of the tripod legs). It can also be helpful if the tripod has a few preset angle positions so that it's easy to quickly adjust the legs.
- Additional Weight: Being able to add additional weight to your tripod can also increase stability by making it harder to move (for example, on a really windy day). Some tripods have a hook for attaching weight such as a sandbag (or another heavy piece of gear you already have with you). If your tripod supports an 80-90 degree leg angle, you can also place a log, rock, etc on one of the tripod legs.
Recommended Tripods
While deciding which tripod is right for you is a personal decision, I have used and recommend the following options:
- K&F Concept K234A0 w/ Ball Head: ~$50, light (2.5 lbs), and compact (15.35" folded). Adjustable ball head with a 1/4"-20 clamp release plate. A good value.
- Manfrotto Element Traveller w/ Ball Head: ~$89, light (2.5 lbs), and compact (12.6" folded). Adjustable ball head with a 1/4"-20 clamp release plate. A sturdy tripod well made tripod from an established brand. 👋 This is our favorite option for use with the Starlink Standard or Starlink Mini balancing high quality materials and durability with compactness and durability.
- Manfrotto 290 w/ 496 Ball Head: ~$159, 4.9 lbs. Adjustable ball head with the popular RC2 1/4"-20 quick-release plate. A true quick release plate for easy on / off mounting. A bit of an indulgence but one of my favorite tripod brands and quick-release systems.
I hope you've found some helpful information here. If you have additional questions or a recommendation you think would be helpful to add, feel free to contact us at info@banthaoverland.com.
See you out there,
-Adam