Our DIY Starlink Tripod Stand + Adapter for for Starlink Actuated (Gen 2)
Learn about our custom 3D-printed Gen 2 Starlink tripod adapter and stand which is much easier to transport and store than the stock stand.

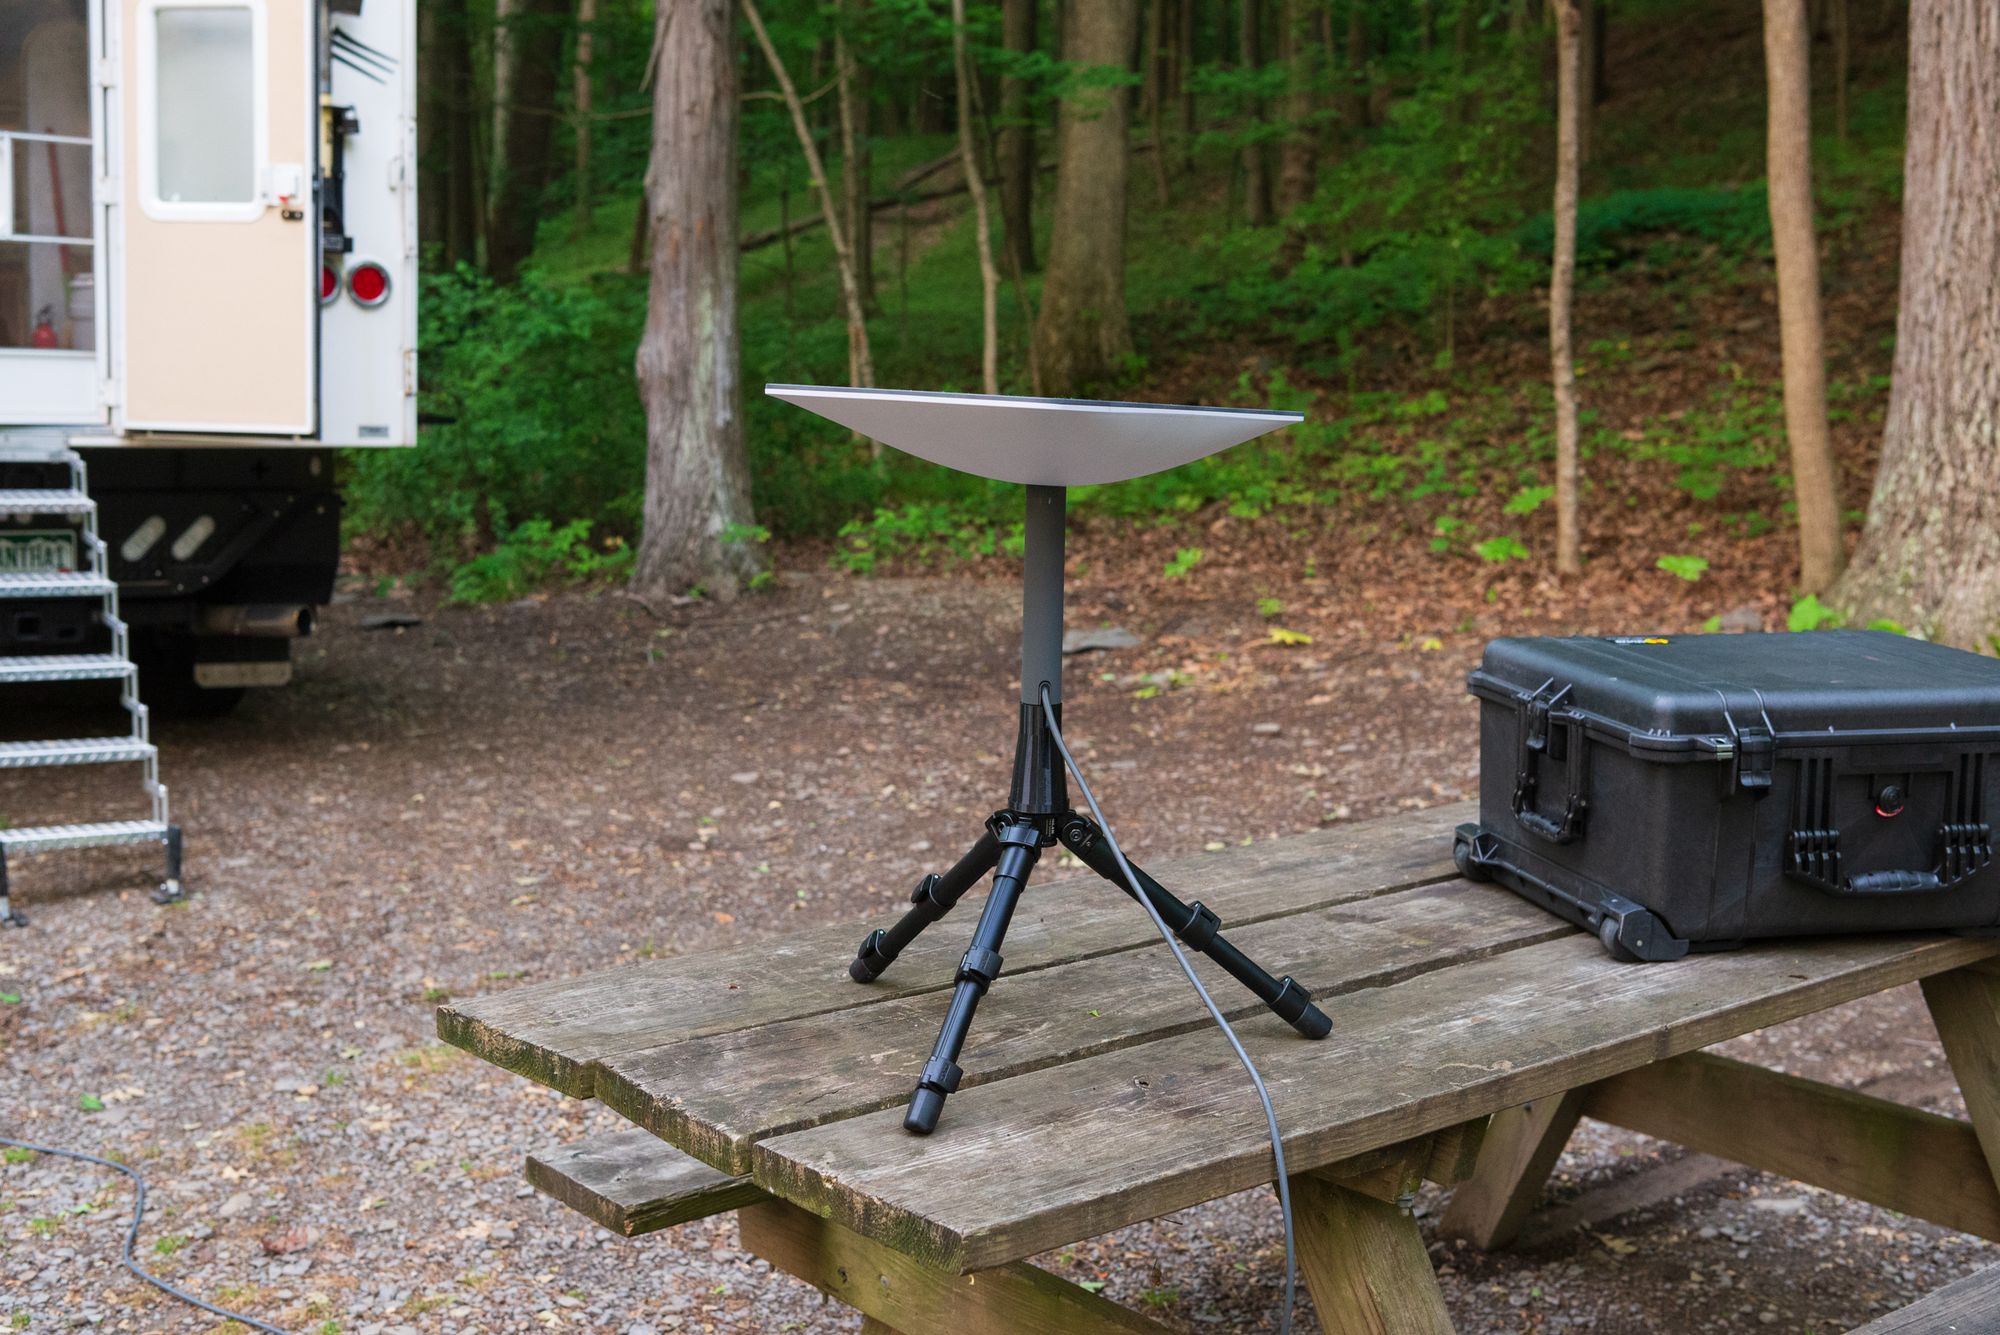
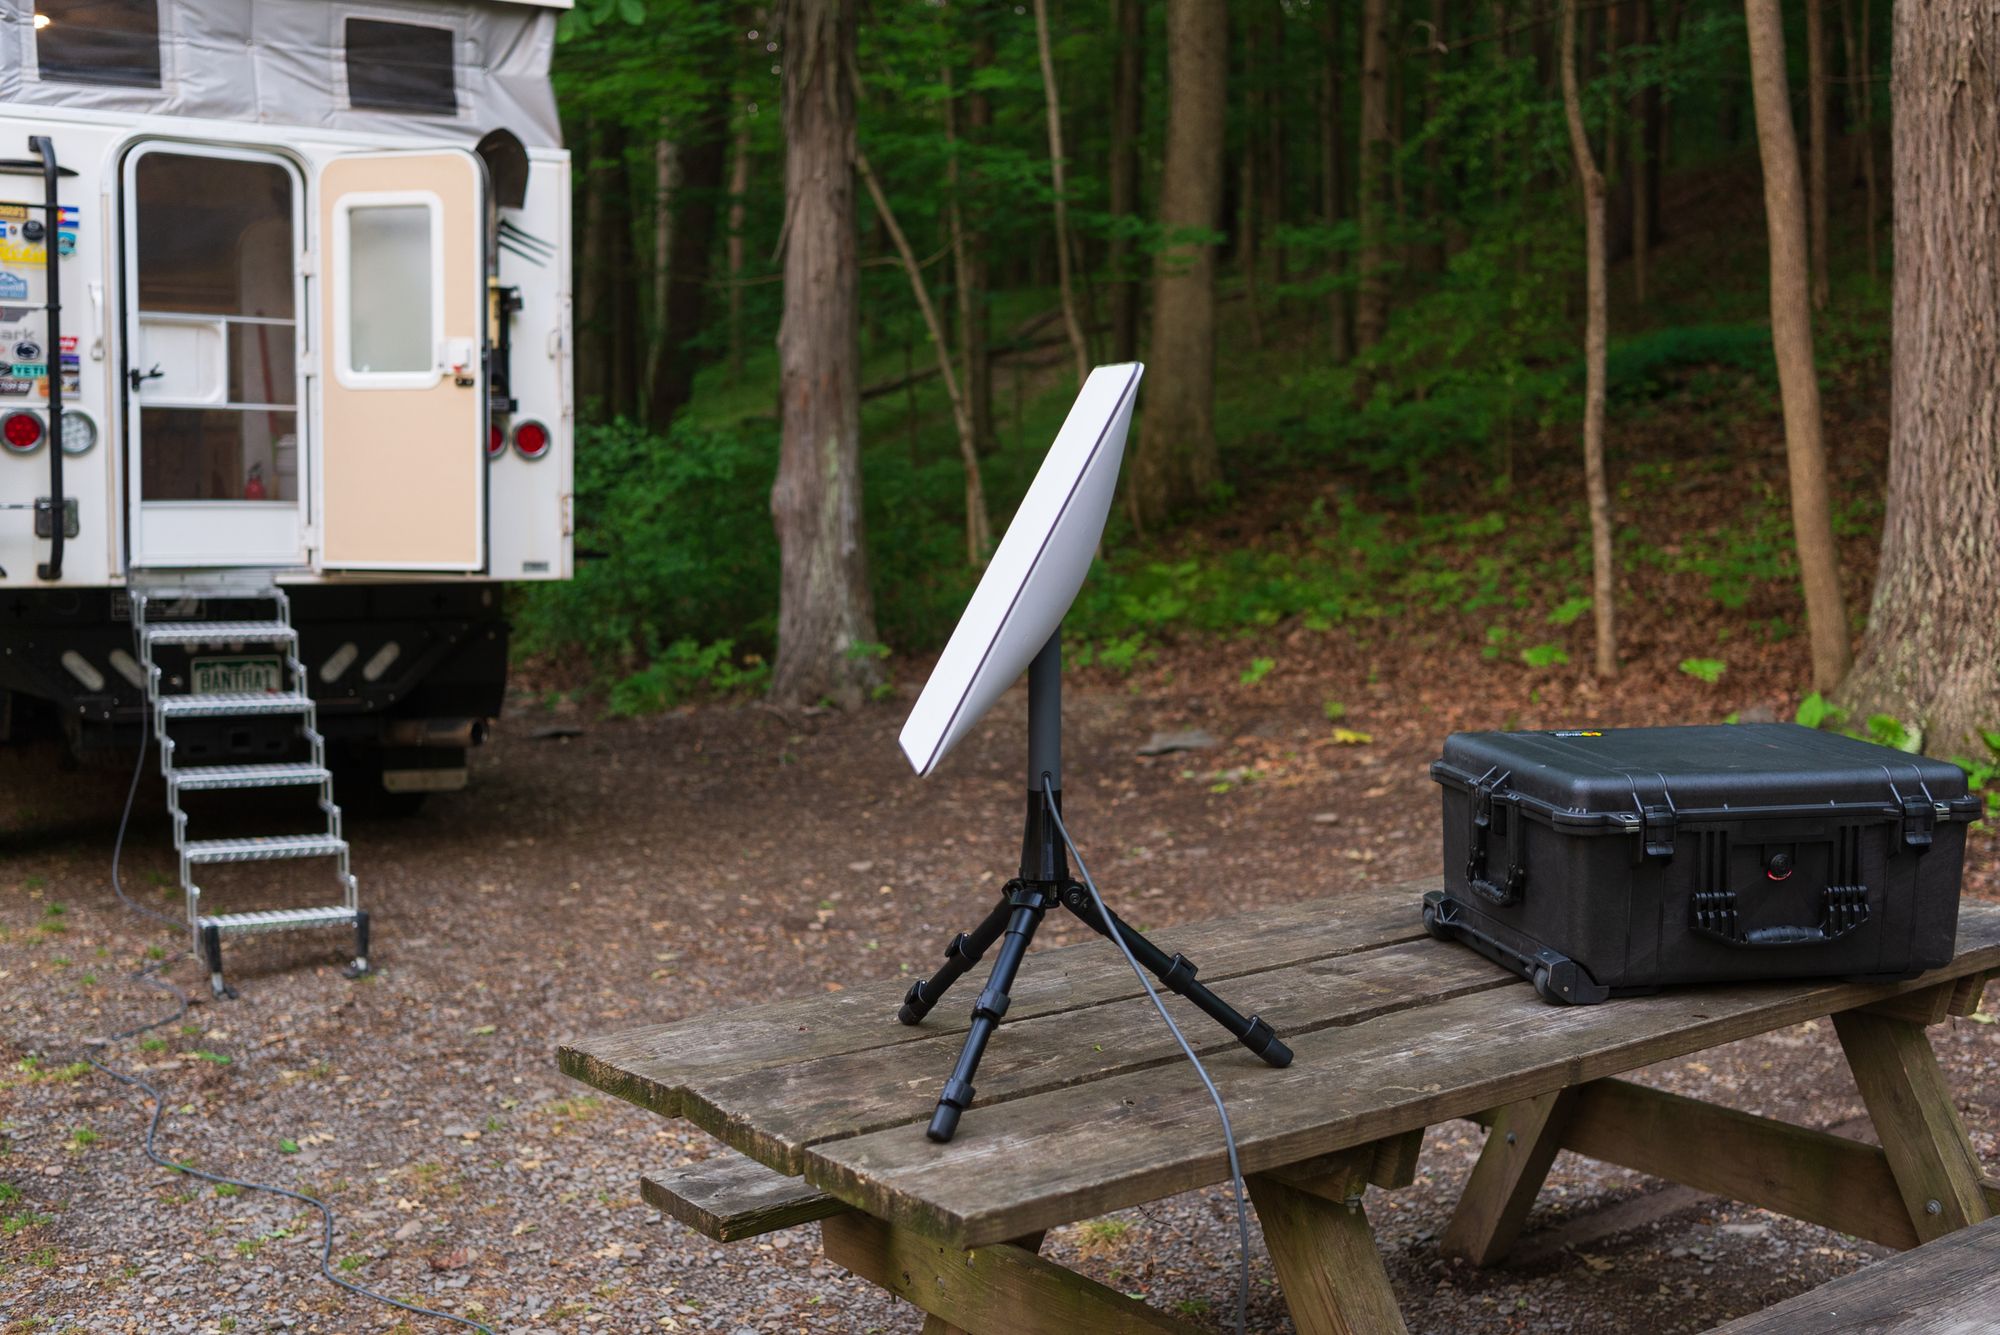
If you've read our 1 Month Starlink Review post, you probably noticed we're not using the standard Starlink stand that comes with a Starlink. While the standard metal four-leg base that comes with Starlink is sturdy and easy to use, it's also bulky to transport and store. In fact, the standard base doesn't fit in our DIY Starklink Travel Case and it's a pretty roomy case. And while the standard base works well on flat surfaces, it's often awkward and unstable on the uneven terrain of campsites and the great outdoors. And so we decided to make our own DIY Starlink Stand.
The Legs
As a photographer, I quickly thought about trying to adapt the Starlink receiver to a photo tripod. Tripods have many natural advantages. They fold up compactly for transportation. They have legs that can be independently positioned at a variety of angles to work with uneven terrain. And many tripod legs can be purchased separately from a tripod head, providing a strong stable screw for threading on attachments such as a 3D-printed Starlkink adapter (more on that shortly). If a tripod can be trusted to hold an expensive camera why not a Starlink?
While I already have a few tripods, I wanted to find an ultra-compact set of tripod legs to try. After searching, I chose compact tripod legs from Silk. The legs measure just under 11" when folded and weigh 1.75 lbs thanks to a mix of aluminum, magnesium, and titanium. At a price of around $80, they're a good middle-of-the-road option. Of course, there are also cheaper options, including finding a used tripod. While compact and lightweight, I appreciate the ability for the Silk legs to extend to 16" and independently be positioned at a variety of angles including parallel to the ground. In a windy situation, keeping the load closer to the ground is helpful to keep it from moving around or falling over.
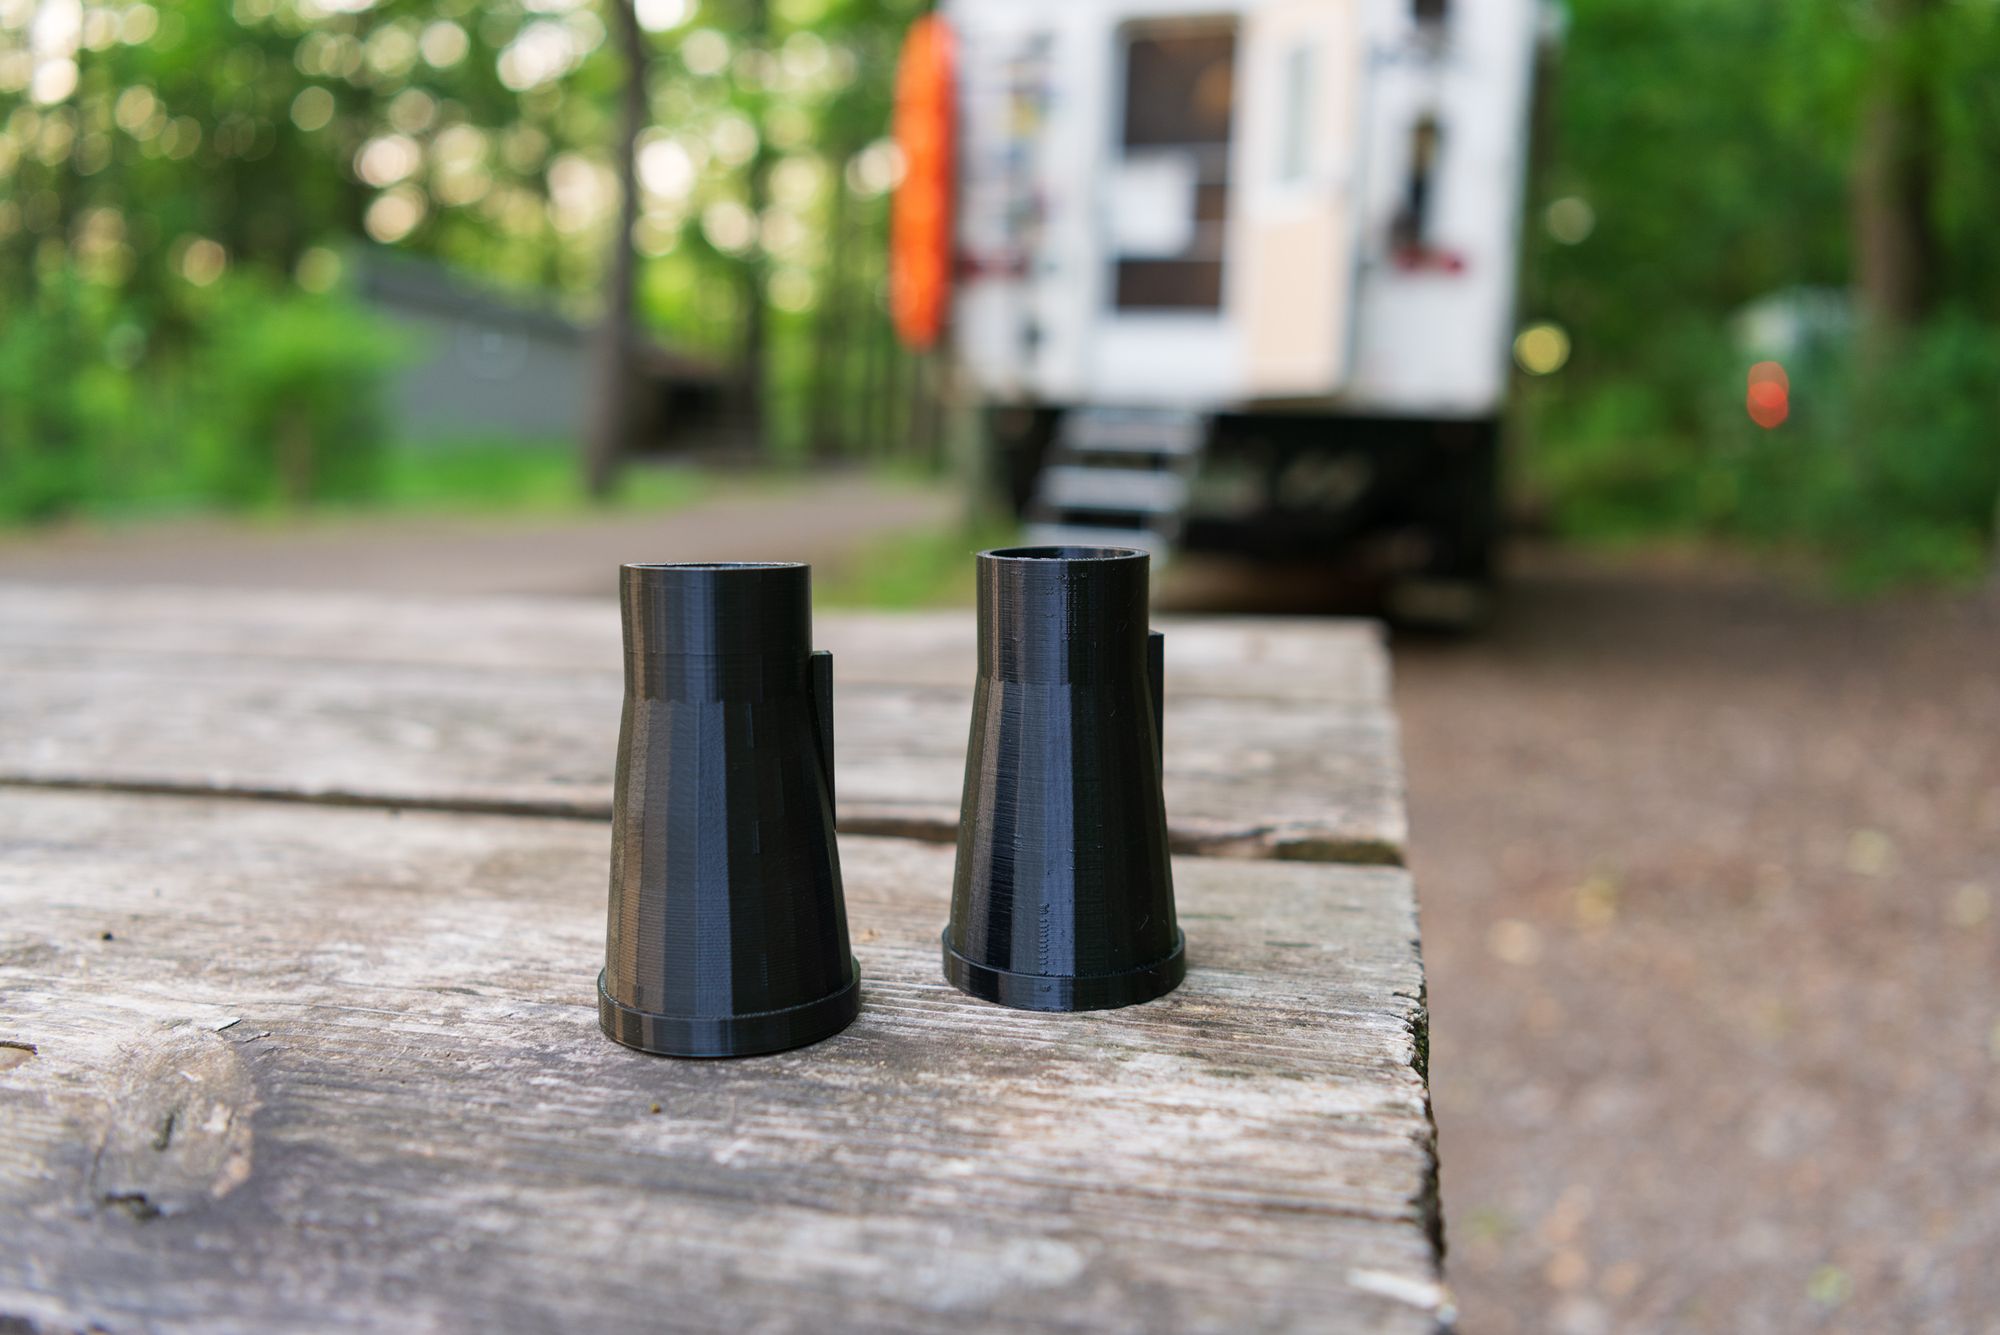
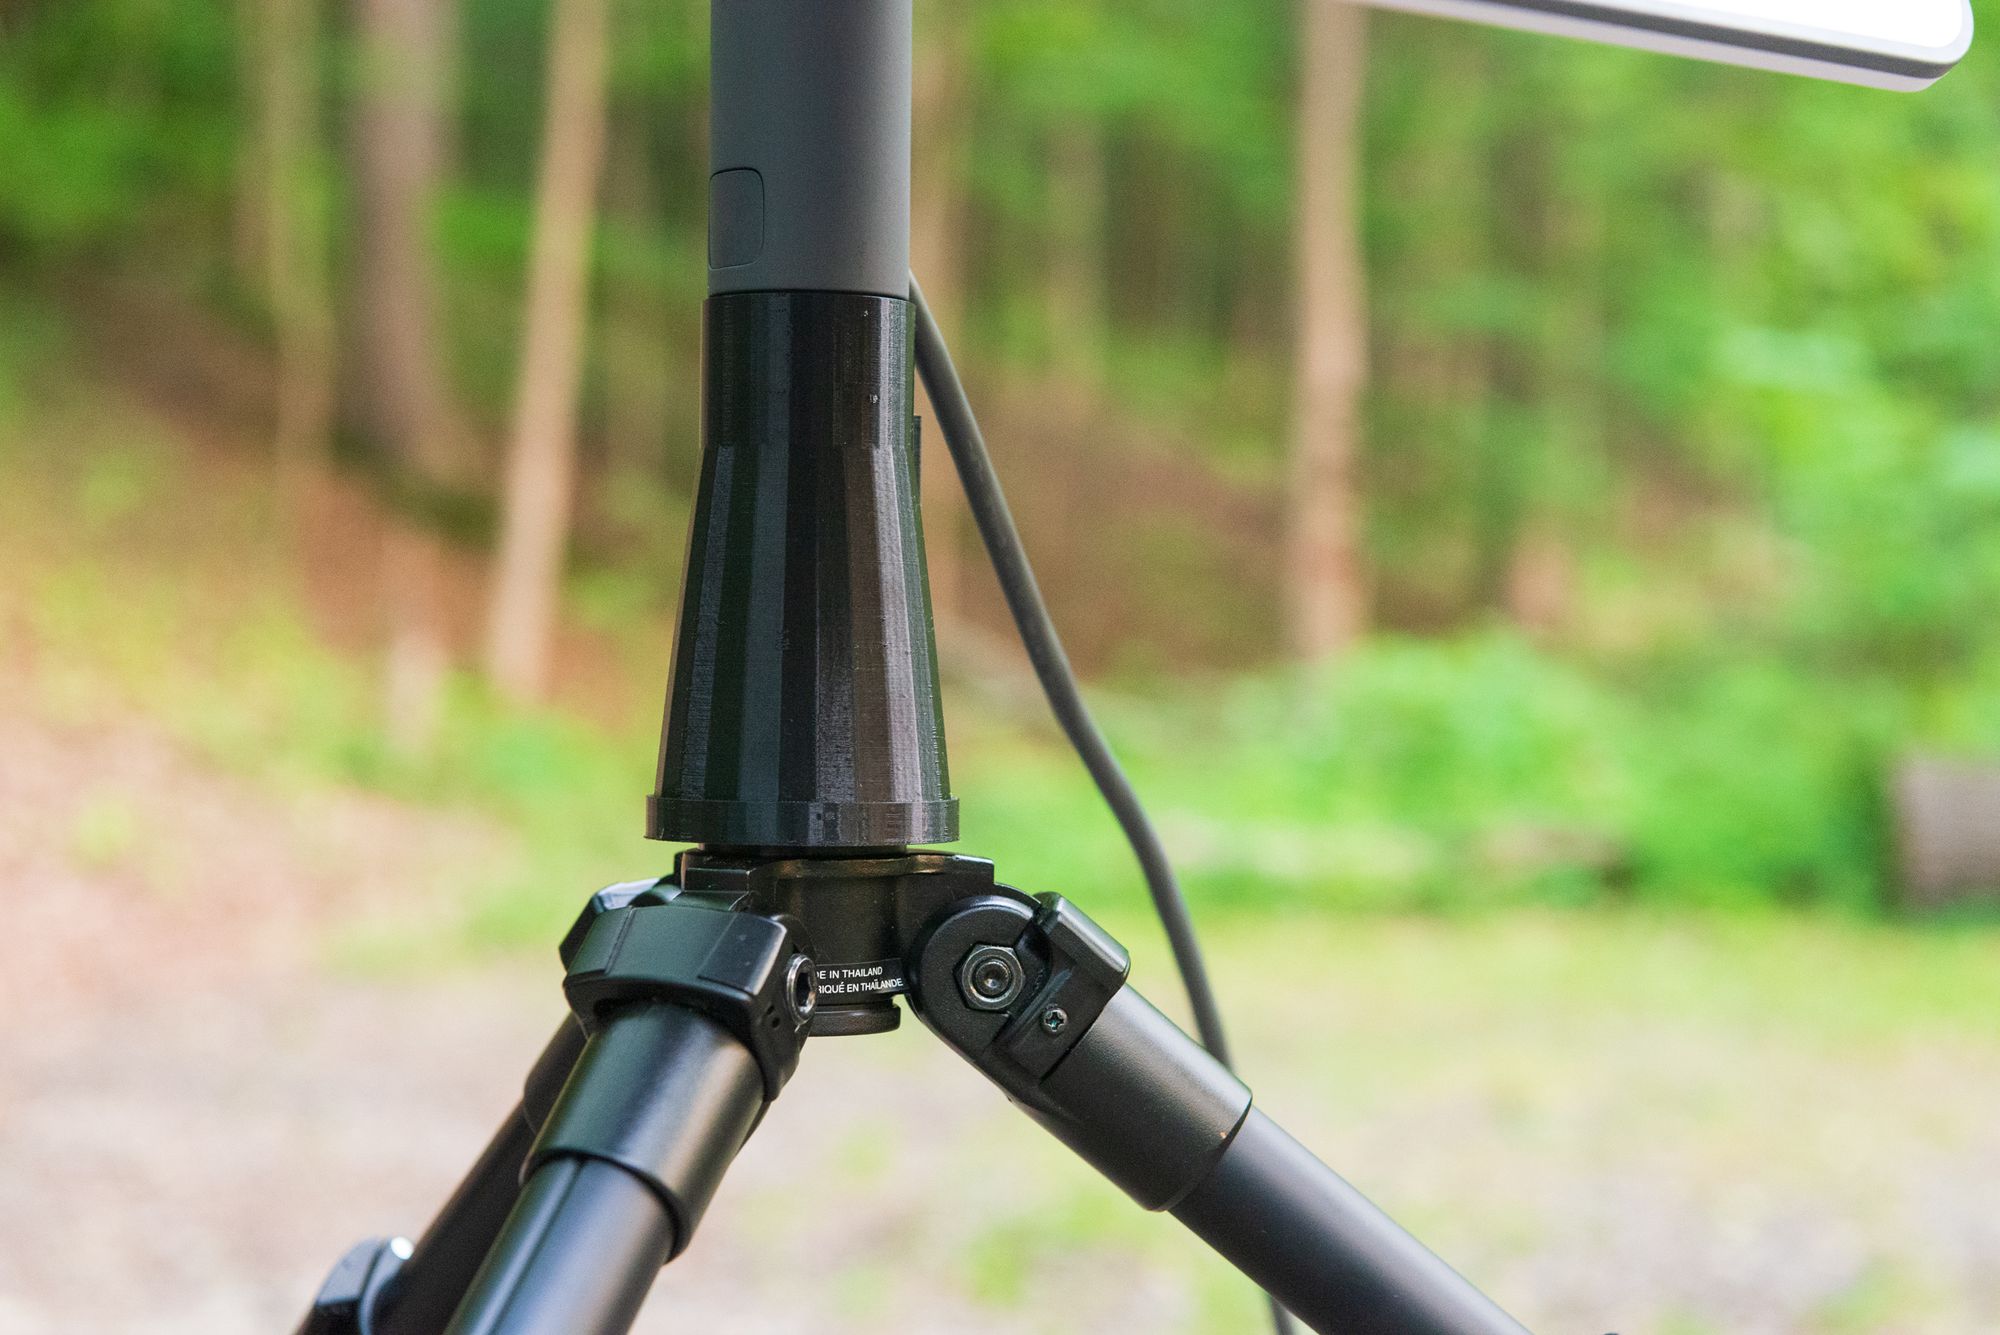
The Adapter
There are a variety of official Starlink mounts and adapters available from the Starlink Shop. However, most of these are meant for permanent mounting on a house and don't easily adapt to tripod legs. One of my favorite tools over the past few years has been a 3D printer, whose ability amazes me to go from idea to physical part in a matter of hours. It's magic. And so after a few Starlink measurements with calipers and creating a 3D model in Tinkercad, I started printing my v1 tripod Starlink adapter. v1 was a pretty good fit. After some tweaks, v2 was a perfect fit and had a stronger design for more strength and durability. v3 was an update to add room for mounting hardware (nuts, screws, and lock washers) to secure the adapter to the tripod legs and an alignment indicator to easily insert the Starlink receiver post.

I printed these prototypes using PLA a common type of plastic for 3D printing. Early into our Summer 2022 Roadtrip, the adapter started to melt a little in the intense 100F+ sun and heat at Lake McConaughy in Nebraska. Luckily, it was still usable though a bit lopsided. Thankfully, John who runs an awesome 3D printing business Superhero DIY, printed a replacement printed in PETG plastic and overnighted it. PETG has a higher melting temperature and has since stood up to all sorts of sun, heat, rain, and wind.
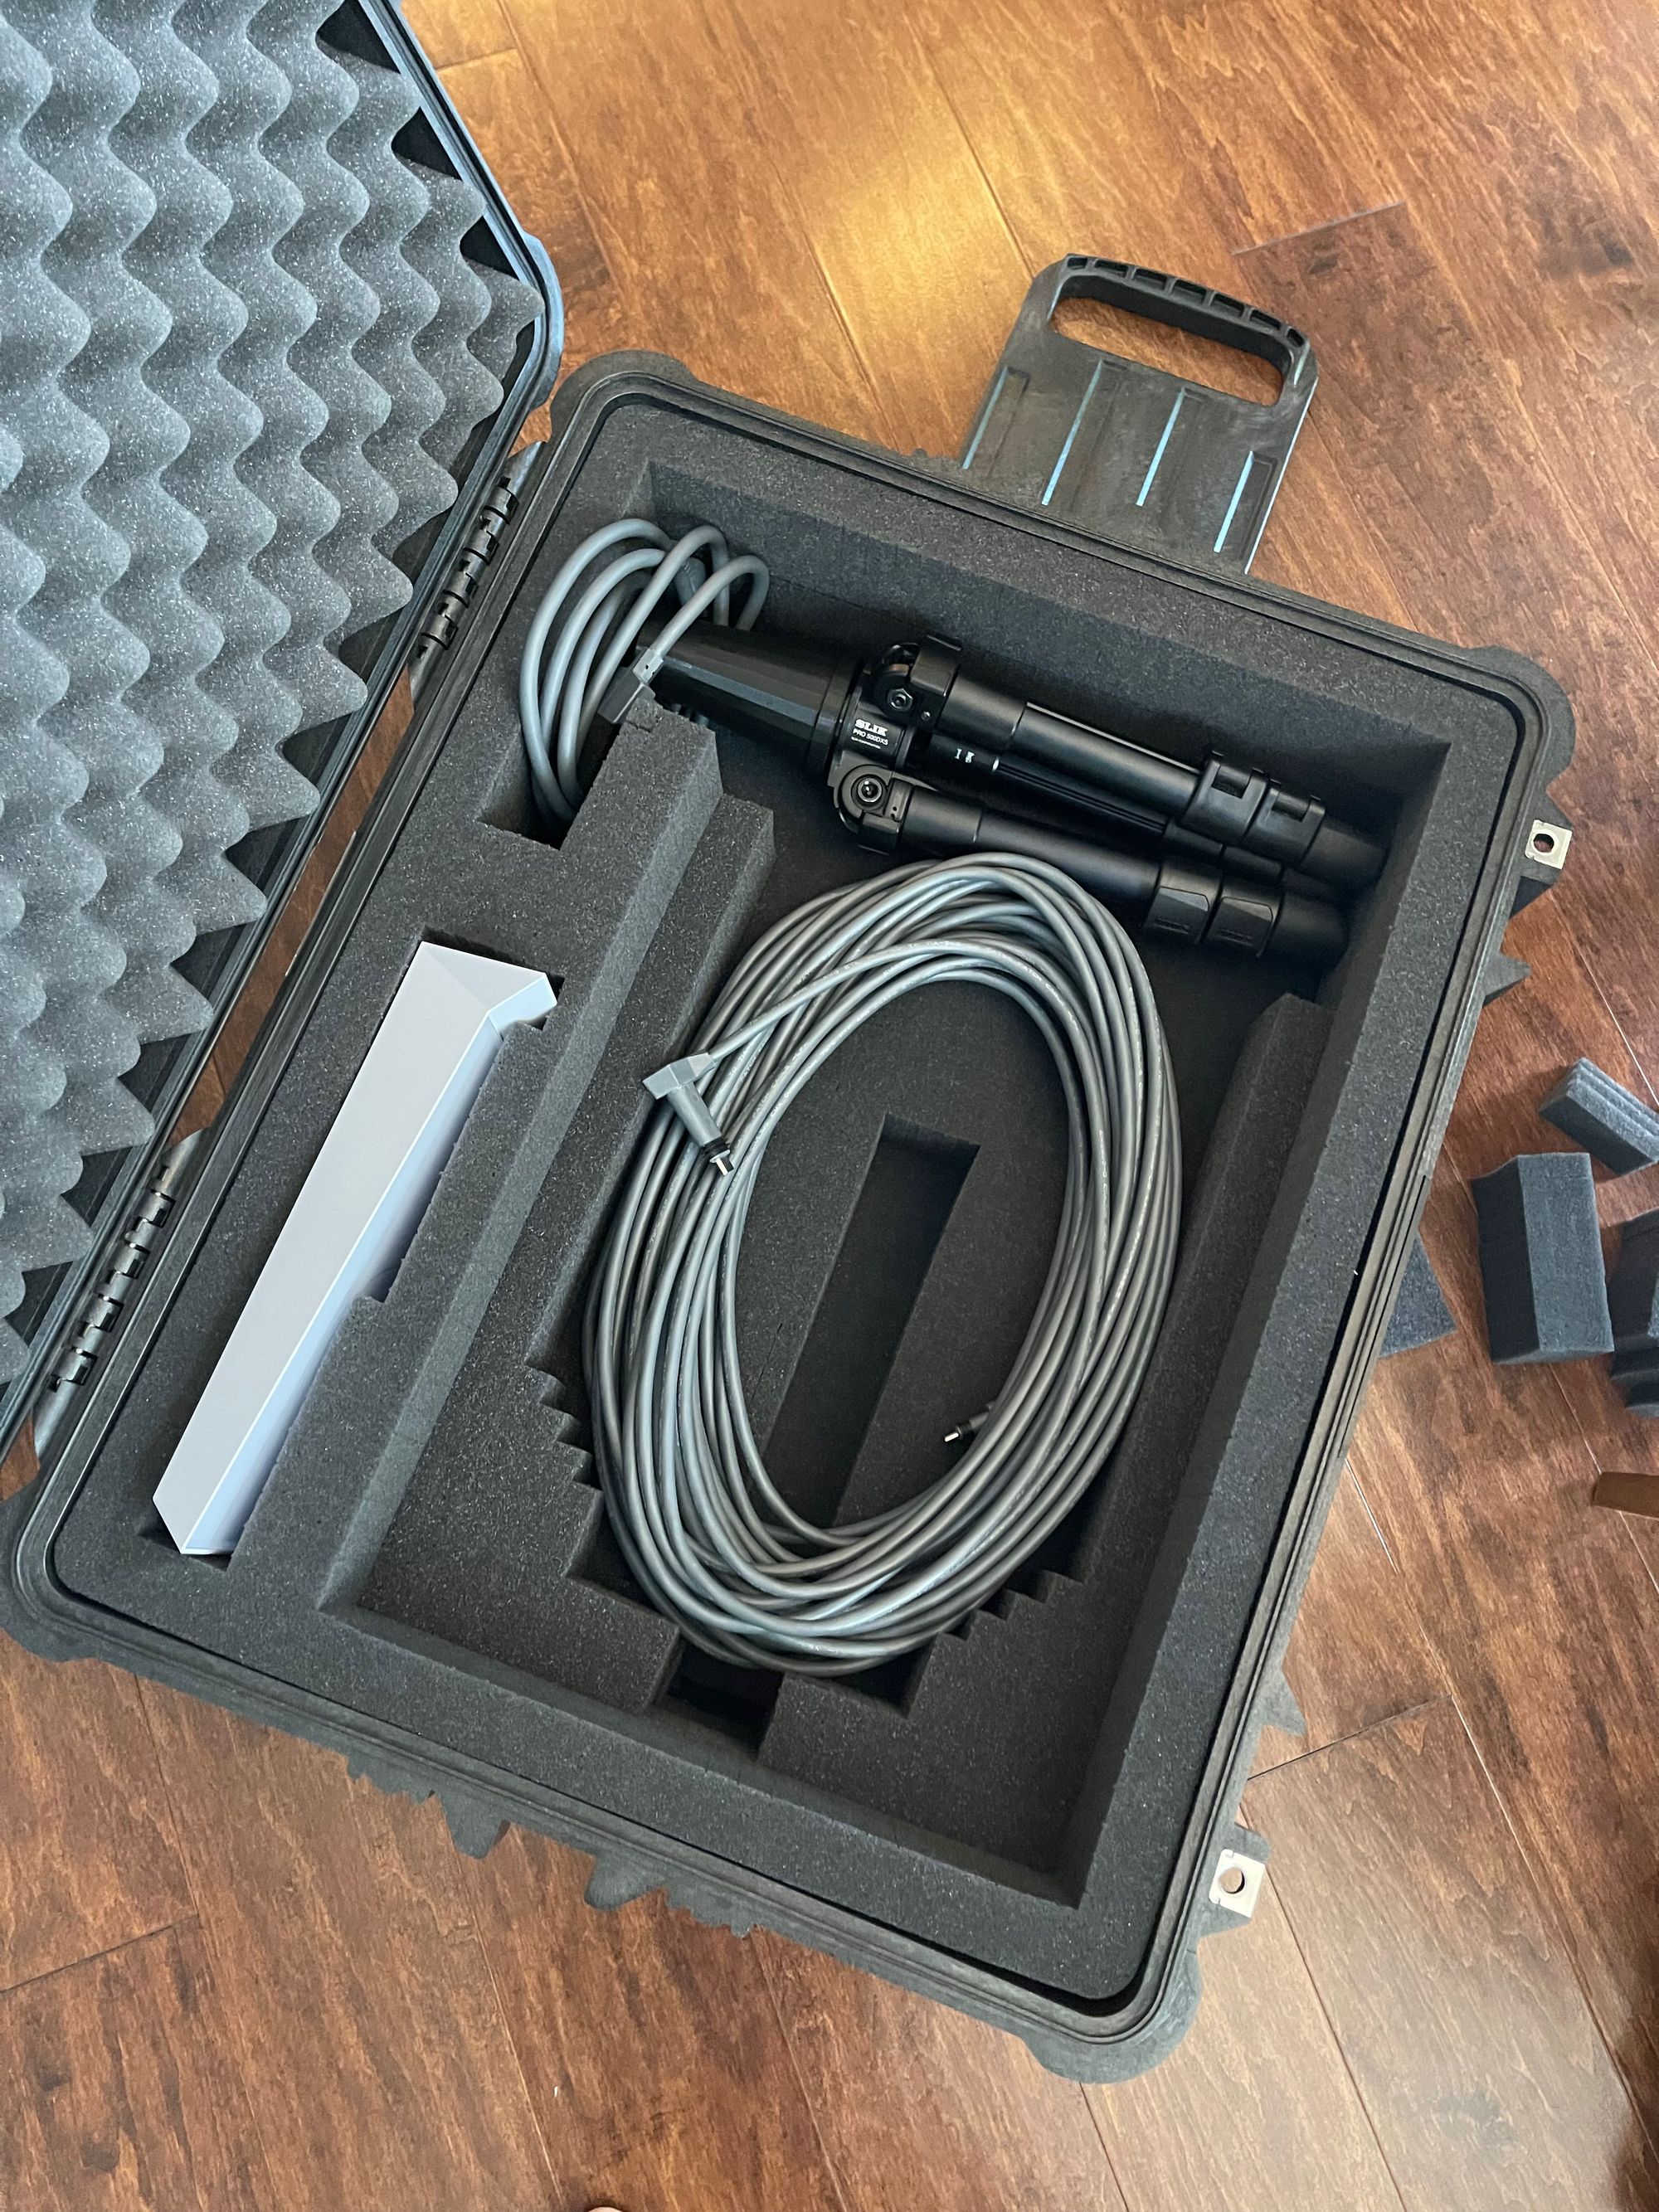
Storage
Our DIY Starlink Stand folds up compactly and easily fits in our DIY Starklink Travel Case. It's awesome to have everything we need to deploy and use Starlink in a single durable and weatherproof case.
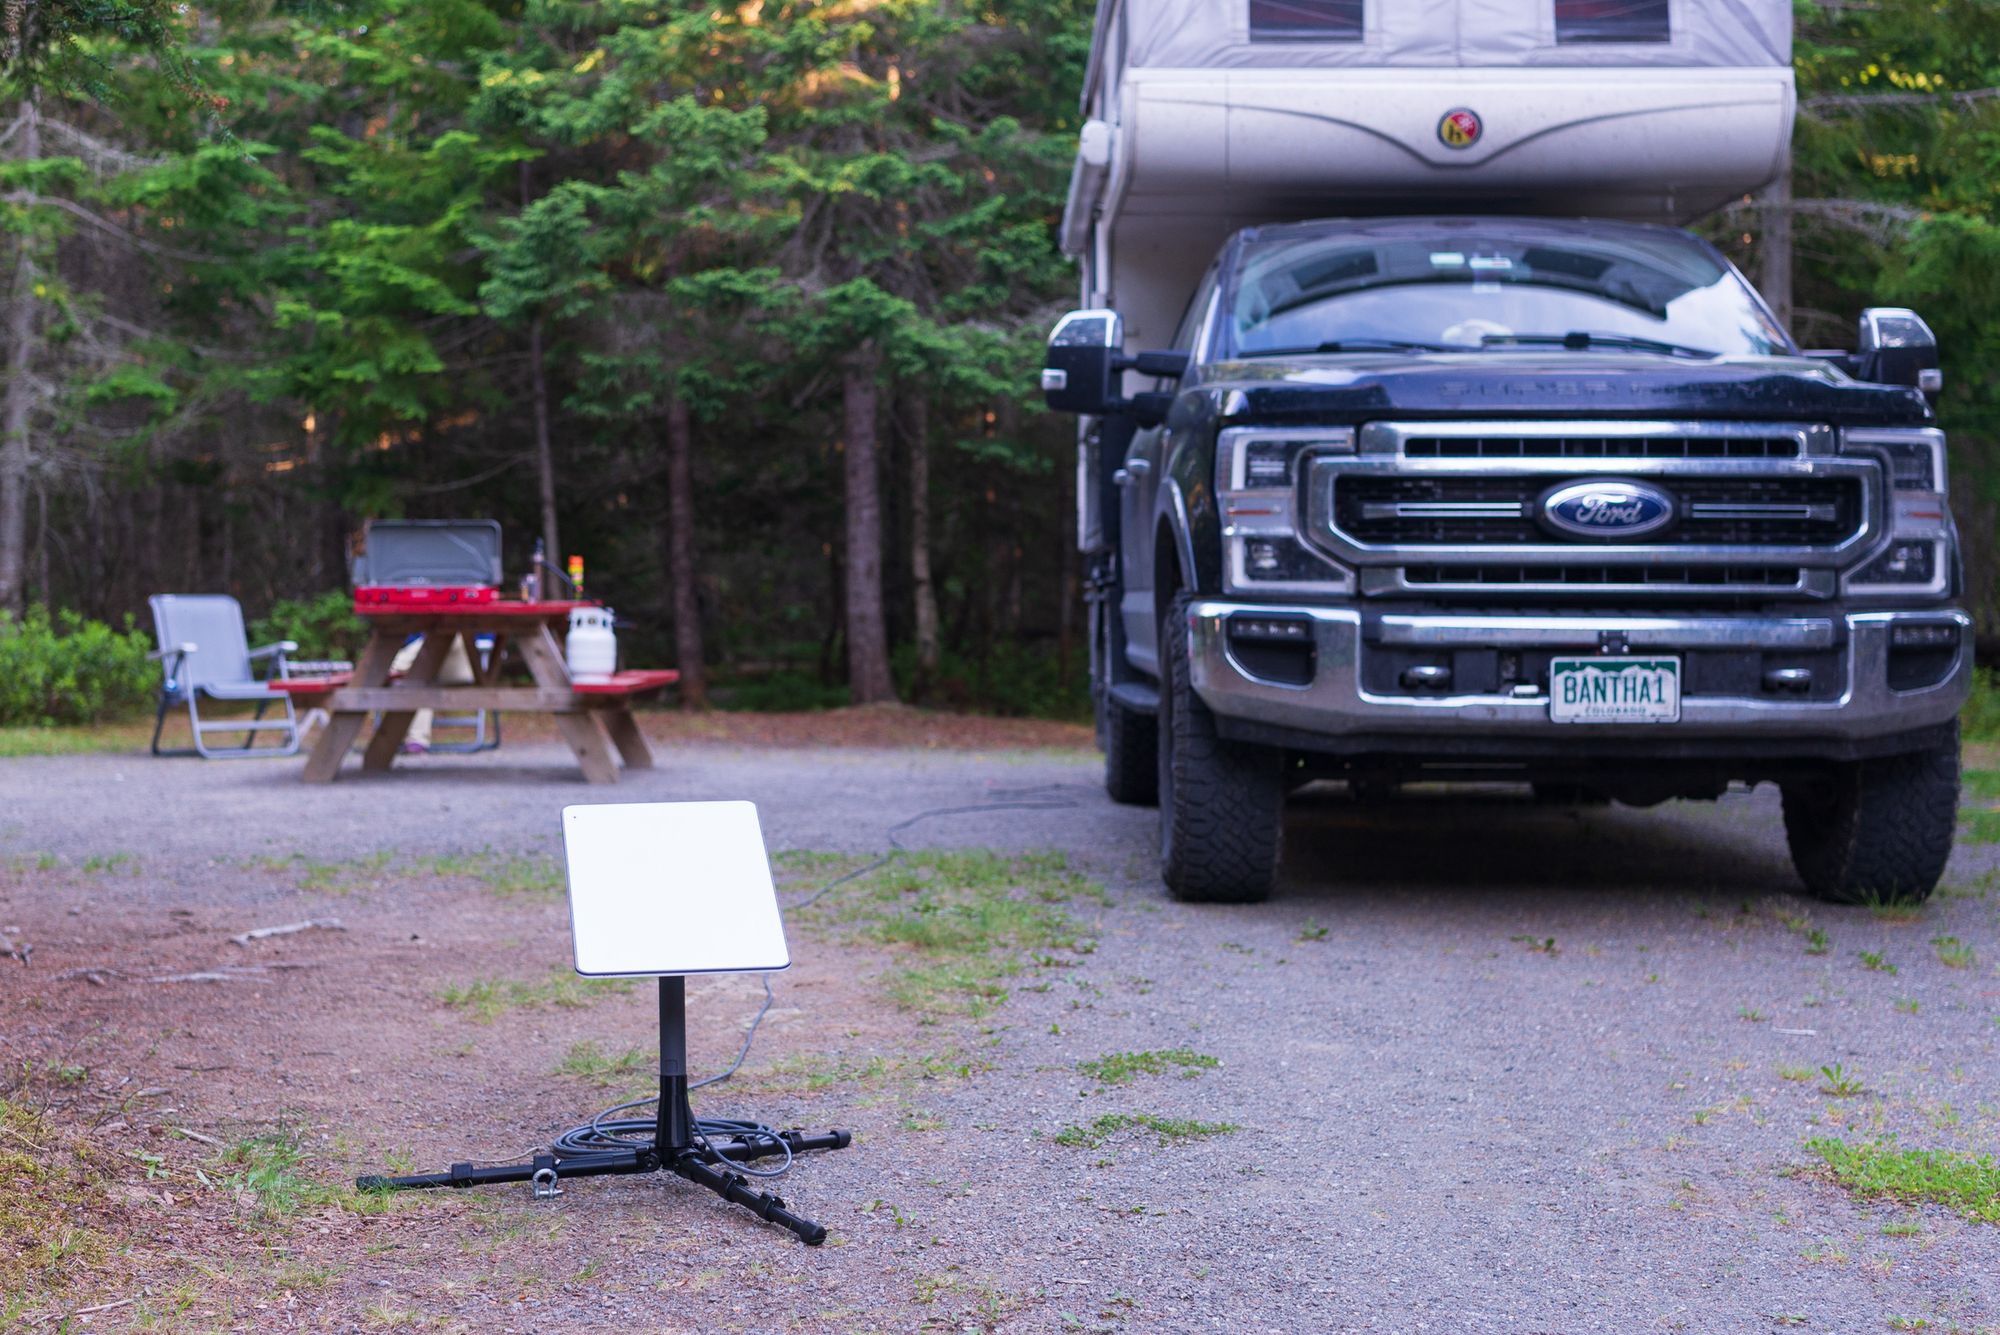
Initial Impressions
So far, our DIY Starlink Stand has worked very well and is a great upgrade from the standard metal four-leg base that comes with Starlink. It's easy to set up and store. It works in a variety of terrain, from flat grassy ground to rocky uneven slopes. And it's been a stable platform for uninterrupted Starlink internet service.
In a few extremely windy situations, we've found it helpful to secure the tripod by placing a rock, piece of wood, or dirt bolt on one of the tripod legs to help keep it stable and prevent it from falling over. But 9 times out of 10 it's been unnecessary.
And now that we've field tested the design of the DIY Starlink Stand, I'll probably add some Loctite thread locker to the screws and bolts to help keep them in place so that they don't become loose over time. As an overlander who frequently punishes gear driving over rough terrain, I find it's helpful to Loctite pretty much everything.
See you out there,
-Adam
Check out all of our Starlink posts and sign up to be notified about new posts.