Installing a Starlink Cable Passthrough in Your Camper
How we installed pass-through connections for our Starlink in the side of our truck camper making it quick and easy to connect our Starlink at camp. Including how to drill through the side of your fiberglass camper.
One of the biggest changes in our overlanding this year has been trying different combinations of mixing work and adventures. One of the things we love about overlanding is getting out there away from the hustle of normal life. But there's only so much we can take off from work so we decided to experiment with different forms of remote remote work in 2023. We've worked from desolate desert mesas, sunny lakes, and warm beaches largely enabled by our Starlink that travels with us.
We've been fairly happy with our Starlink from the start, along with our DIY Starlink Case and DIY Starlink Tripod Adapter. In the year since getting our Starlink, we've changed little about our Starlink setup and routine. After arriving at camp, along with setting up our changes, stove, etc we set up the Starlink if we're going to be working while at camp. We find a mostly clear view of the sky, unload the satellite receiver from the case, set up the tripod, run the cable back to the camper through this little door in the side of the bottom of the camper which requires two people, plug the cable into the router, plug the router into the inverter, plug the invert into the 12v outlet, wrangle some cables, and turn everything on. An easy 10 steps and we have internet. Oh, wait. That's sorta a lot of steps, isn't it?
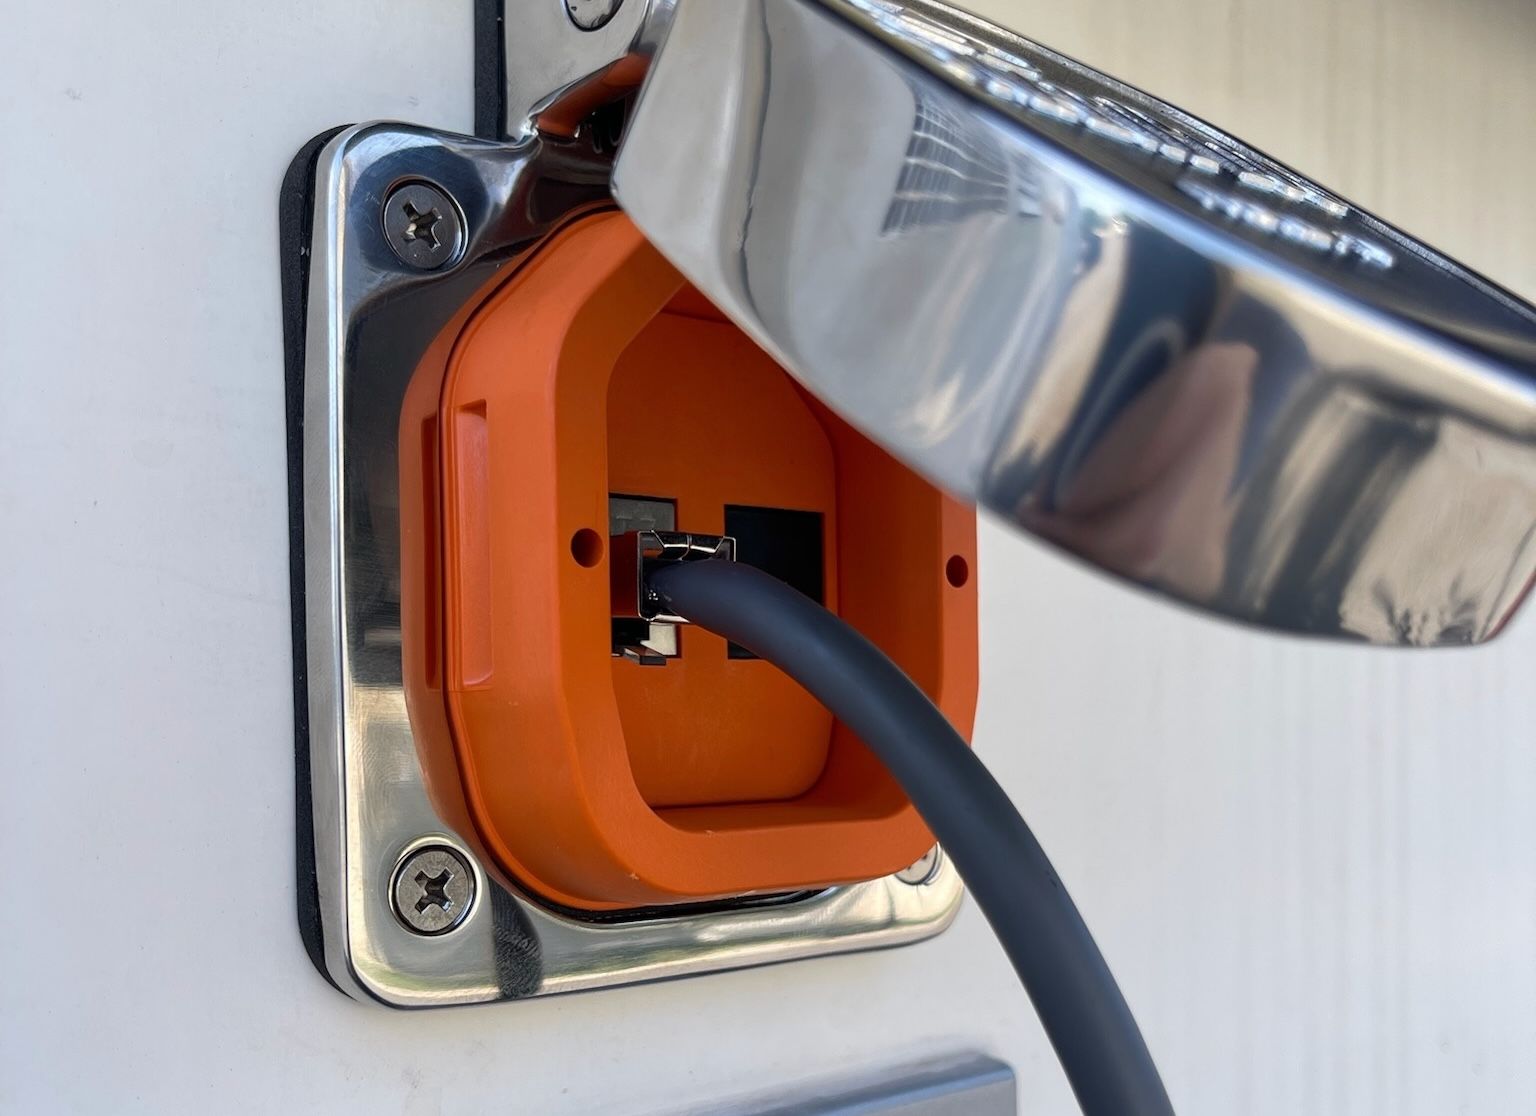
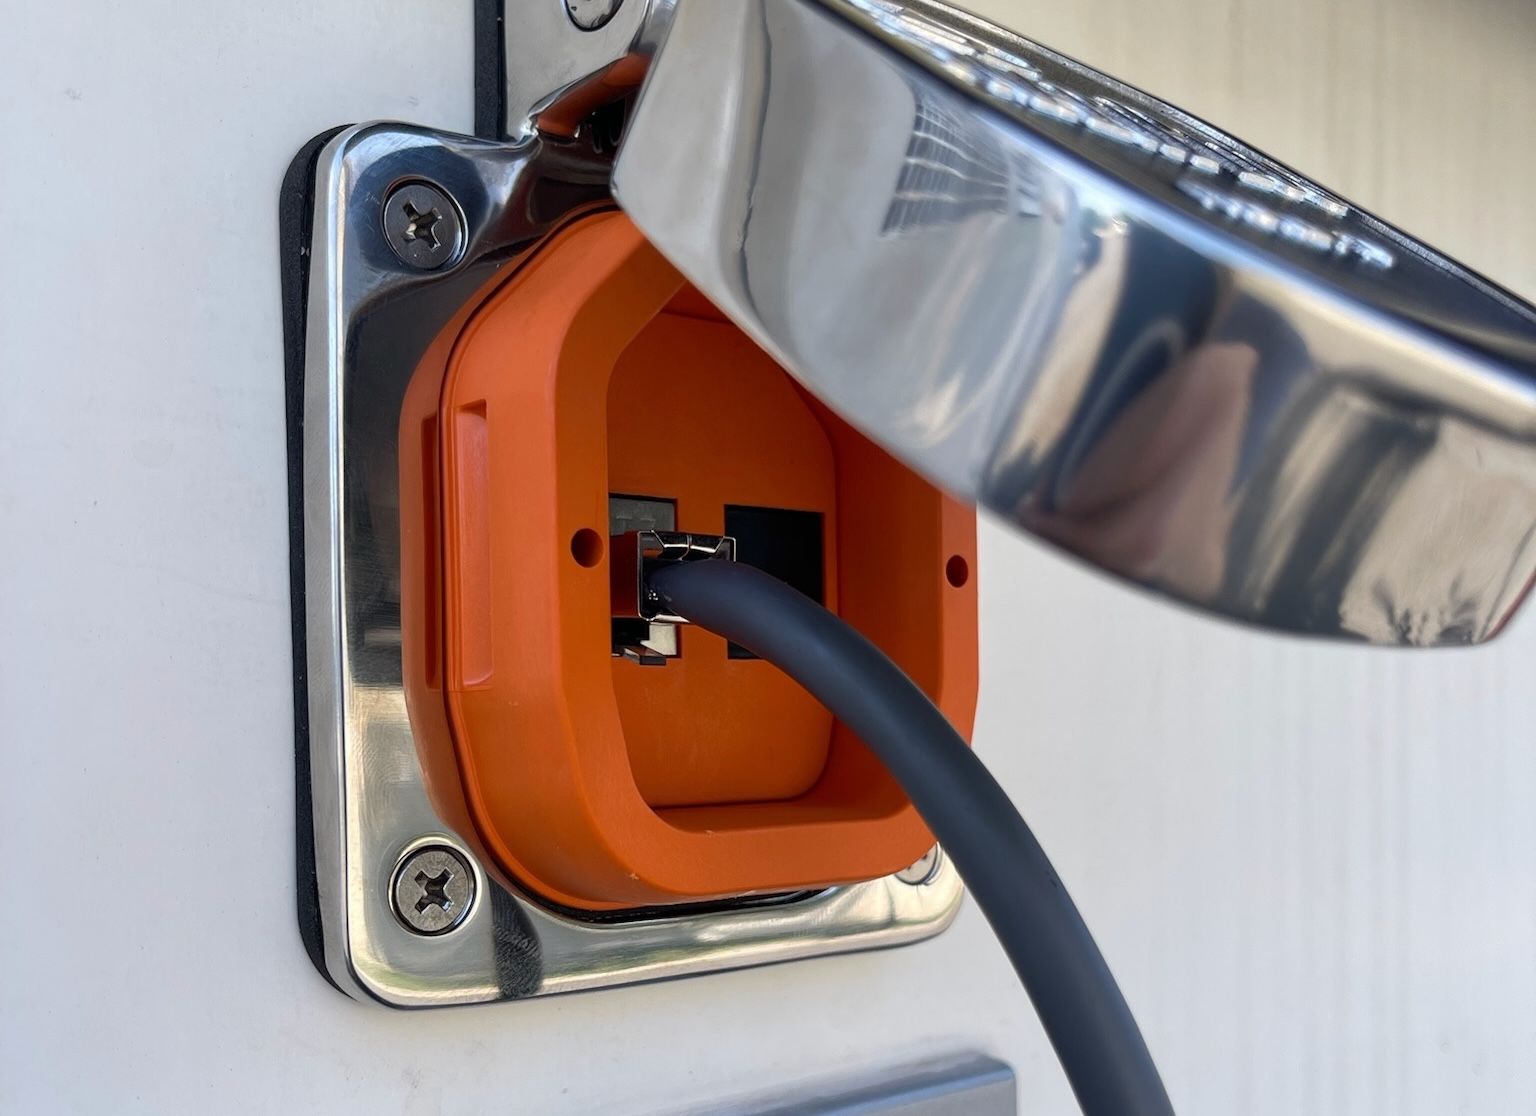
And so we started thinking about better solutions. Val and I have always tried to keep our camp setup quick and easy. We like to arrive at camp and be settled in within a few minutes. The same goes for departing camp. After considering a few different ideas, we decided to try adding a SmartPlug Ethernet Jack (available from Amazon and eTrailer) on the outside of the camper. The SmartPlug is a heavy-duty weatherized connector, making it quick and easy to connect the cable to the camper and flip a switch to turn on all the other equipment already permanently mounted in the camper. And the StartPlug uses standard keystone connectors so it's easy to install a lot of different types of connectors - Ethernet, coaxial, barrel jacket, etc. Except we had to drill a big hole in the side of our beloved Hallmark camper first. Something I had been both dreaming of and fearing for the 5 years we've had the camper.
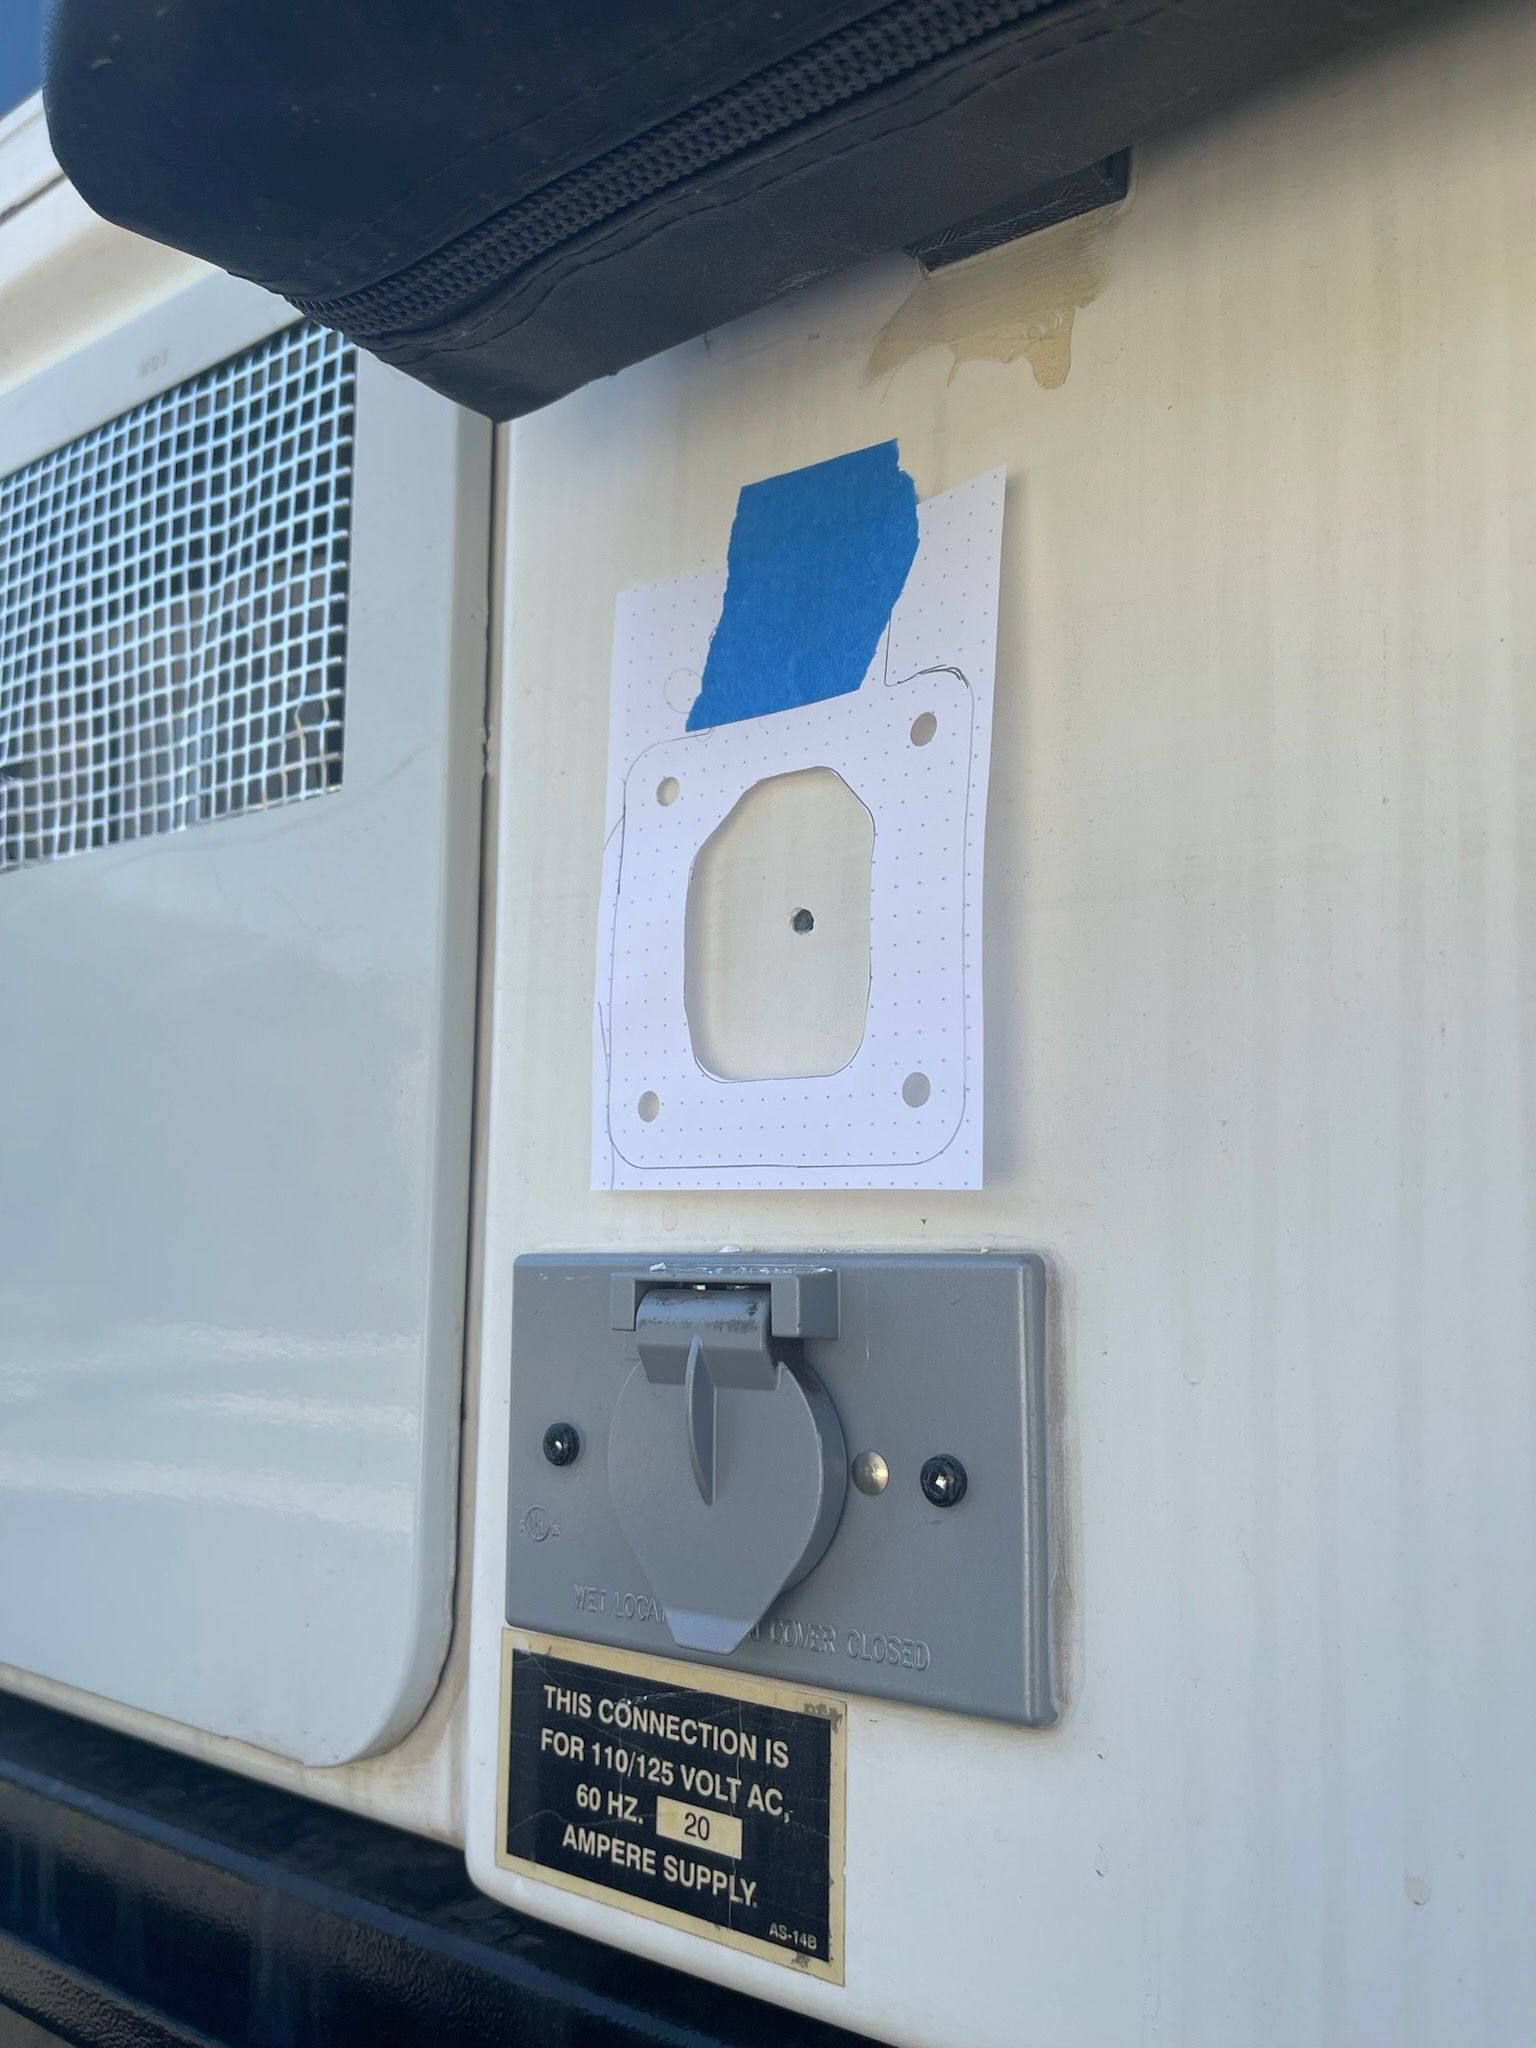
After a few calls to Matt and Andy at Hallmark, we had answers to lots of questions and felt like we had a plan. We'd found a suitable location near the other electrical, water, etc connections that would enter the camper below the stove, providing access to route the ethernet cable through the cabinet and over the tie dinette where the router and inverter would be mounted. Using a template supplied with the SmartPlug, we marked a dot on the inside of the camper and drilled a pilot hole using a small sharp drill bit. We then moved the template to the outside of the camper, marking a large 2" round hole and 4 smaller holes required for mounting. I drilled a slightly larger pilot hole using the drill bit from a hole saw. And then it was time for the big moment, time for the big cut with a 2" hole saw.
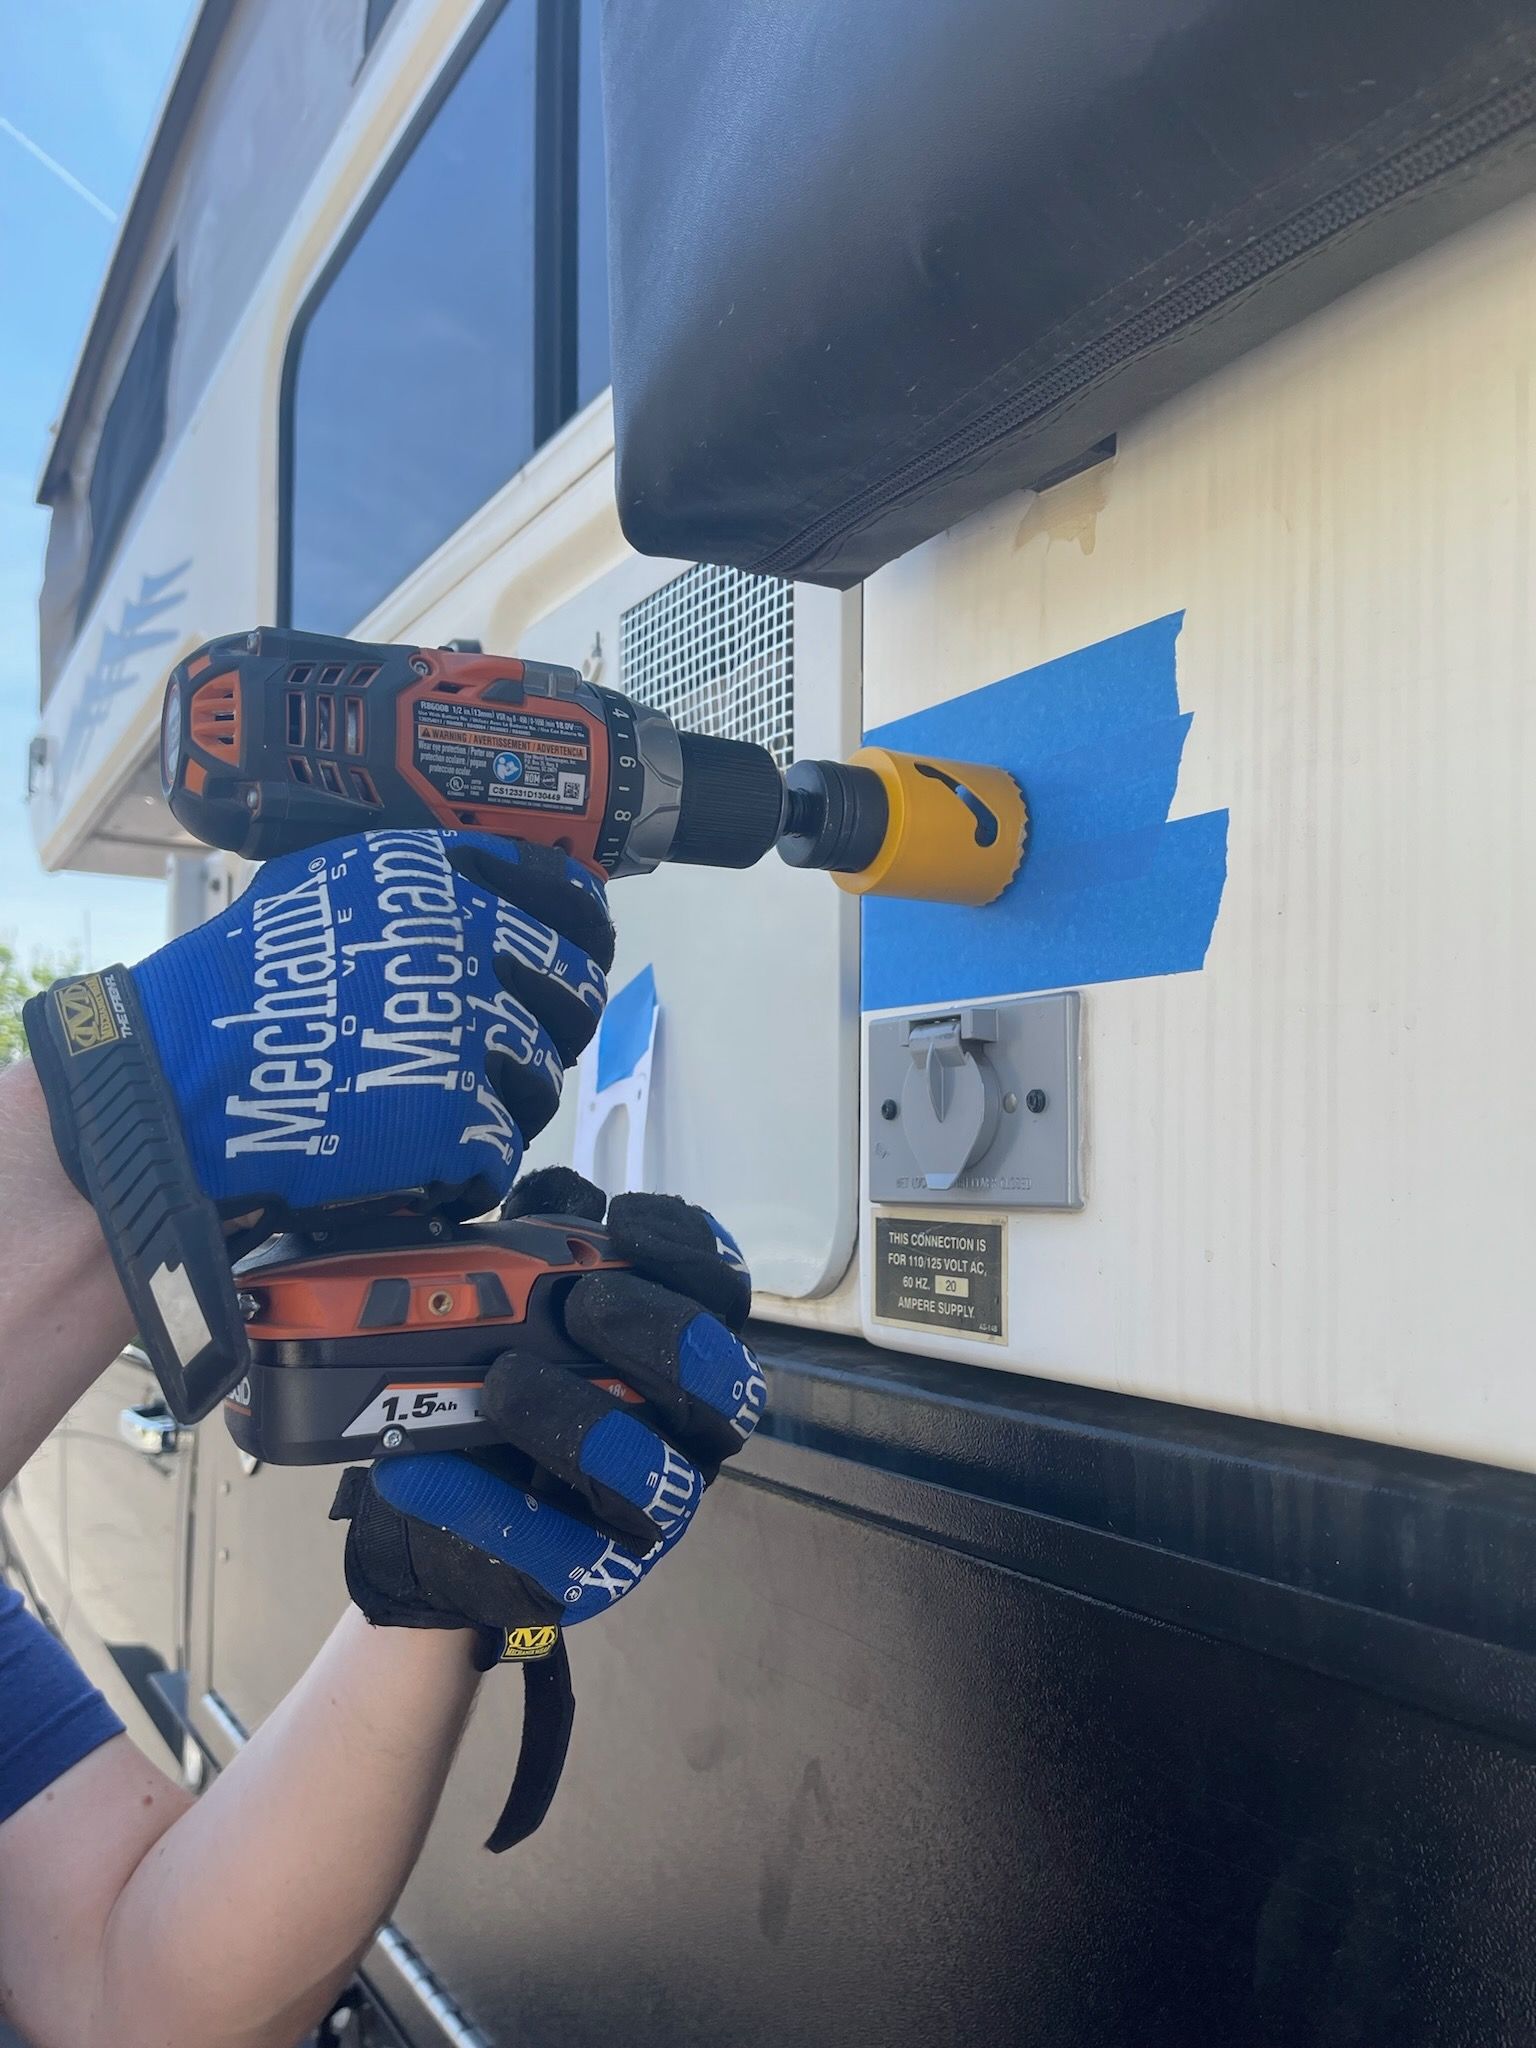
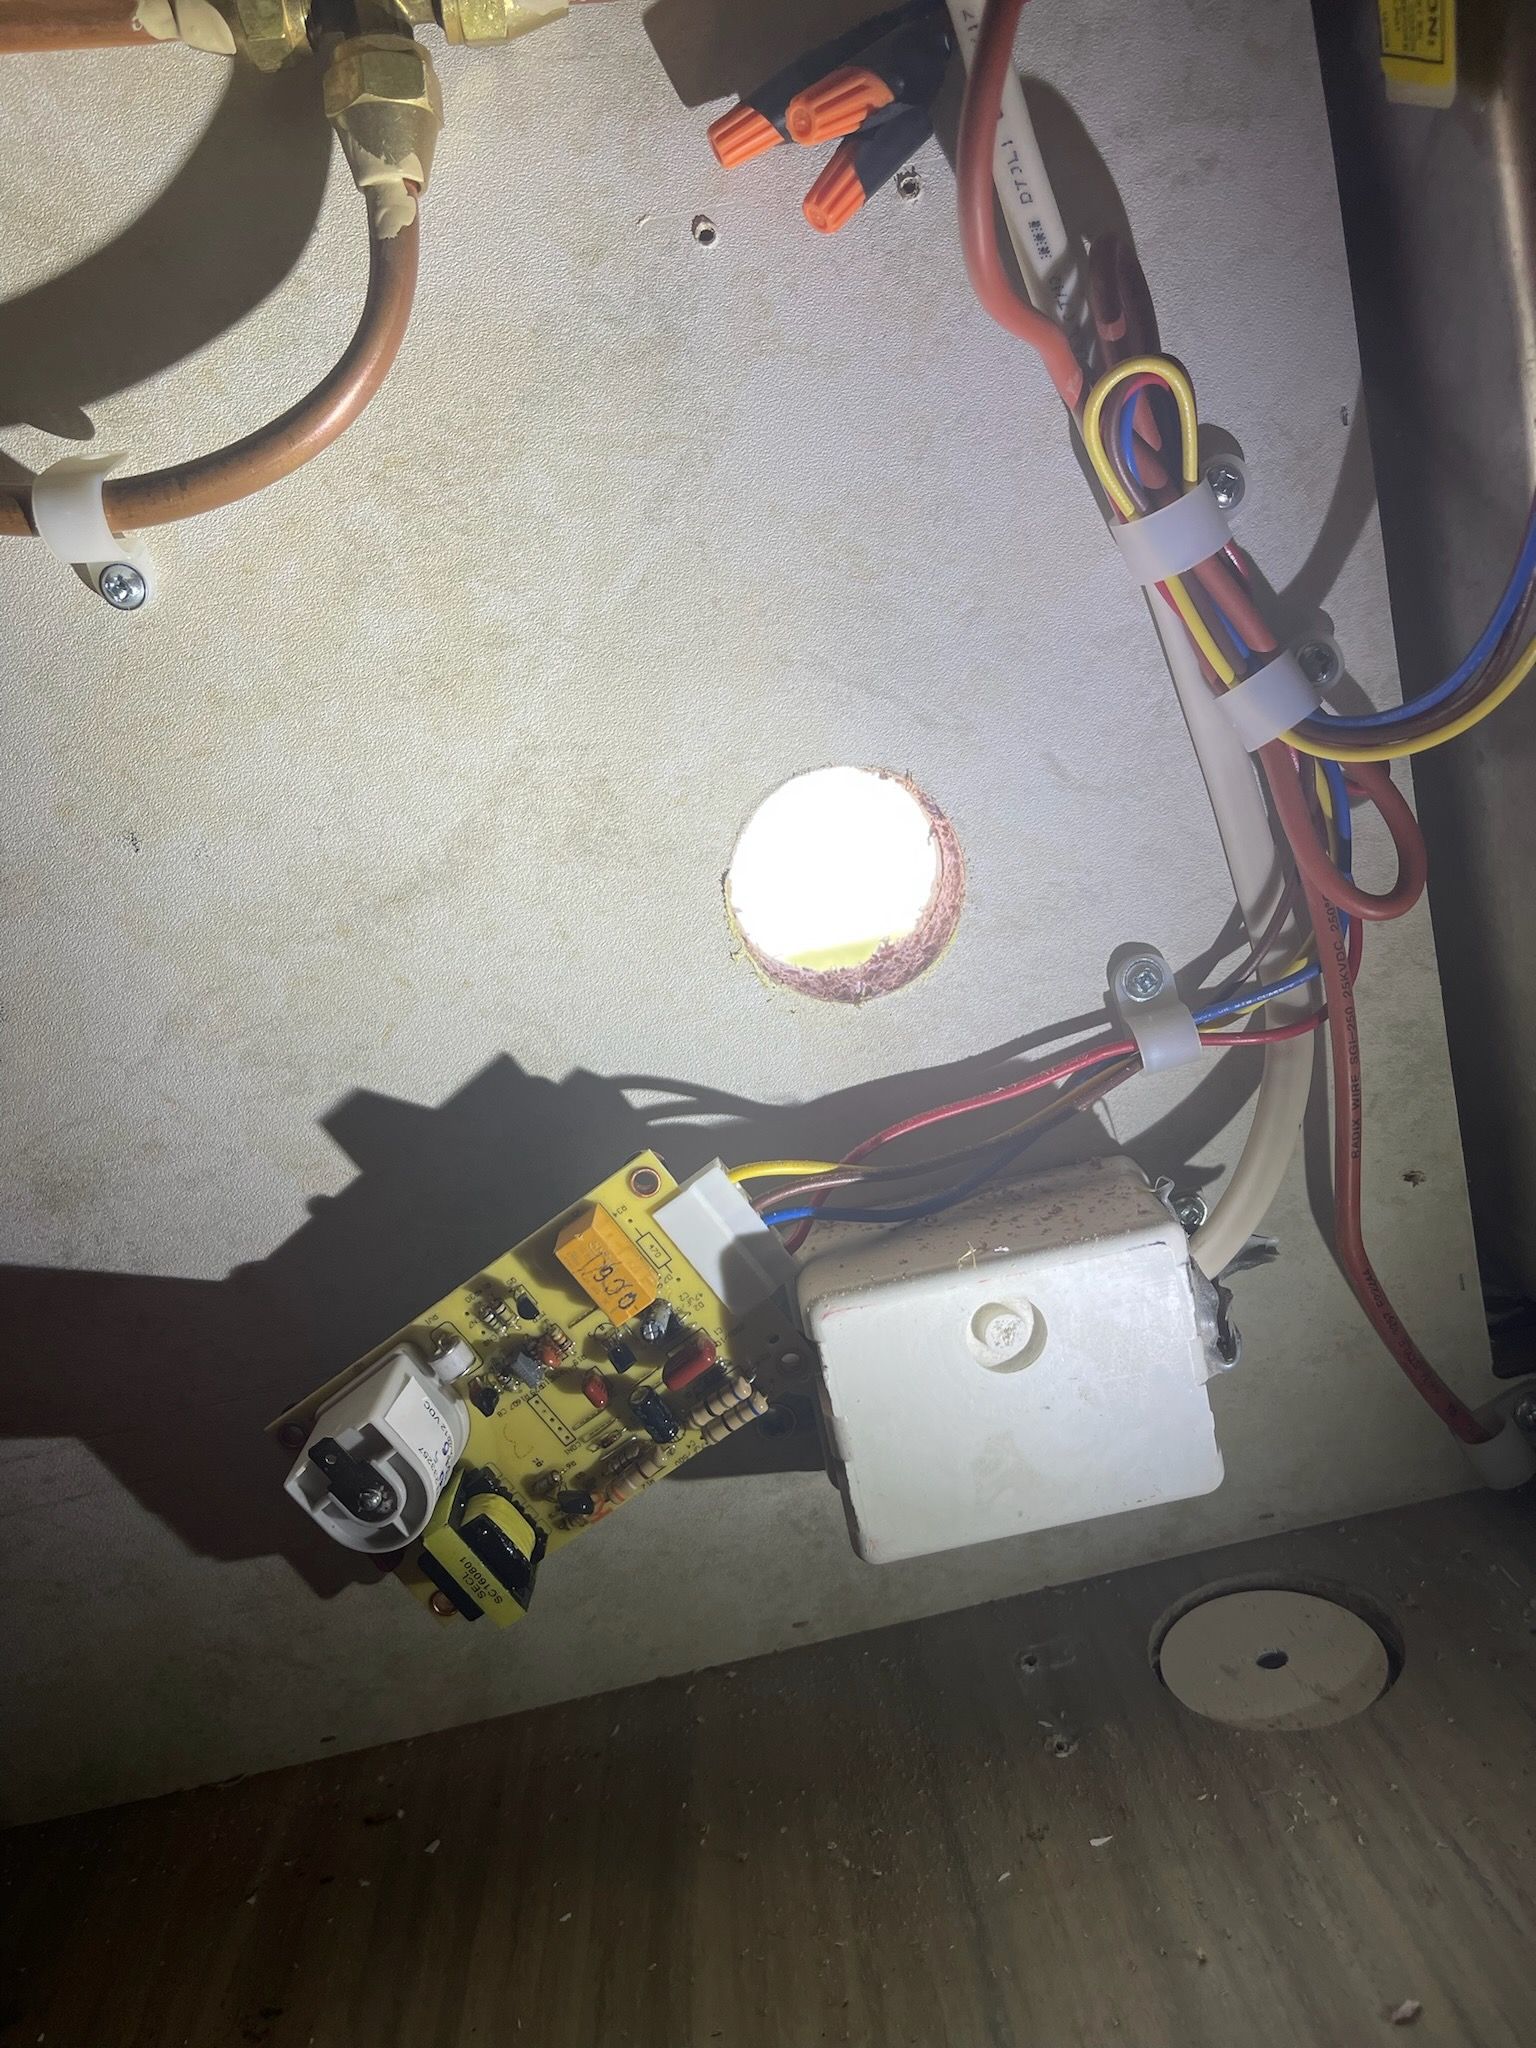
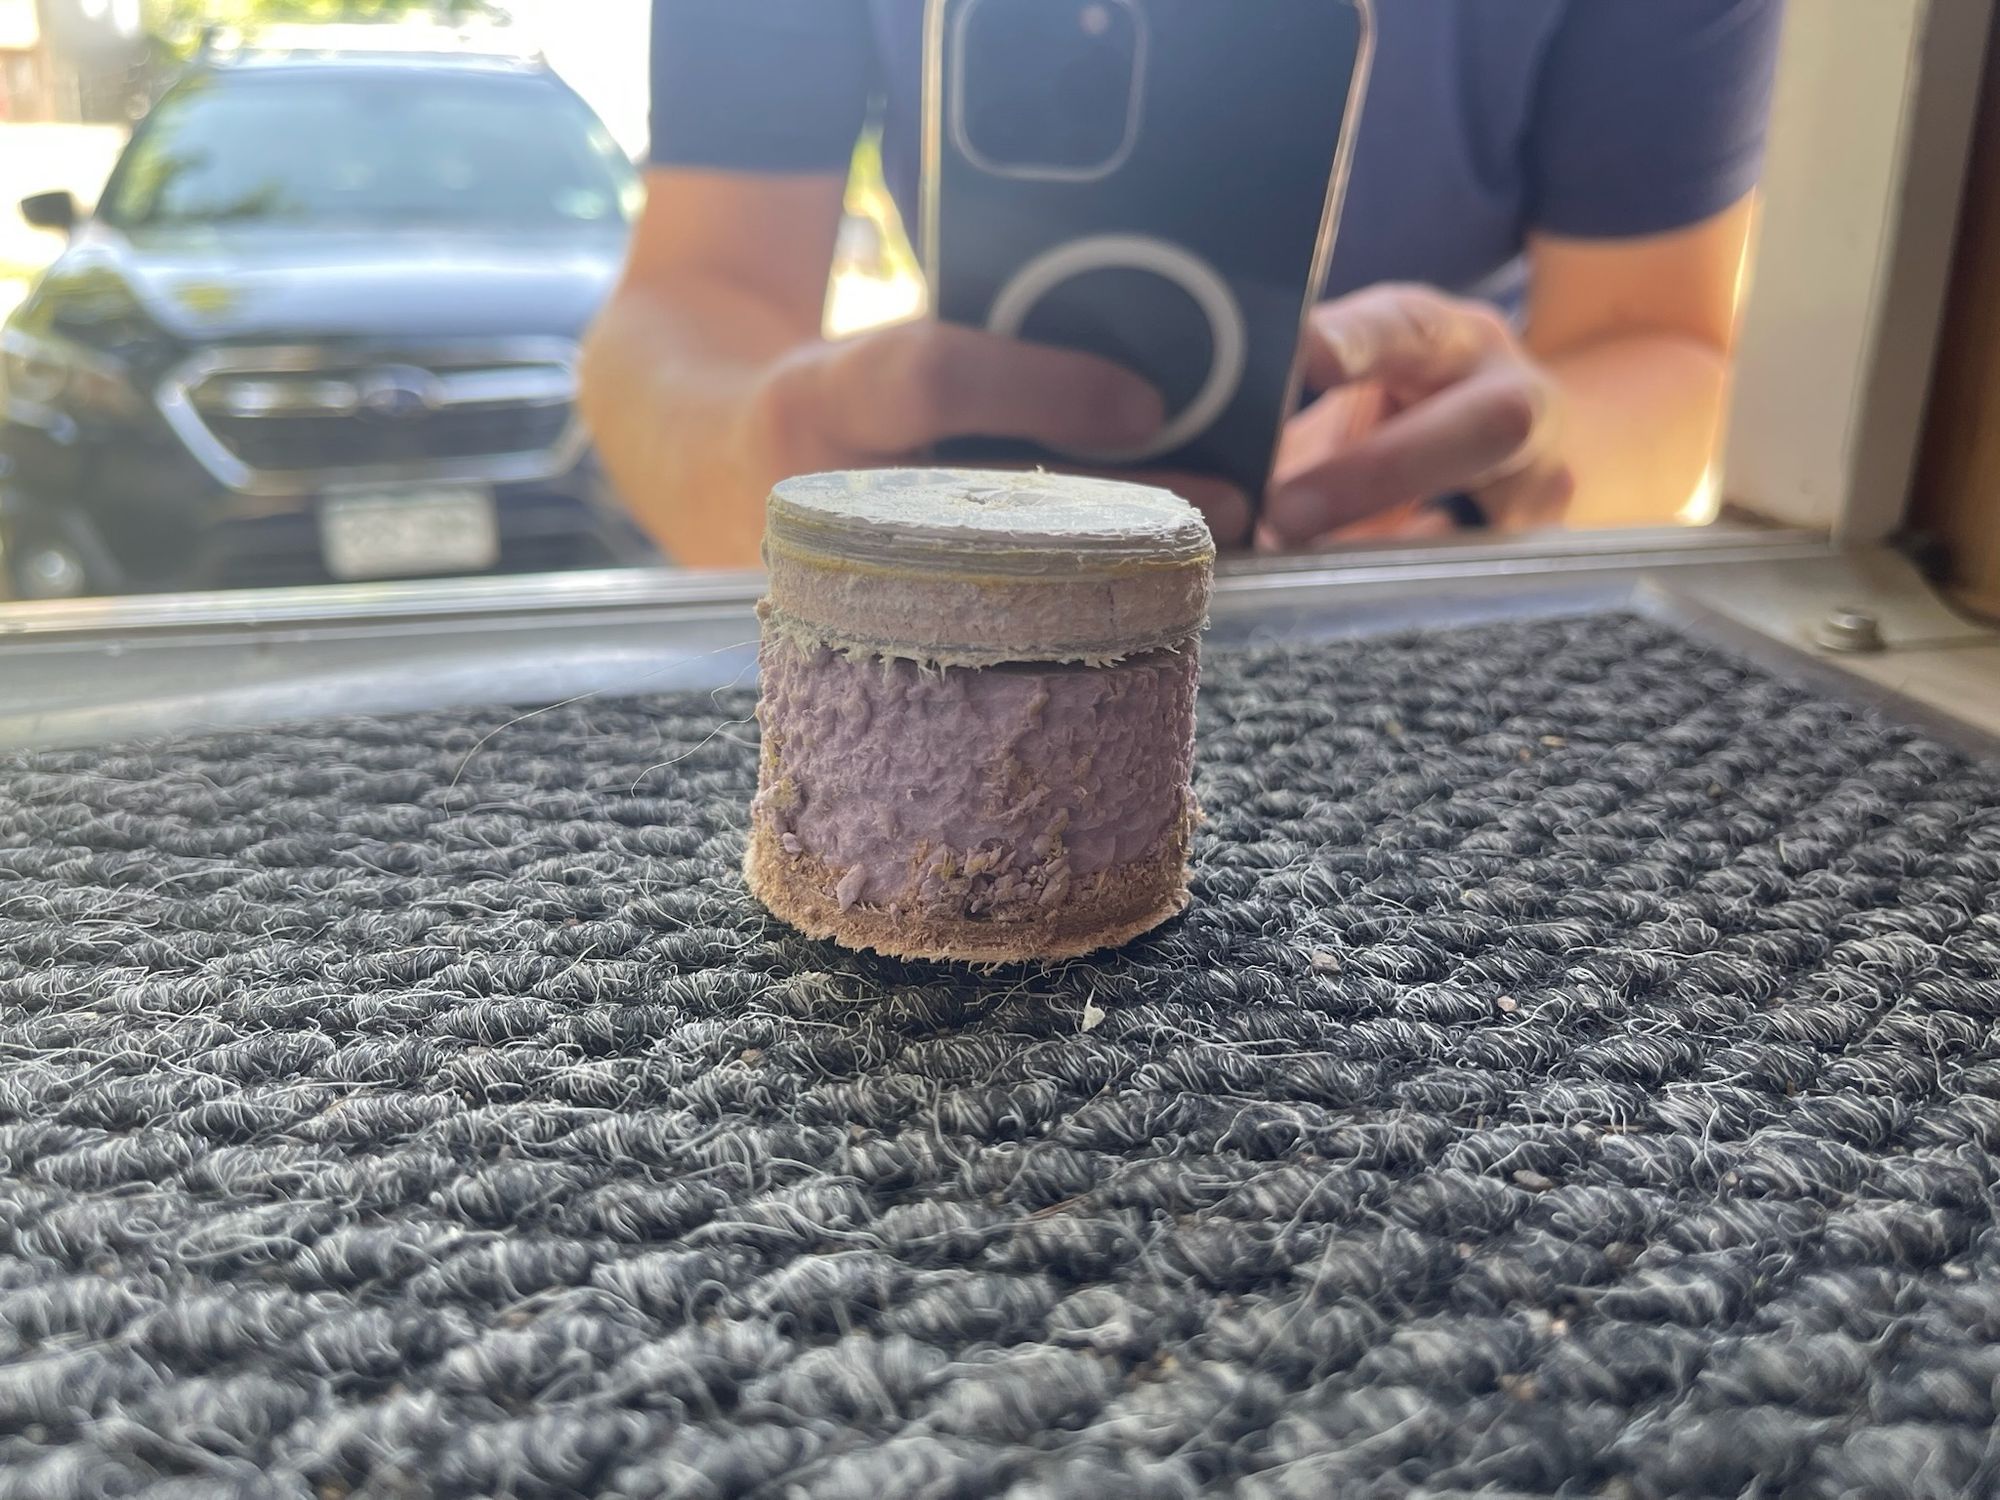
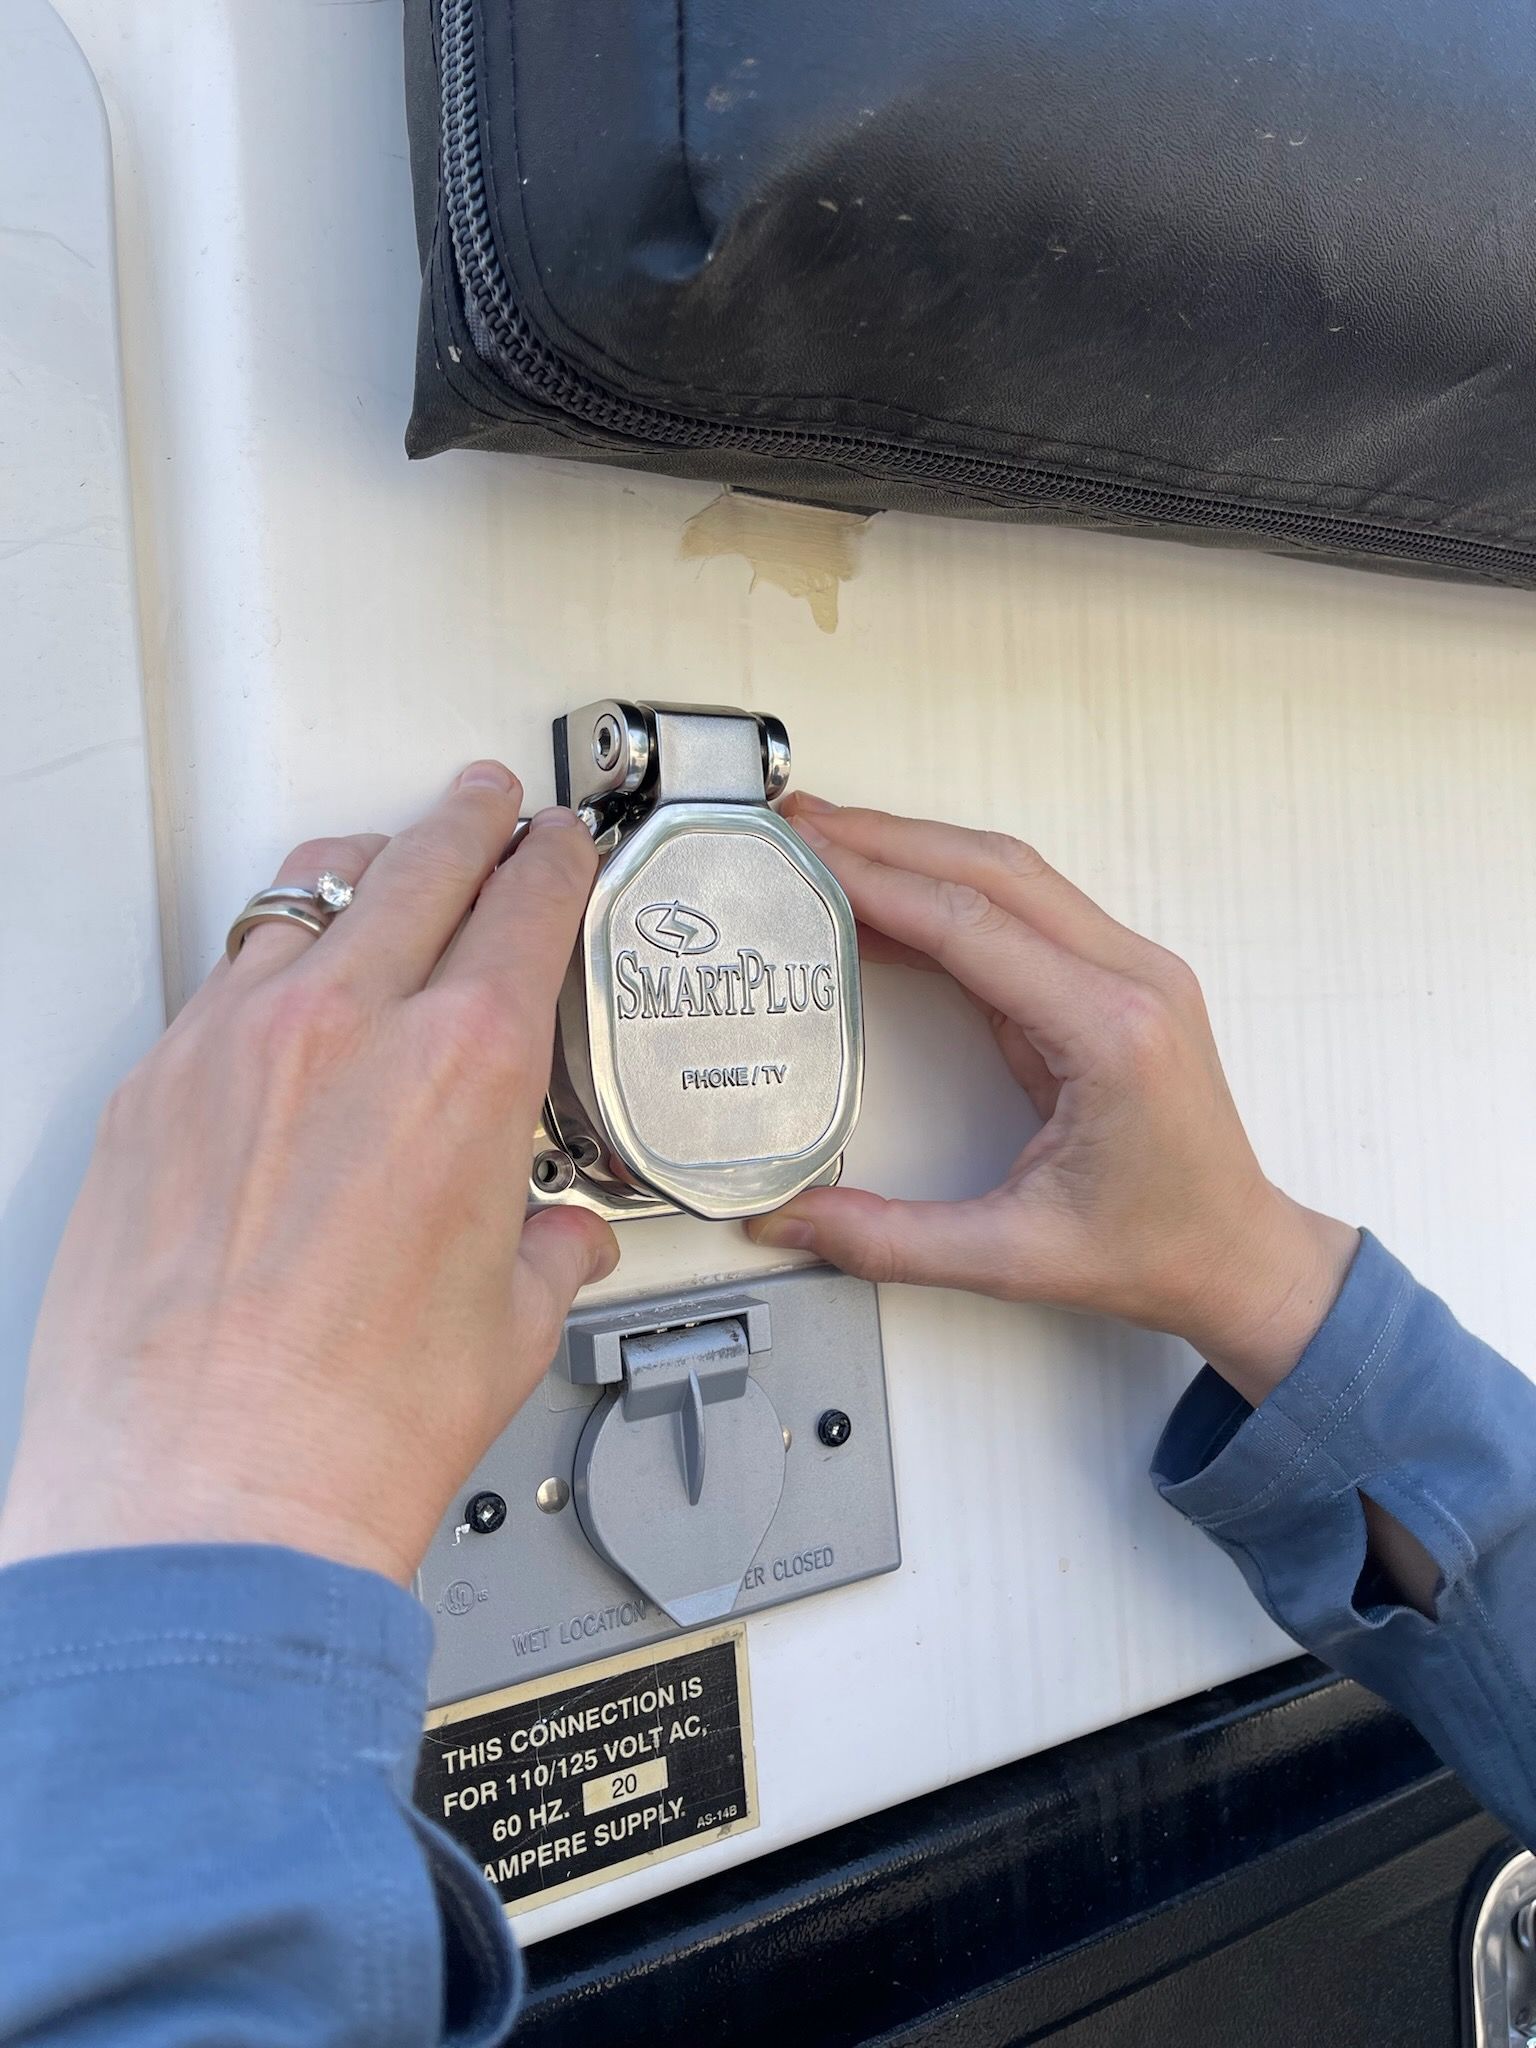
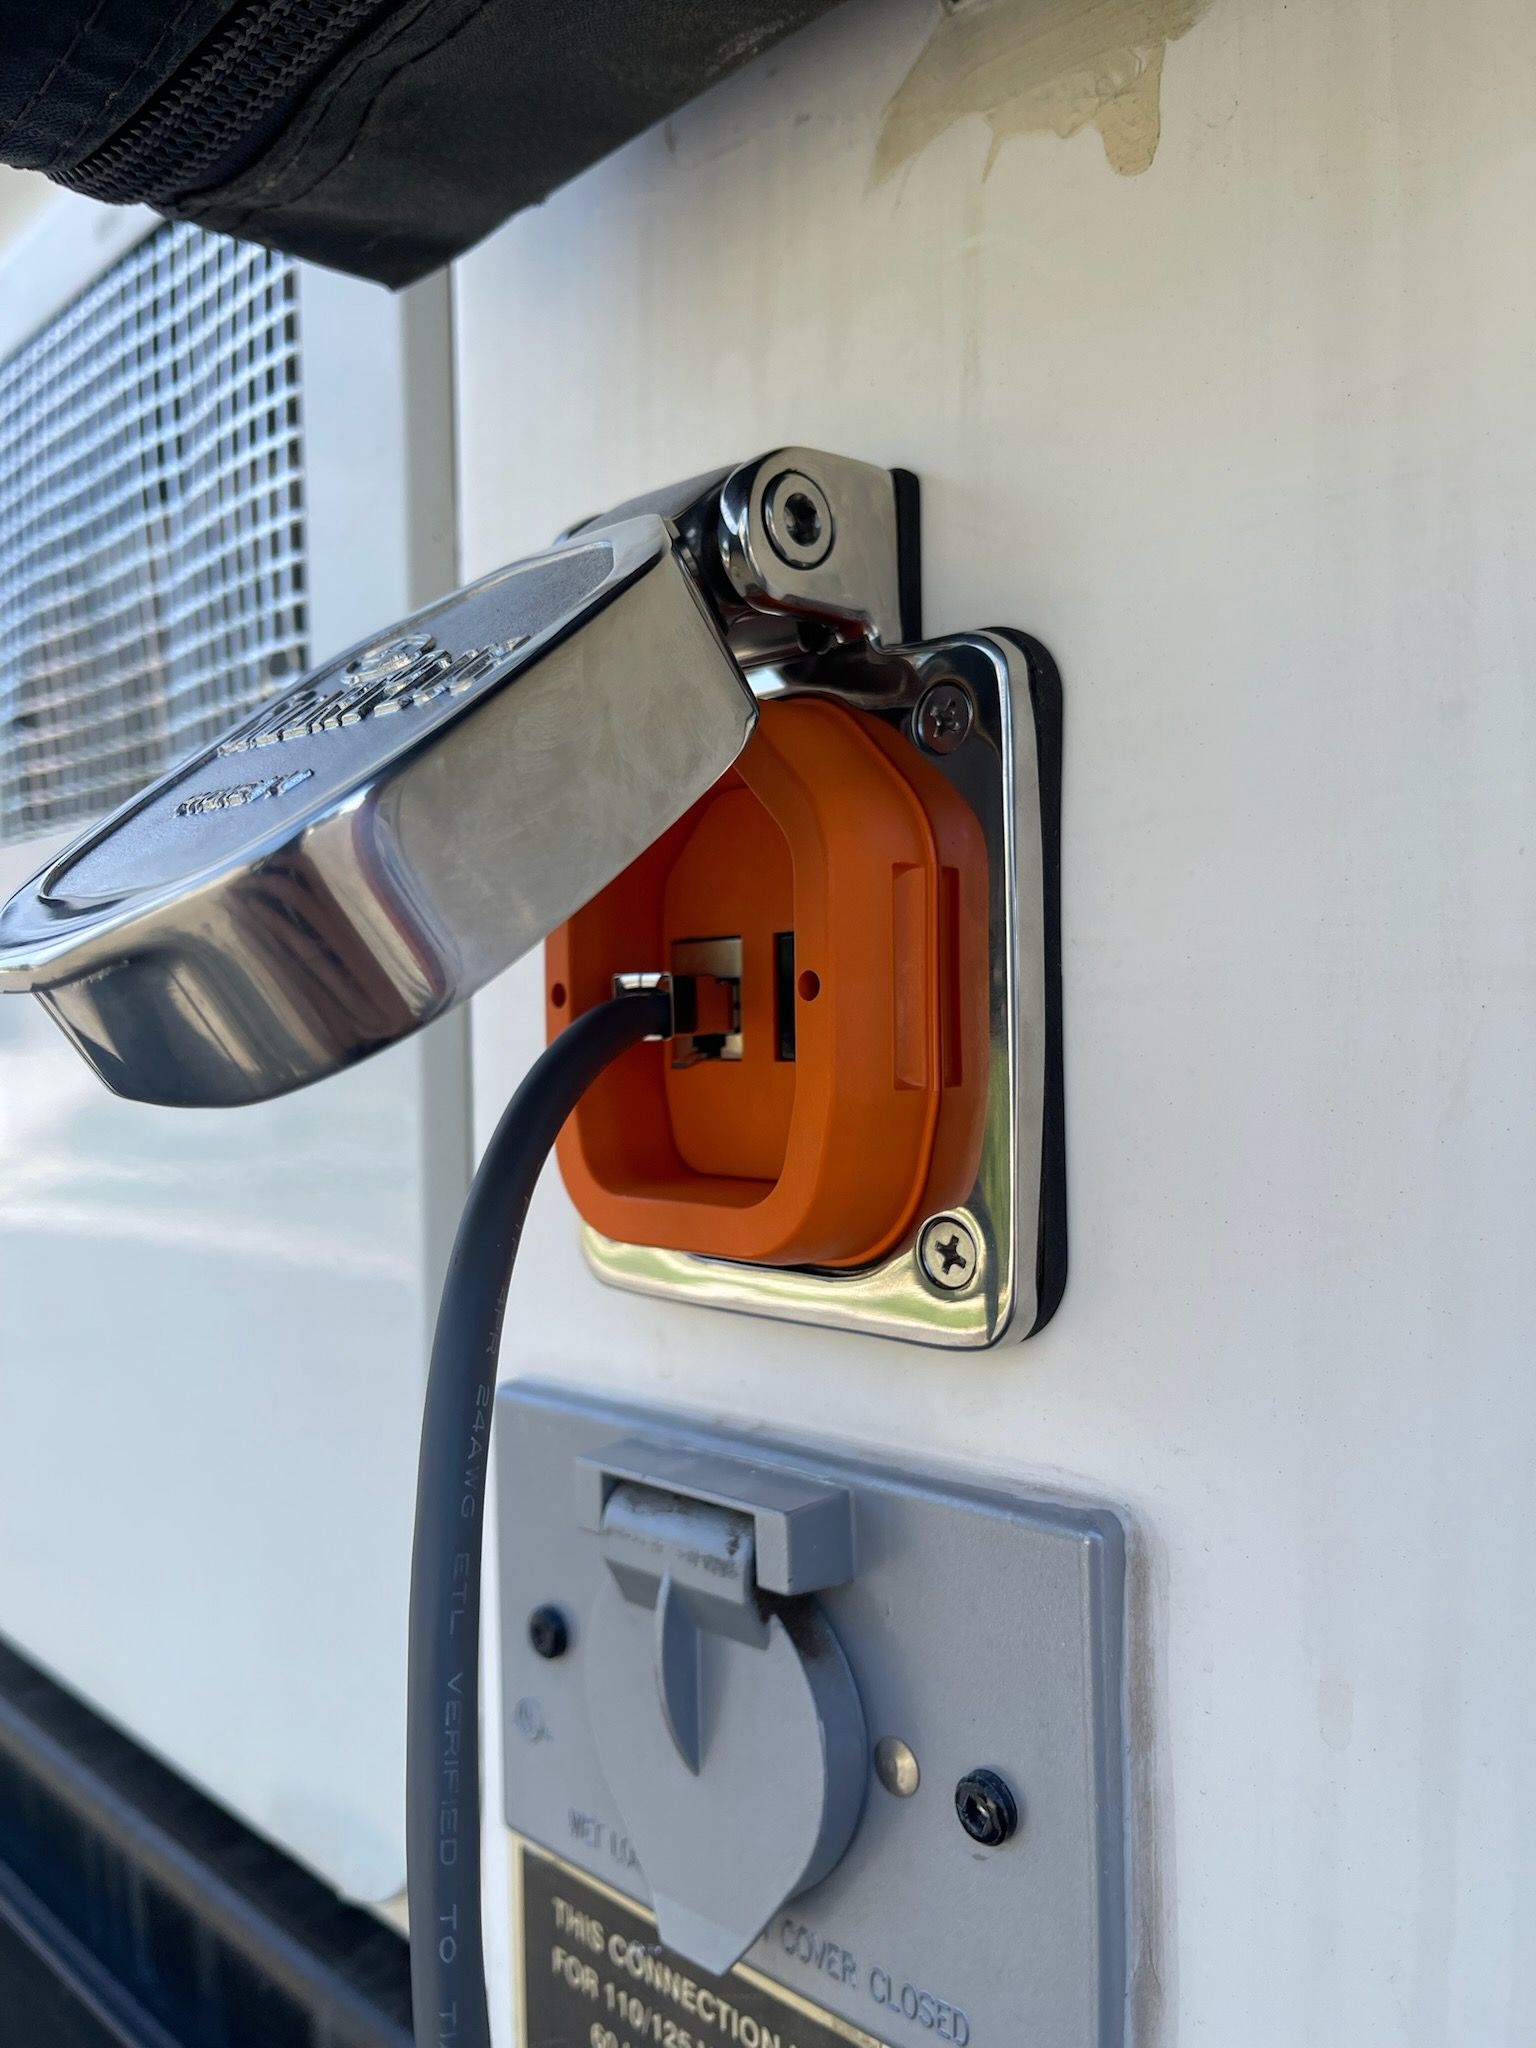
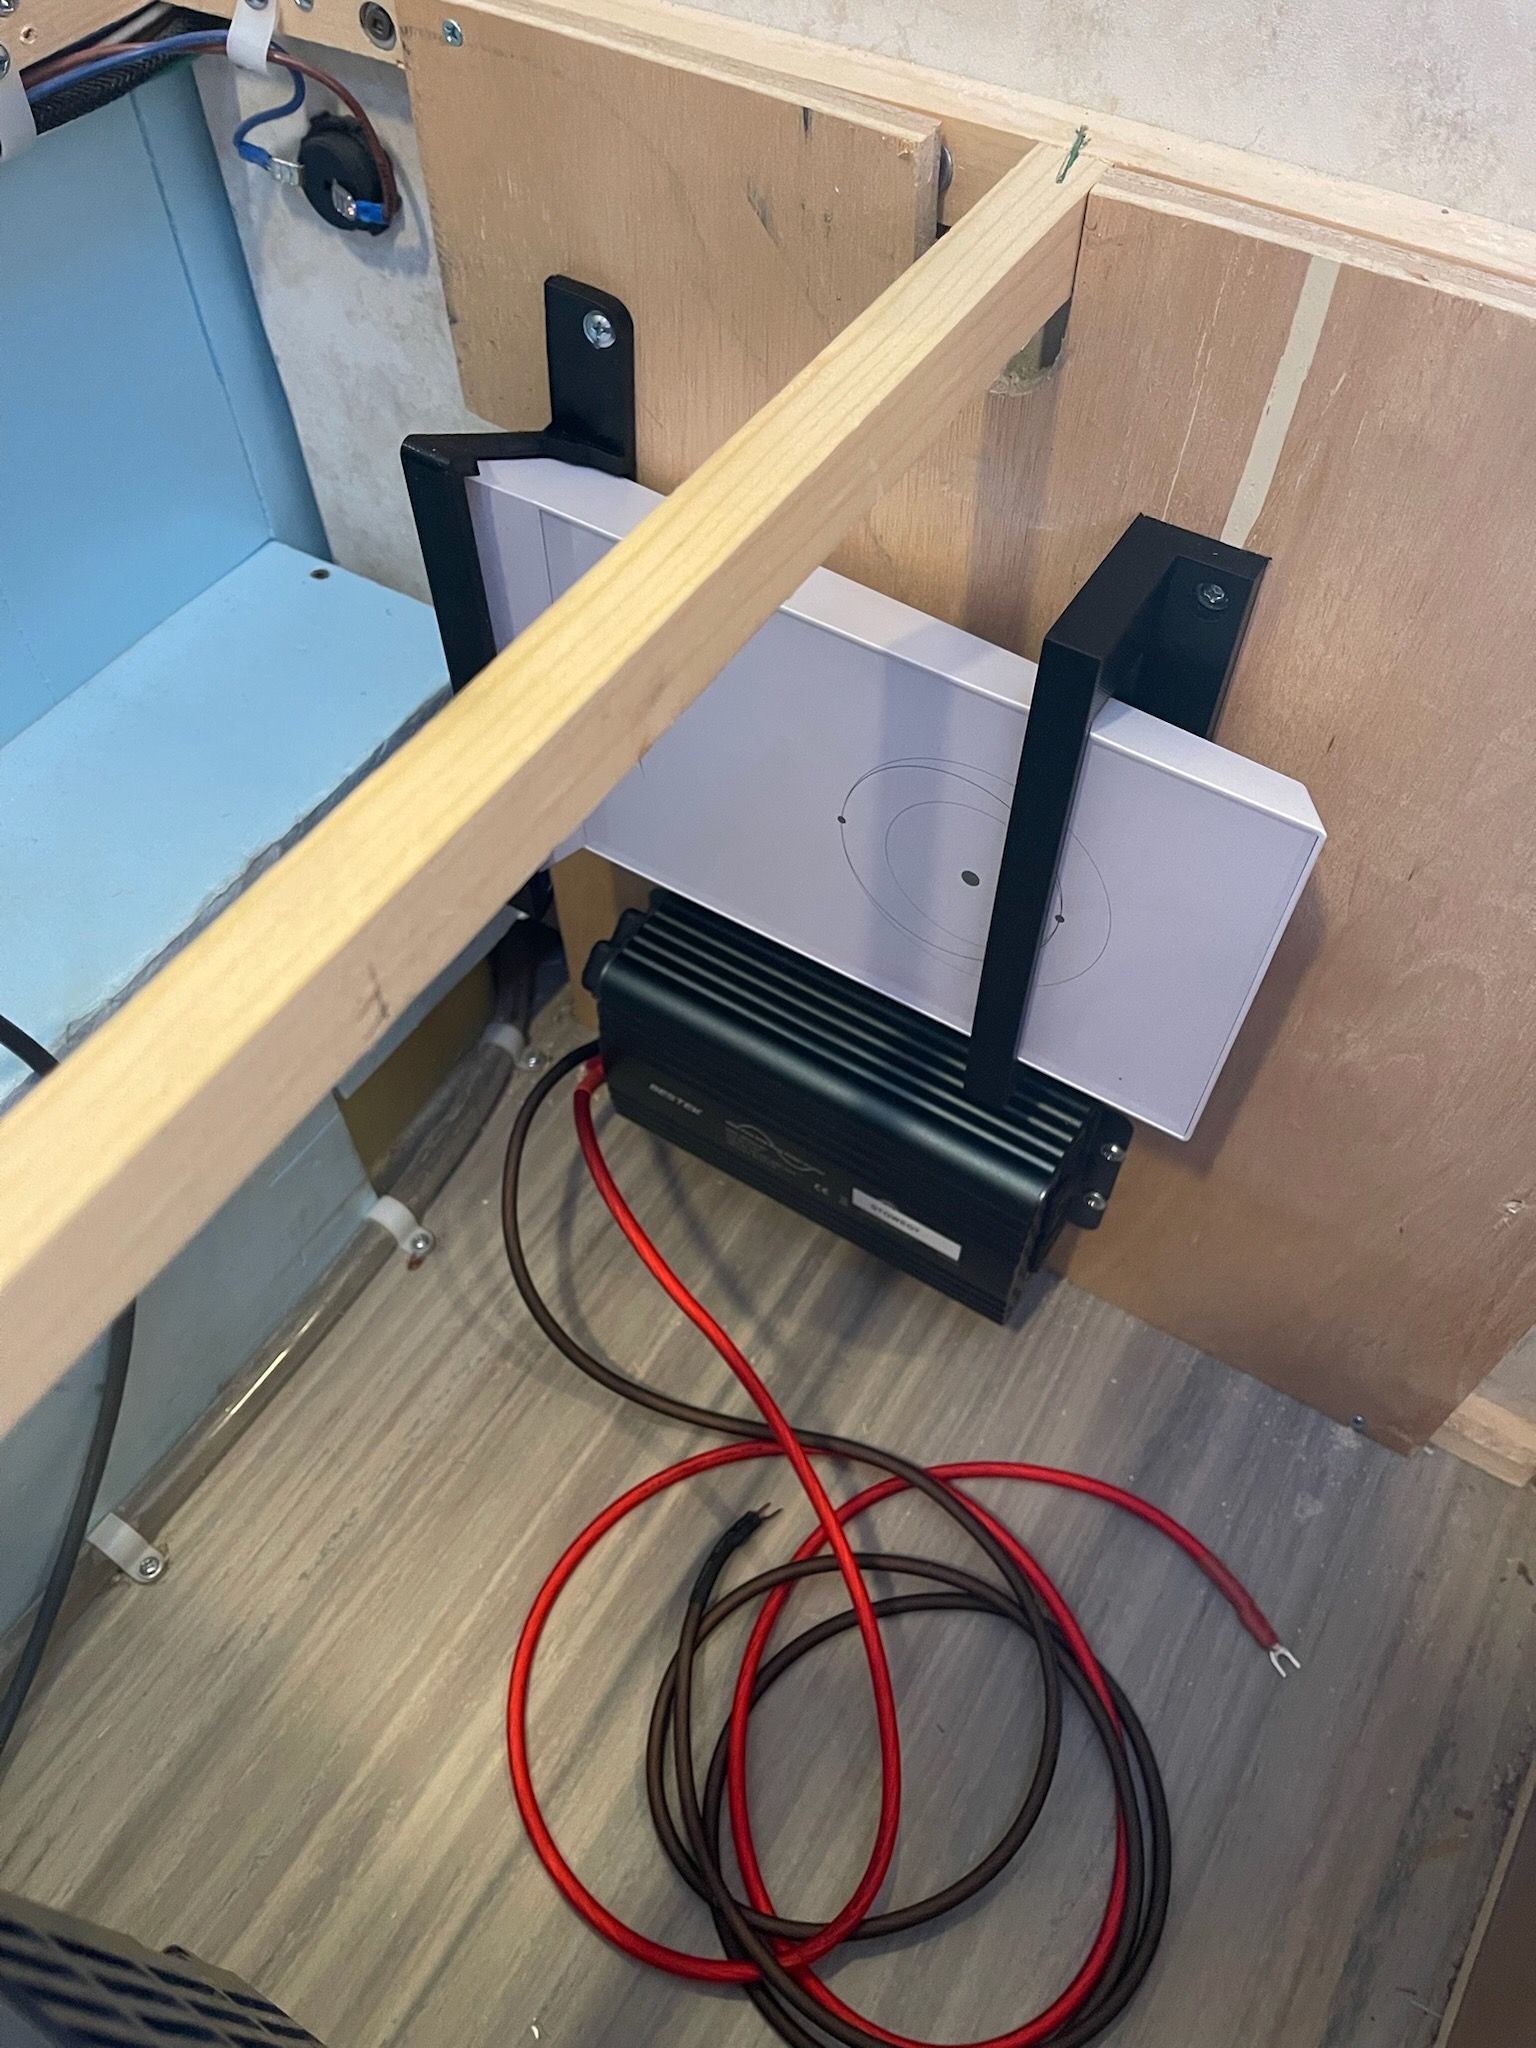
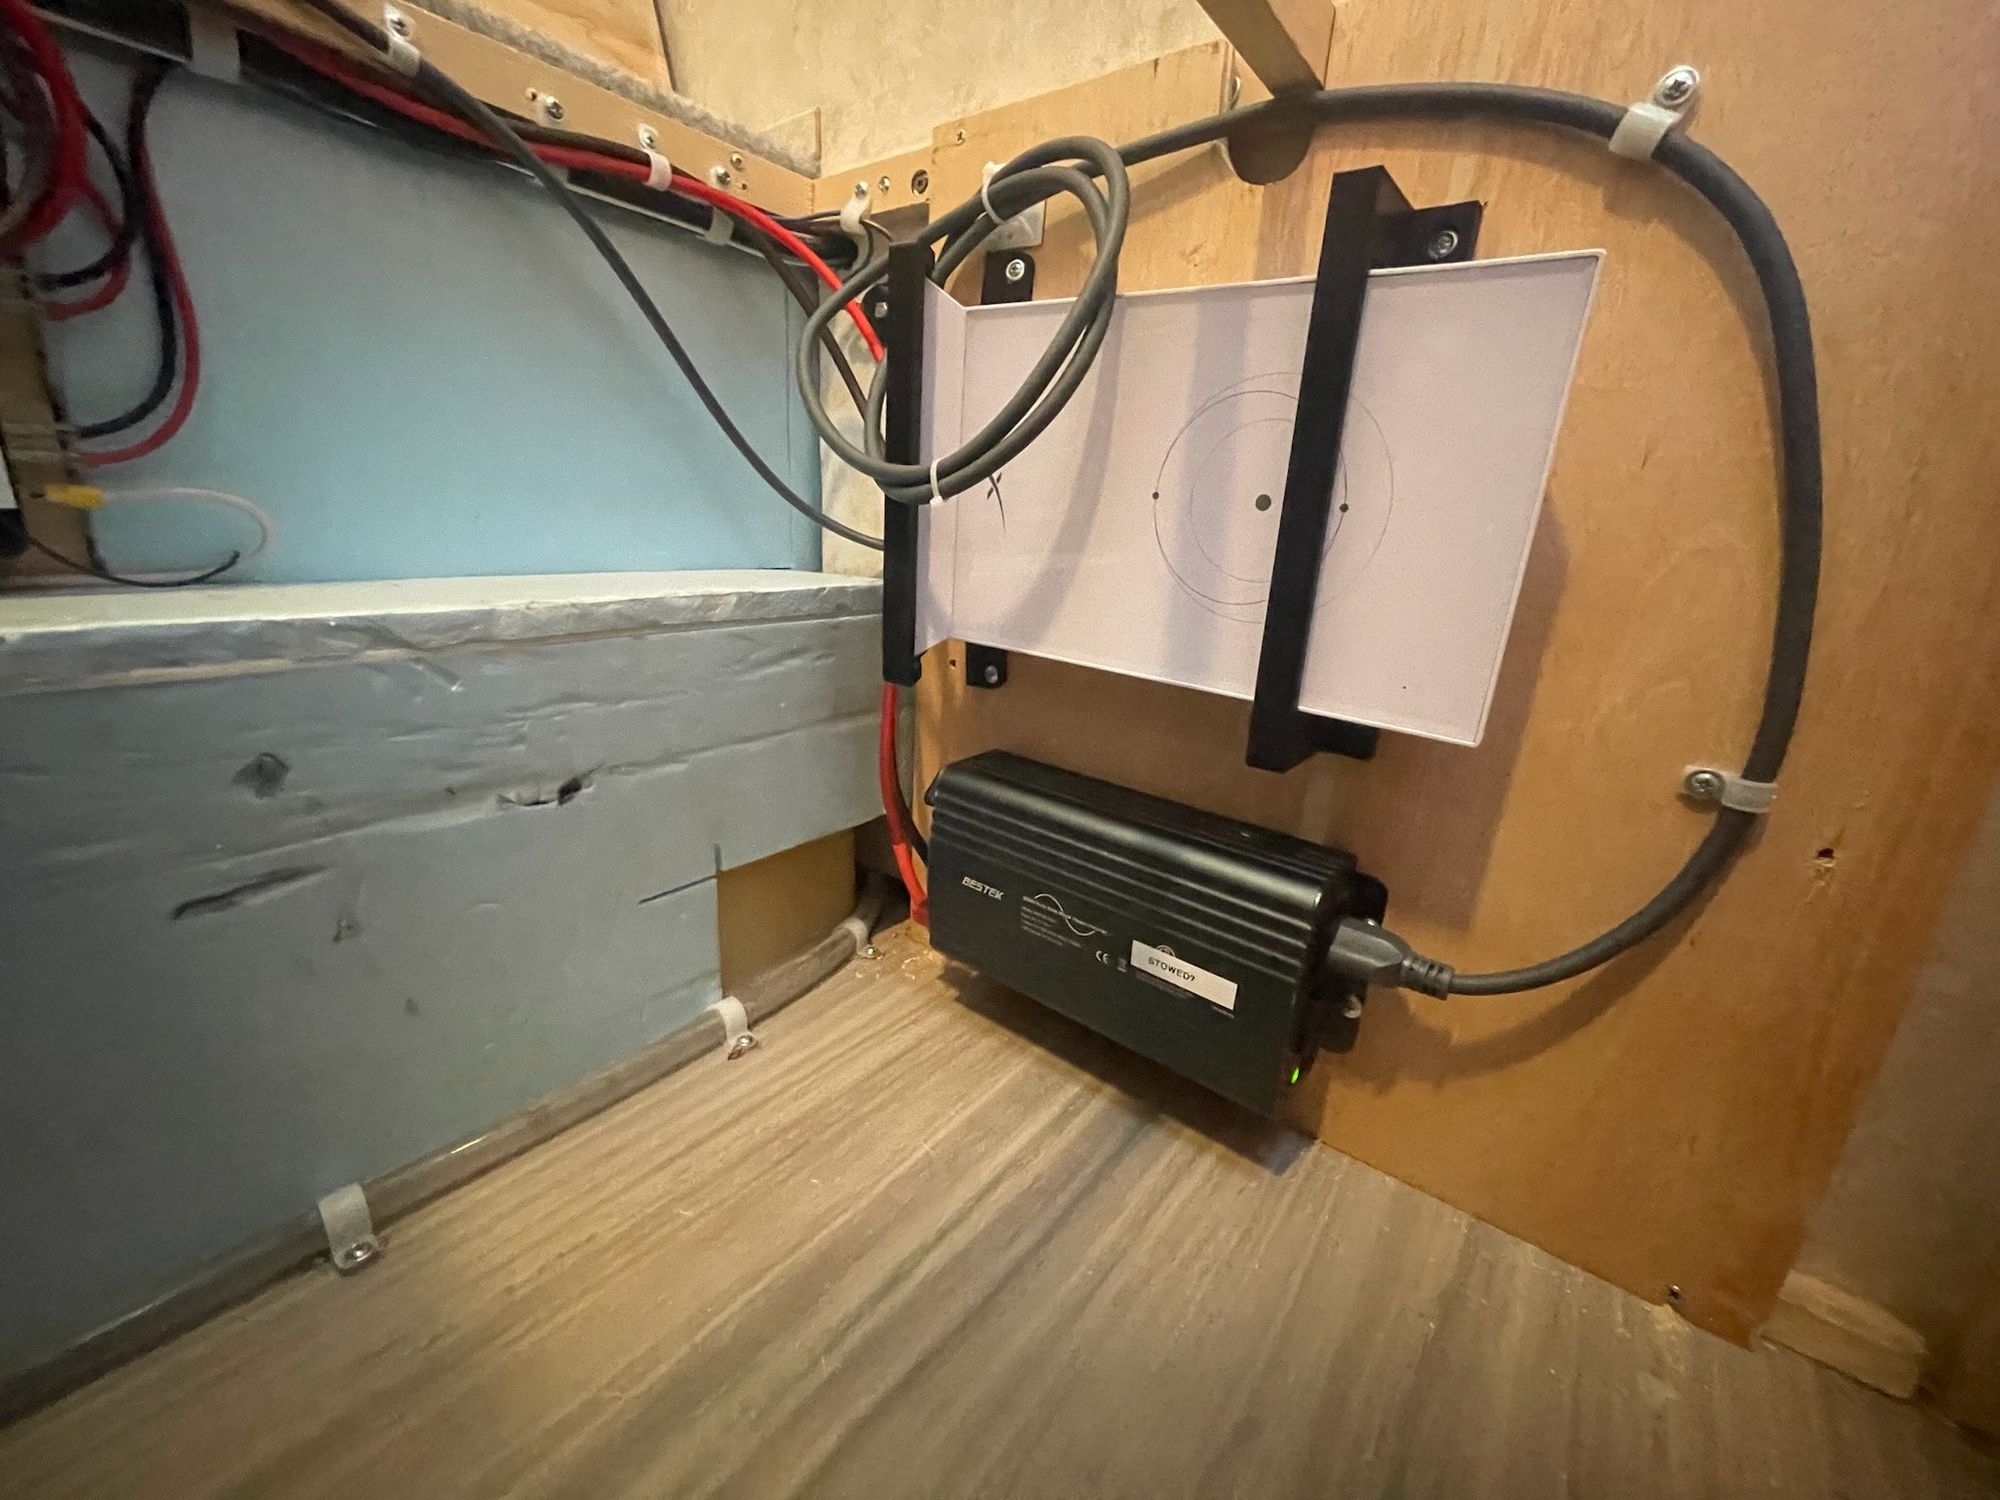
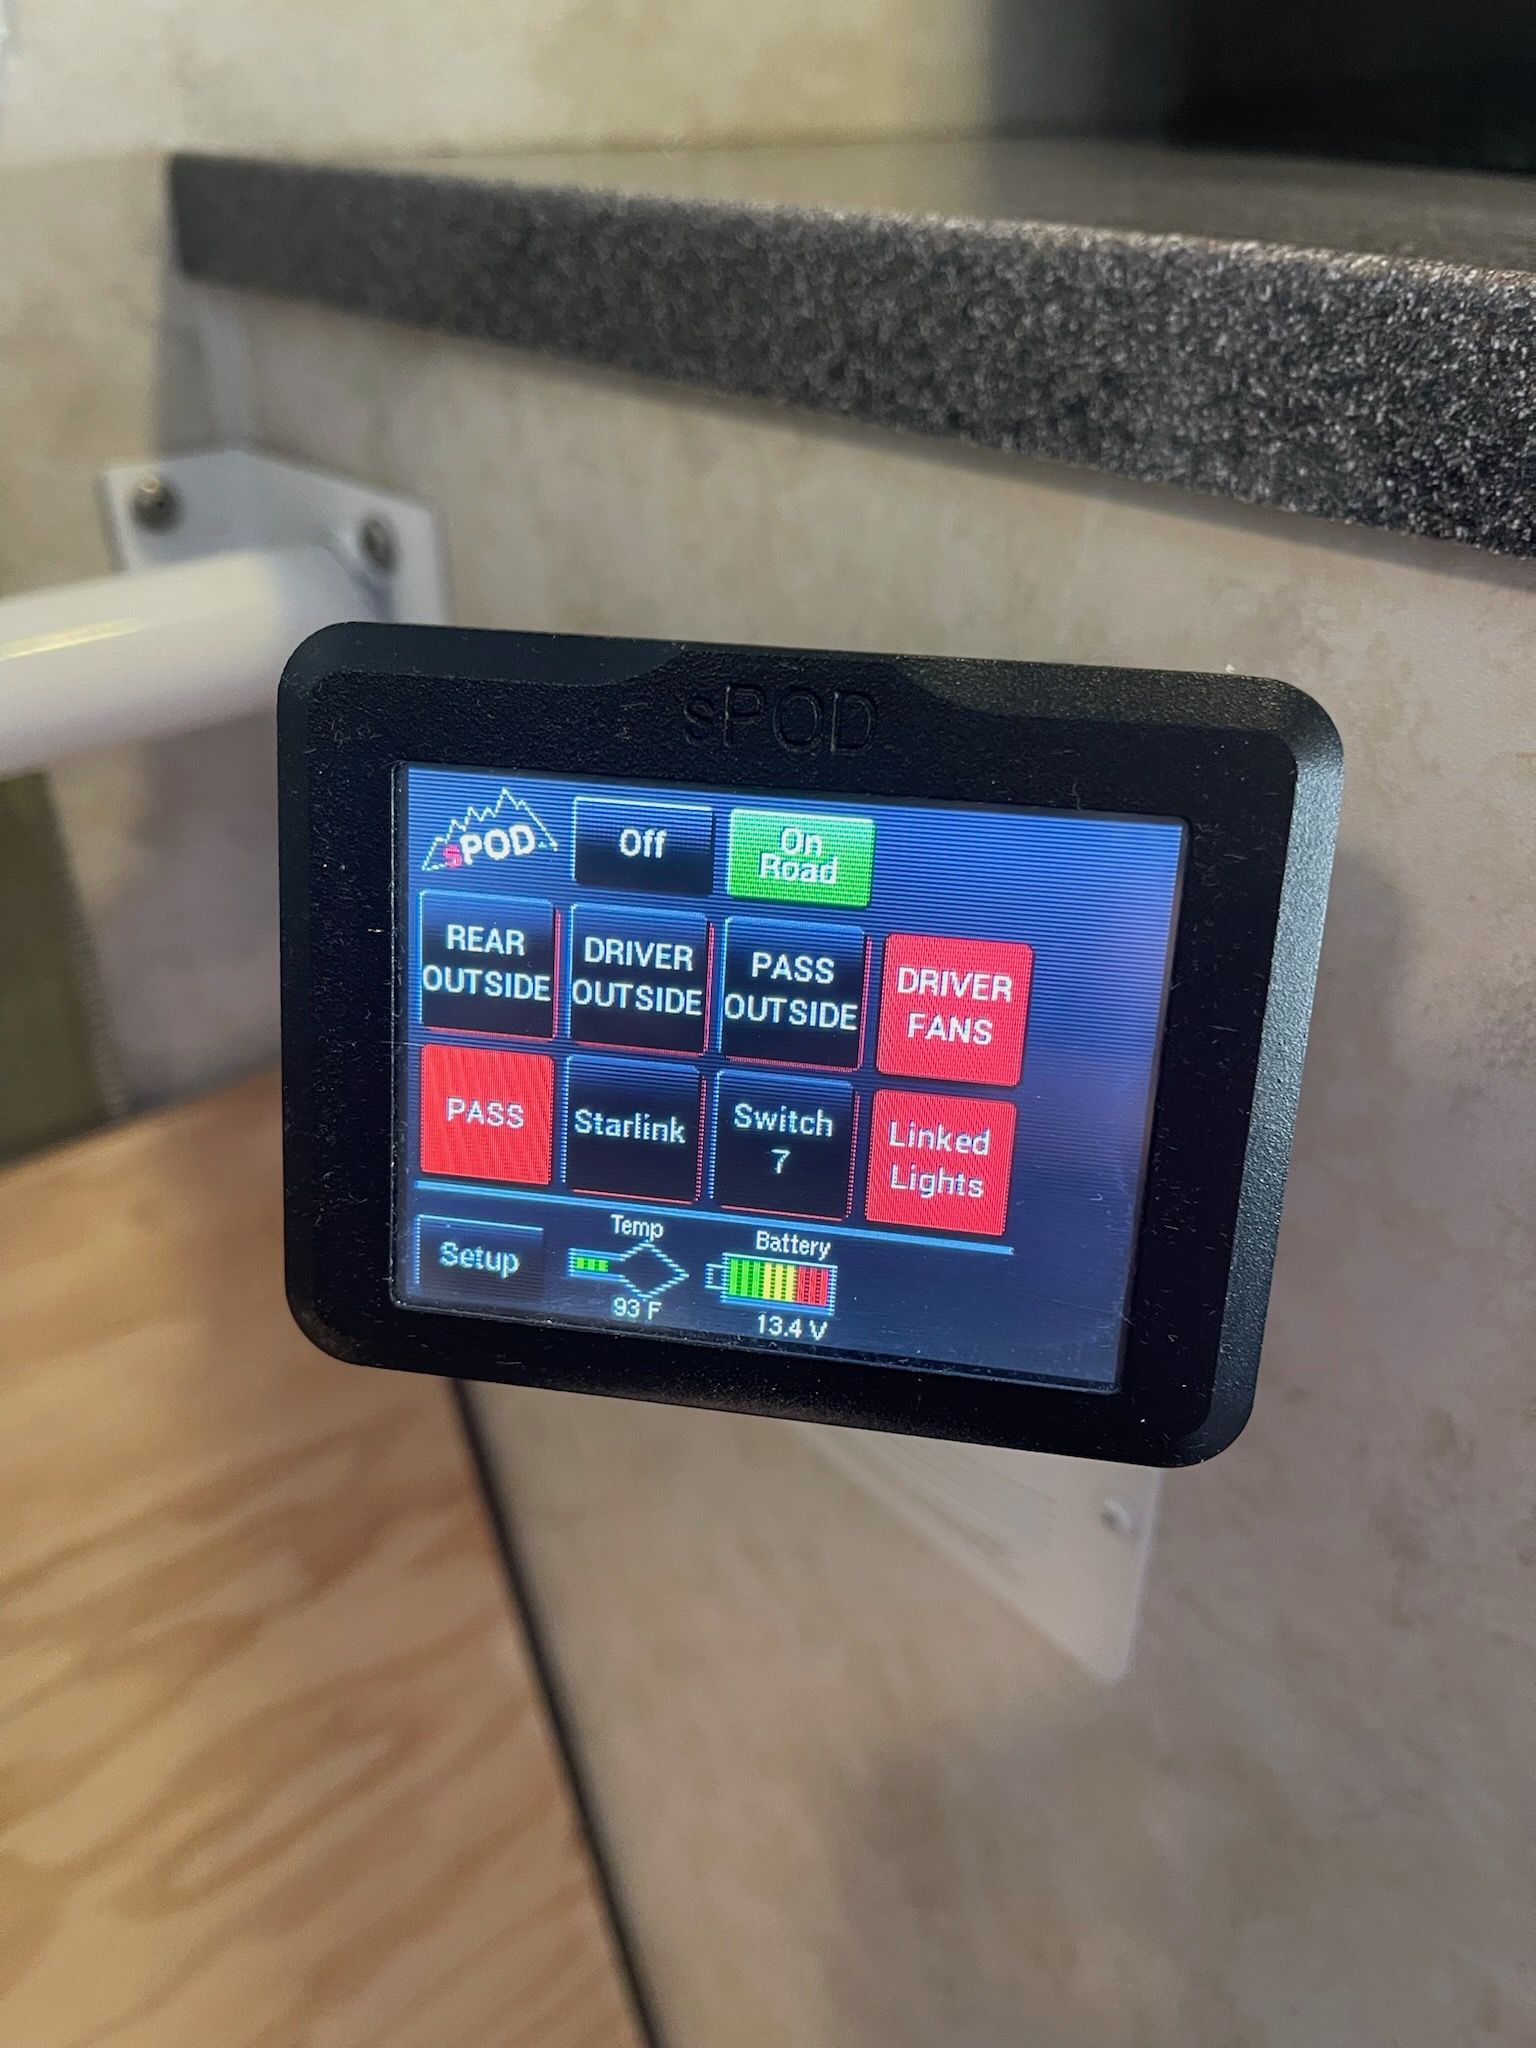
Guess what, it was fine. The 2" hole saw cut a clean core straight through producing a lovely layer cake of fiberglass and insulation. After drilling the 4 smaller drill holes, we mounted the SmartPlug and proceeded to wire the rest of the equipment into place following this guide. We also thought about converting the Starlink to 12v, but wanted the ability to remove the components and still use them elsewhere if needed for now. Plus we felt the ethernet jack project was complicated enough for a single project without making it more complicated.
Passthrough Install Video
Starlink Mini Truck Camper Electrical Wiring
Since adding the ethernet jack, we've appreciated being able to quickly deploy and stow our Starlink within about a minute. We've also appreciated having additional power from our new lithium battery bank in addition to our solar panels and strong Western sun which are normally enough to run the Starlink during the day. But more on that in another post.
See you out there,
-Adam
P.S. If you haven't cut a hole in the side of your camper, do it. It's liberating.
