How to get the best Starlink connection at camp?
How do you get the best Starlink connection at camp for a reliable fast connect? Learn from our experience as we show you our favorite tricks and tips for getting the best Starlink connect at camp and while traveling..

If you've read our Starlink blog posts, it's no surprise that we often use our Starlink mounted on a tripod at camp. And while we've shown lots of examples of how we use Starlink on a tripod, we haven't really explained why we use it on a tripod. So why do we use Starlink on a tripod especially when we could just put it on the ground using its kickstand or mount it on our truck camper's roof?
Why We Use a Tripod for Starlink
1. A Clear View of the Sky
Starlink works best with an unobstructed view of the sky. But the places where we want to camp often have obstructions. When camping under trees or by rock formations for shade and protection from the wind, using a Starlink mounted on on the roof can be problematic. Those same features that make a great campsite cause obstructions that result in an intermittent connection or no connection at all.
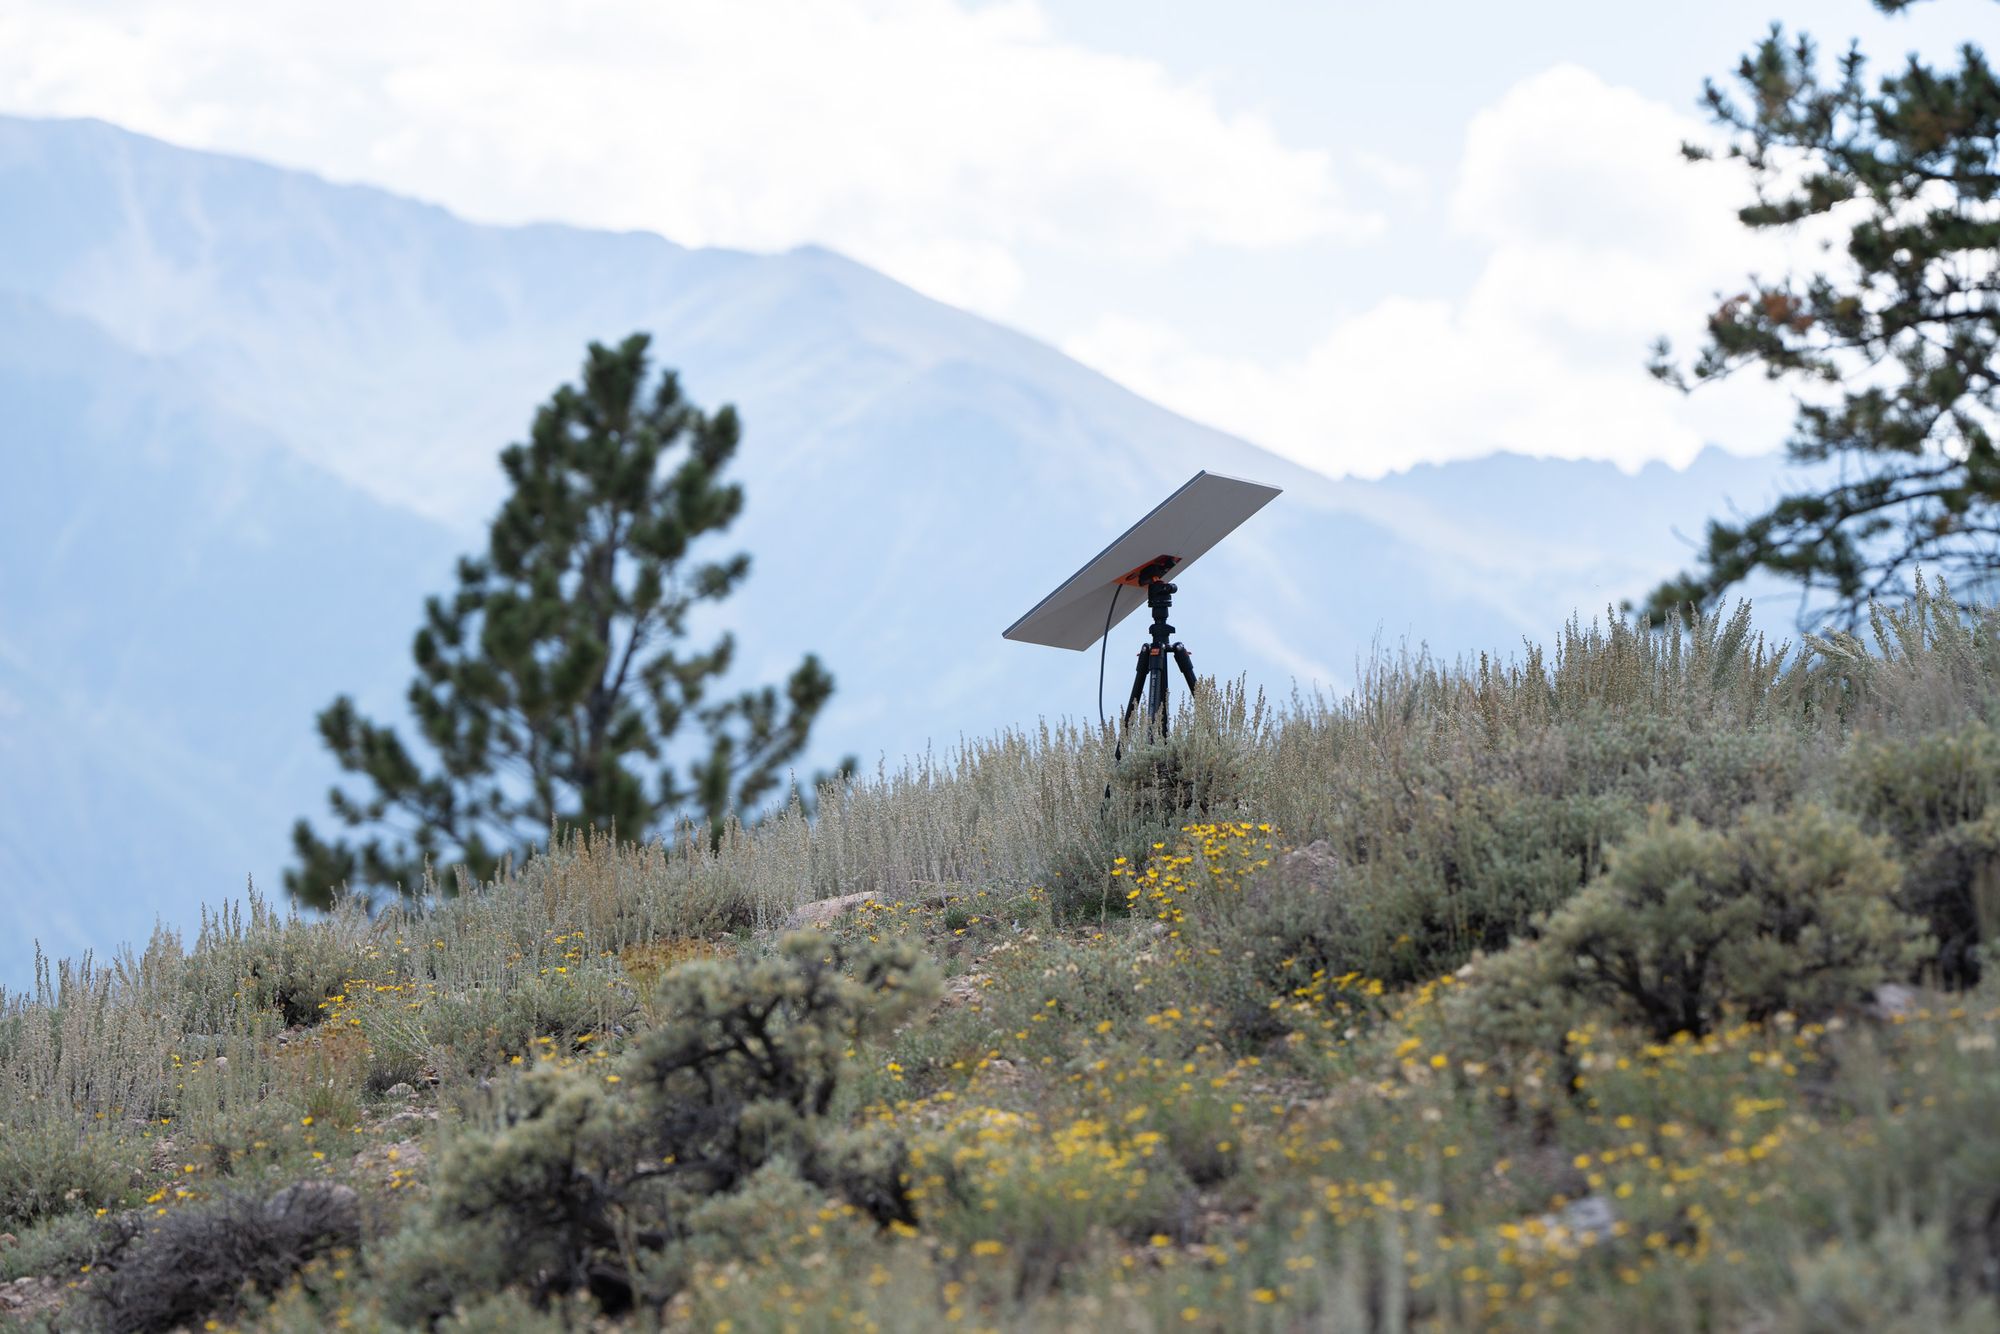
Using a tripod allows us to place our Starlink in a location with a clear view of the sky. For example, while our campsite might be shaded by overhanging trees, we can move the tripod 30 feet behind our camper to an open area with an unobstructed view—perfect for Starlink to connect to its satellites. It can be helpful to carry enough extra cable for longer distances. I think our record was 100+ feet. We also carry a portable battery pack which enables setting our Starlink farther away from camp if needed, for example a tree cleaning in a forest.
Additionally, we commonly use a tripod to elevate our Starlink above ground-level obstacles like bushes or rocks which would be problematic when using Starlink with a kickstand. Raising our Starlink just a few feet off the ground often removes these as obstructions and provides a reliable connection.
2. Flexibility
One of the best things about using a tripod with our Starlink is how easy it is to move to a different location or change the angle of the Starlink dish. If you’re not getting a great connection or the signal drops out, you can quickly pick up the tripod and try it in a different location. A tripod also easily adapts to different terrain such sloped or uneven ground by adjusting the tripod leg length and angle.
Pro Tip: Starlink recommends pointing the dish north at a 45 degree angle, but in many cases, simply pointing it straight up works well, thanks to the increasing abundance of Starlink satellites in the sky. A tripod with a ball head makes it easy to try different orientations - straight up, north, etc.
3. Protection from Damage
Placing a Starlink dish on the ground using its kickstand seems like an accident waiting to happen. It's vulnerable to being stepped on, tripped over, or run over by pets, kids on bikes, or even a distracted camper like me.
Elevating our Starlink a tripod keeps it visible and out of harm’s way, reducing the risk of damage and making it less likely to forget when packing up camp.
Bonus Tip: Make Setup Quick and Easy
We use our DIY Starlink Tripod Adapters, which makes attaching the dish to a tripod seamless. Simply slide the cable into the adapter, attach it to the tripod with a quick-release connector, and you’re good to go. This setup not only saves time but also keeps everything secure and stable.
More Tips
Check out our full video showing these tips about how we use Starlink at camp.
And while we love having Starlink with us on our travels, we also try to use it intentionally turning it off when we're done. Check out our "Internet Hour" post to learn more.
See you out there,
-Adam